Advertisement
Quick Links
Advertisement

Related Manuals for Belling 444410715


Summary of Contents for Belling 444410715
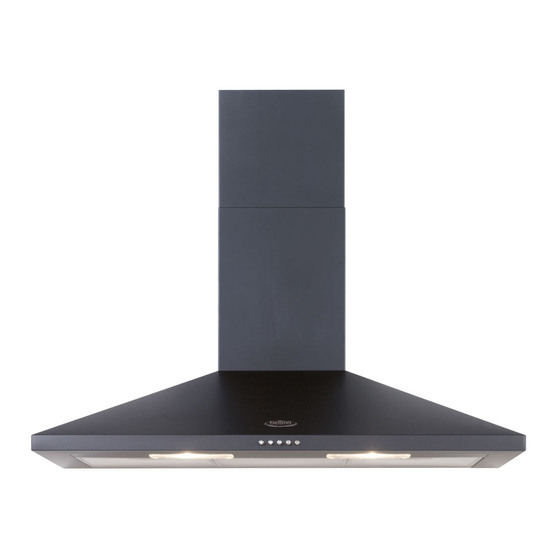
- Page 1 Belling Cooker Hood User Manual...
-
Page 2: Table Of Contents
Contents Introduction ....................... 4 Safety Precaution ................... 5 Installation Instructions.................. 6 Using the Hood....................10 Care and Cleaning ..................11 Technical Data ....................12 Belling Customer Care ..................13... -
Page 3: Introduction
Introduction Thank you for buying this high quality hood from Belling. Our policy is one of constant development and improvement. Strict accuracy of illustrations and specifications is not guaranteed. Modification to design and materials may be necessary subse- quent to publication. -
Page 4: Safety Precaution
SAFETY PRECAUTION 1. Take care when the cooker hood is operating simultaneously with an open fireplace or burner that depends on the air in the environment. The cooker hood removes the air from the environ- ment which a burner or fireplace needs for combustion. The negative pressure in the environment must not exceed 4Pa (4x10⁻⁵ bar). -
Page 5: Installation Instructions
INSTALLATION INSTRUCTIONS • Assembly and electrical connections must be carried out by specialised personnel. • Wear protective gloves before proceeding with the installation. • Electric Connection: - The appliance has been manufactured as a class II, therefore no earth cable is necessary. The power point must be easily accessible after the installation of the appliance. - Page 6 • Fixing to the wall: Drill 3 holes to accommodate the bracket (Fig.2). Screw and tighten the bracket onto the wall with the screws & screw plugs provided. Lift the cooker hood up and hang it onto the wall bracket hook (Fig.2).
- Page 7 • Fixing the decorative telescopic flue: Arrange the electrical power supply within the dimensions of the decorative flue. If your applian- ce is to be installed in the ducting version or in the version with external motor, prepare the air exhaust opening.
- Page 8 • Filtering version: Install the hood and the two flues as described in the previous paragraph “ Fixing the decorati- ve telescopic flue”. To assemble the filtering flue refer to the instructions contained in the kit. If the kit is not provided, order it from your dealer as accessory. The filters must be applied to the suction unit positioned inside the hood.
-
Page 10: Using The Hood
USING THE HOOD Controls OFF button Used for turning off the fan Low Speed button Starts the fan in low speed mode. It is suitable for simmering and cooking which do not make much steam. Medium Speed button Starts the fan at medium speed. This is ideal for ventilation during standard cooking operation. -
Page 11: Care And Cleaning
CARE & CLEANING Before cleaning or maintenance switch off the electricity supply. Replacing the LED Lights If the appliance version is with LED lamps, the intervention of a specialised technician is neces- sary to replace them Outer Casing All external parts of the outer casing can be safely cleaned with a clean cloth wrung out in hot soapy water. -
Page 12: Technical Data
TECHNICAL DATA Electricity Supply 230 - 240V ~ 50Hz Classification class II Noise Level (External Venting) Position 3 65 dBA Position 1 45 dB Light Bulbs 2 x 1.5W LED Motor Rating 123W Grease Filters 2 Off - Aluminium panel Note: After cleaning, grease filters may lose their colour slightly - this does not affect their perfor- mance. -
Page 13: Belling Customer Care
Belling Customer Care Please keep this handbook in a safe place. Please fill in the model number and serial number in the spaces provided below as they will assist us should you need to call. 0344 815 3746 When you dial this number you will hear a recorded message and be given a number of options.
Need help?
Do you have a question about the 444410715 and is the answer not in the manual?
Questions and answers