
Subscribe to Our Youtube Channel
Related Manuals for HIKVISION DS-MCW405


Summary of Contents for HIKVISION DS-MCW405
- Page 1 Body Camera Quick Start Guide Scan the QR code for Scan the QR code for User Portable Device Assistant Manual. application. UD15950B-A...
- Page 2 Quick Start Guide © 2019 Hangzhou Hikvision Digital Technology Co., Ltd. All rights reserved. This Manual is the property of Hangzhou Hikvision Digital Technology Co., Ltd. or its affiliates (hereinafter referred to as “Hikvision”), and it cannot be reproduced, changed, translated, or distributed, partially or wholly, by any means, without the prior written permission of Hikvision.
-
Page 3: Regulatory Information
SHALL NOT USE THIS PRODUCT FOR ANY PROHIBITED END-USES, INCLUDING THE DEVELOPMENT OR PRODUCTION OF WEAPONS OF MASS DESTRUCTION, THE DEVELOPMENT OR PRODUCTION OF CHEMICAL OR BIOLOGICAL WEAPONS, ANY ACTIVITIES IN THE CONTEXT RELATED TO ANY NUCLEAR EXPLOSIVE OR UNSAFE NUCLEAR FUEL-CYCLE, OR IN SUPPORT OF HUMAN RIGHTS ABUSES. - Page 4 equipment, or dispose of it at designated collection points. For more information see: www.recyclethis.info. 2006/66/EC (battery directive): This product contains a battery that cannot be disposed of as unsorted municipal waste in the European Union. See the product documentation for specific battery information.
- Page 5 NOT disassemble the product for repair or maintenance by yourself. Only use the battery, power adapter and assembly parts specified by the manufacturer. Consult the authorized dealer or technician from Hikvision for any question and request for product using.
-
Page 6: Product Introduction
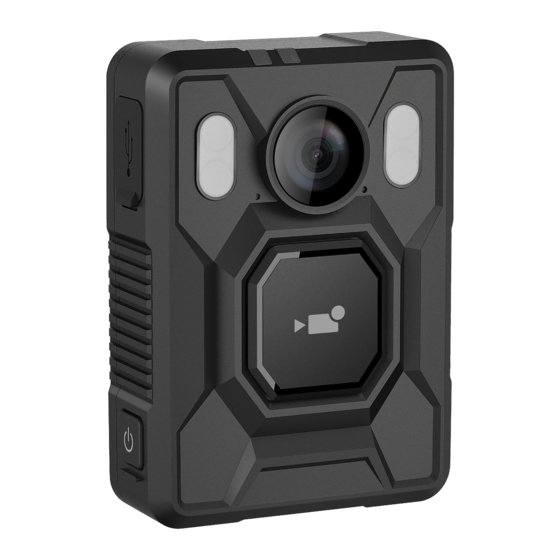
1 Product Introduction 1.1 Introduction Body camera (hereinafter referred to as device) highly integrates with record, local storage, GPS, etc. It is embedded with positioning module with high sensitivity and ultra-low consumption, locating the occurring positon of events accurately. It can record the process and condition of events completely via recorded video and audio. - Page 7 Name Description During record, press it to make a tag for the important data. After the device starts up, button/LED hold it to turn on LED light light button for light supplement or emergency illumination. Hold it again to turn off LED light.
- Page 8 Name Description After the device starts up, hold it for three seconds to turn off the device. The device is being turned Indicator 1 changes to red and then becomes unlit. Indicator 2 becomes solid green. The device is recording: ...
-
Page 9: Installation
2 Installation 2.1 Install Shoulder Clip Install the shoulder clip if you want to wear the device on your shoulder. Steps: 1. Insert the shoulder clip down into the slot on the device back. Figure 2-1 Install Shoulder Clip 2. Check if the clip is inserted into the slot firmly. Figure 2-2 Successful Installation 2.2 Uninstall Shoulder Clip You can uninstall the shoulder clip if you do not want to... - Page 10 Shutdown: Hold for 3 seconds. Then the device vibrates for 0.5 second, and the two indicators becomes unlit, indicating the device is shut down. Vibration is enabled by default. You can disable vibration via Body Camera Assistant software. Refer to User Manual for details.
- Page 11 You can log in to the device via Body Camera Assistant to view logs and videos, and configure parameters remotely. Get Body Camera Assistant from the official website (https://www.hikvision.com/en/). Assistant mentioned below refers to Body Camera Assistant. 4.1 Install Assistant Install Body Camera Assistant according to the operating system of your computer.
- Page 12 Figure 4-2 Log out 2. Click Exit to log out of the assistant. 5 FAQ 5.1 Why does the device faile to start up? The device is out of power. Shut down the device and connect it to the charger to charge for at least 20 minutes.
Need help?
Do you have a question about the DS-MCW405 and is the answer not in the manual?
Questions and answers