
Related Manuals for Electrolux KDFEC40UX


Summary of Contents for Electrolux KDFEC40UX
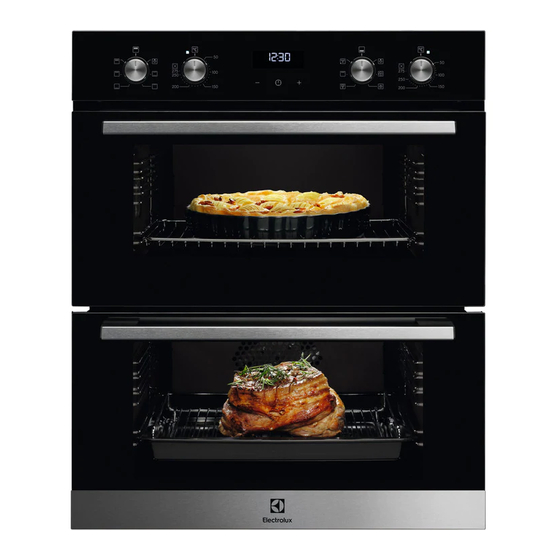
- Page 1 KDFEC40UX Built-In Double Oven User Manual Get the most out of your appliance For quick access to manuals, how-to guides, support and more through our photo registration visit electrolux.com/register...
-
Page 2: Table Of Contents
13. ENERGY EFFICIENCY.................. 27 WE’RE THINKING OF YOU Thank you for purchasing an Electrolux appliance. You’ve chosen a product that brings with it decades of professional experience and innovation. Ingenious and stylish, it has been designed with you in mind. So whenever you use it, you can be safe in the knowledge that you’ll get great results every time. -
Page 3: Safety Information
ENGLISH SAFETY INFORMATION Before the installation and use of the appliance, carefully read the supplied instructions. The manufacturer is not responsible for any injuries or damage that are the result of incorrect installation or usage. Always keep the instructions in a safe and accessible location for future reference. -
Page 4: Safety Instructions
WARNING: The appliance and its accessible parts • become hot during use. Care should be taken to avoid touching heating elements. Always use oven gloves to remove or put in • accessories or ovenware. Before carrying out any maintenance, disconnect the •... - Page 5 ENGLISH • Before mounting the appliance, check electrical ratings of the mains power if the oven door opens without supply. restraint. • Always use a correctly installed • The appliance is equipped with an shockproof socket. electric cooling system. It must be •...
- Page 6 • Deactivate the appliance after each sure the door is never closed when use. the appliance operates. Heat and • Be careful when you open the moisture can build up behind a closed appliance door while the appliance is furniture panel and cause subsequent in operation.
-
Page 7: Product Description
ENGLISH 2.6 Service • Disconnect the appliance from the mains supply. • To repair the appliance contact the • Cut off the mains electrical cable Authorised Service Centre. close to the appliance and dispose of • Use original spare parts only. •... -
Page 8: Before First Use
4.2 Display A. Clock functions B. Timer The display works only with C. Clock function the main oven. 5. BEFORE FIRST USE Set the time before you use the oven. WARNING! Refer to Safety chapters. 5.1 Setting the clock... -
Page 9: Daily Use
ENGLISH 5.3 Initial preheating Preheat the empty oven before the first use. Step 1 Remove all accessories and removable shelf supports from the oven. Preheat the two ovens. Heat up one oven at a time. Step 2 Set the maximum temperature for the function: Let the oven operate for 1 h. - Page 10 Oven function Application Bottom Heat To bake cakes with crispy bottom and to preserve food. Grill To grill thin pieces of food and to toast bread. Fast Grilling To grill thin pieces of food in large quantities and to toast bread.
-
Page 11: Clock Functions
ENGLISH 7. CLOCK FUNCTIONS 7.1 Clock functions Clock function Application To set, change or check the time of day. Only the top oven works without the set time. Time of Day To set how long the oven works. The function works only for the main oven. Duration To set when the oven turns off. - Page 12 How to set: End Time Step 1 Set an oven function and the temperature. Step 2 - press repeatedly. - starts to flash. Step 3 - press to set the time. The display shows: - flashes when the set time ends. The signal sounds and the oven turns off.
-
Page 13: Using The Accessories
ENGLISH How to cancel: Clock functions Step 2 Press and hold: The clock function turns off after few sec. 8. USING THE ACCESSORIES devices. The high rim around the shelf WARNING! prevents cookware from slipping of the Refer to Safety chapters. shelf. -
Page 14: Additional Functions
8.2 Trivet and Grill- / Roasting pan Step 1 Put the trivet into a deep pan. Step 2 Put the deep pan on the recommended shelf position. Roasting larger pieces of meat or Grilling and toasting thin pieces of poultry on one shelf position. - Page 15 ENGLISH 10.3 Tips on baking Baking results Possible cause Remedy The bottom of the cake The shelf position is incor‐ Put the cake on a lower shelf. is not baked sufficient‐ rect. The cake sinks and The oven temperature is Next time set slightly lower becomes soggy or too high.
- Page 16 Food Temperature (°C) Time (min) Shelf position - Meringues 90 - 100 150 - 180 - Flapjack 160 - 170 25 - 30 - Shortbread 130 - 150 45 - 65 Casseroles: - Beef / Lamb 160 - 170...
- Page 17 ENGLISH Food Temper‐ Time Food Temper‐ Time ature (min) ature (min) (°C) (°C) Biscuits 180 - 10 - 20 Milk Puddings 140 - 60 - 90 Bread 190 - 30 - 35 Choux pastry 180 - 30 - 40 Small & Queen 160 - 18 - 25 Shortcrust pastry...
- Page 18 (°C) Real cook‐ (min) ing time (min) Whole fish, baking tray or drip‐ 25 - 35 0.2 kg ping pan Fish fillet, pizza pan on wire 30 - 40 0.3 kg shelf Poached baking tray or drip‐ 35 - 45 meat, 0.25...
- Page 19 ENGLISH Turn the roast after 1/2 - 2/3 of the Baste meat joints with their own juice cooking time. several times during roasting. Roast meat and fish in large pieces (1 kg or more). 10.7 Roasting tables - Main oven Beef Food Quantity...
- Page 20 Game Food Quantity Temperature Time (min) Shelf position (°C) Saddle of hare, Up to 1 kg 220 - 250 25 - 40 leg of hare Loin of Game 1.5 - 2 210 - 220 75 - 105 Leg of Game 1.5 - 2...
- Page 21 ENGLISH Food Time (min) Lamb Chops 15 - 25 Pork Chops 20 - 25 Whole Fish, Trout / Makarel 10 - 12 Fillets, Plaice / Cod 4 - 6 Kebabs 12 - 18 Kidneys, Lamb / Pig 6 - 10 Sausages 20 - 30 Toasted Sandwiches...
-
Page 22: Care And Cleaning
Food Quantity Defrost‐ Further de‐ Comments (kg) ing time frosting time (min) (min) Chicken 1 100 - 140 20 - 30 Put the chicken on an upturned saucer in a big plate. Turn halfway through. Meat 100 - 140 20 - 30 Turn halfway through. - Page 23 ENGLISH 11.2 How to remove: Shelf supports Remove the shelf supports to clean the oven. Step 1 Turn off the oven and wait until it is cold. Step 2 Pull the front of the shelf support away from the side wall.
- Page 24 11.4 How to remove and install: CAUTION! Door Carefully handle the glass, especially around the edges You can remove the door and the of the front panel. The glass internal glass panels to clean it.The can break. number of glass panels is different for different models.
-
Page 25: Troubleshooting
ENGLISH Step 7 Clean the glass panel with water and soap. Dry the glass panel carefully. Do not clean the glass panels in the dishwasher. Step 8 After cleaning, do the above steps in the oppo‐ site sequence. Step 9 Install the smaller panel first, then the larger and the door. - Page 26 12.1 What to do if... Problem Possible cause Remedy You cannot activate or op‐ The oven is incorrectly Check if the oven is cor‐ erate the oven. The display connected to an electrical rectly connected to the shows “400” and an acous‐...
-
Page 27: Energy Efficiency
ENGLISH 13. ENERGY EFFICIENCY 13.1 Product Information and Product Information Sheet* Supplier's name Electrolux Model identification KDFEC40UX 944171722 Top oven: 106.8 Energy Efficiency Index Main oven: 95.9 Top oven: A Energy efficiency class Main oven: A Energy consumption with a standard load, con‐... - Page 28 Keep food warm When you use this function the lamp is Choose the lowest possible temperature off. setting to use residual heat and keep a meal warm. Moist Baking Function designed to save energy during cooking. 14. ENVIRONMENTAL CONCERNS...
- Page 29 ENGLISH...
- Page 30 www.electrolux.com...
- Page 31 ENGLISH...
- Page 32 www.electrolux.com/shop...
Need help?
Do you have a question about the KDFEC40UX and is the answer not in the manual?
Questions and answers