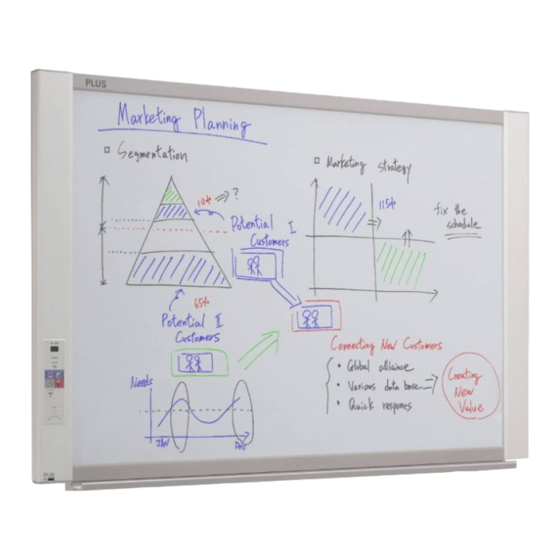
Plus N-20 Series Assembly And Setup Manual
Copyboard
Hide thumbs
Also See for N-20 Series:
- Assembly manual (4 pages) ,
- Installation manual (4 pages) ,
- Service manual (38 pages)
Advertisement
Quick Links
Advertisement

Summary of Contents for Plus N-20 Series
- Page 1 N-20 シリーズ 設置・組立説明書 日本語 N-20 Series Copyboard Assembly and Setup Manual English...
-
Page 2: Table Of Contents
Copyboard Assembly and Setup Manual This is the installation and assembly manual for the N-20 series Copyboard. (The copyboard are referred to as "the set" or "the main unit" in this manual.) TABLE OF CONTENTS 1. Please Read in the Interest of Safety ............E-2 2. -
Page 3: Please Read In The Interest Of Safety
1. PLEASE READ IN THE INTEREST OF SAFETY Warning • If you are not a qualifi ed assembly serviceperson, do not perform installation procedures. • Please be sure to perform the installation and assembly based on this manual. Incorrect installation or assembly will be the cause of injury. -
Page 4: Packaging List
2. PACKAGING LIST The contents of the package differ according to the product you have purchased. Please open the carton and check the parts. In the rare event that something is missing, please contact your store of purchase. Package name Name Assembly parts Main unit package... -
Page 5: Mounting The Pen Tray
3. MOUNTING THE PEN TRAY Mount the pen tray on the main unit. Peel off the three pieces (four for the wide type) of temporary fixing tape from the bottom of the main unit. Insert the heads of the screws in the pen tray's screw holes and slide downwards as such to slip the pen tray into place. Tighten the screws. -
Page 6: Assembly Of The Stand
4. ASSEMBLY OF THE STAND CAUTION • Lock the casters of the T-shaped feet (left and right). If not, the stand could slip, causing the stand or main unit to fall and resulting in injury or damage. . Mount the T-shaped feet to the side bar. The shorter side of the T-shaped foot is the back of the stand. - Page 7 4. Assembly of the Stand Attach the stabilizers to the front and back of the T-shaped feet. CAUTION • To prevent toppling, be sure to install the stabilizers at each T-shape foot of the 4 locations. The toppling of this machine could cause bodily injury or damage the machine.
- Page 8 4. Assembly of the Stand . Store the AC power adapters and cables in the AC power adapter box. Connect the main unit and printer before storing the adapters and cables. (See page E-14.) • Check that the AC power plug is not connected to a wall power outlet. If it is, be sure CAUTION to unplug it.
-
Page 9: Wall Mounting
5. WALL MOUNTING Mount the main unit to the wall. Attach the pen tray to the main unit before mounting. (See page E-4.) . Preparing the place of mounting Insert a gimlet or other pointed object accurately through the center of the screw holes in the Wall Bracket Mounting Dimensional Drawing below to mark the wall surface. - Page 10 5. Wall Mounting Reference: Installation Method for Various Wall Materials Please perform an installation that suits the wall material. Please install the main unit to posts or studs when the wall surface is of insuffi cient strength. Installation Wall Material Installation Method Wooden Walls Wood screws...
- Page 11 5. Wall Mounting . Placing the unit in the top wall brackets (L/R). Put the sockets located on the top of the support pieces on the back of the unit on the top wall bracket hooks, making sure that the sockets are securely in place. Then, gently lower the unit and place it on the bottom fi...
- Page 12 5. Wall Mounting . Assembling the printer table Fasten the brackets on the sides of the printer table using M4 x 8 screws (three each). - There is one bracket for the left side, one for the right. Place the flange on the inner side. M4x8 screws (2) Printer table M4x8...
- Page 13 5. Wall Mounting (2) Fasten the printer table to the wall surface. Use screws, etc., to fasten the printer table to the marked positions. Use the appropriate screws for the wall structure and material to fasten the printer. (The method of fastening differs according to the material of the wall surface. See page E-9.) Mount M5 screws to the two upper screw positions, about 2 mm apart.
- Page 14 5. Wall Mounting Put the main unit's AC power adapter and the printer's AC power adapter in the AC power adapter box. Place any extra cable length in the AC power adapter box so that no cable is hanging out. •...
-
Page 15: Connecting The Cables With The Main Unit (Connections Diagram
6. CONNECTING THE CABLES WITH THE MAIN UNIT (CONNECTIONS DIAGRAM) Connect as shown on the diagram below. Do not connect the AC power adapters' AC power plugs to the wall power outlet yet. Once connections are completed, store the AC power adapters and cables in the AC power adapter box. The way this is done differs depending on whether the main unit is installed on the stand or the wall. -
Page 16: Test Print
7. TEST PRINT Remove the printer cartridge installation seals and the protective sheet used for shipping before using the printer for the fi rst time. Please see your printer manual for details. (1) Plug the AC power plugs of the main unit and printer into a wall power outlet. (2) Press the ON/Standby button of the main unit and switch on the power. - Page 17 26-4607-11B...


Need help?
Do you have a question about the N-20 Series and is the answer not in the manual?
Questions and answers