Advertisement
Quick Links
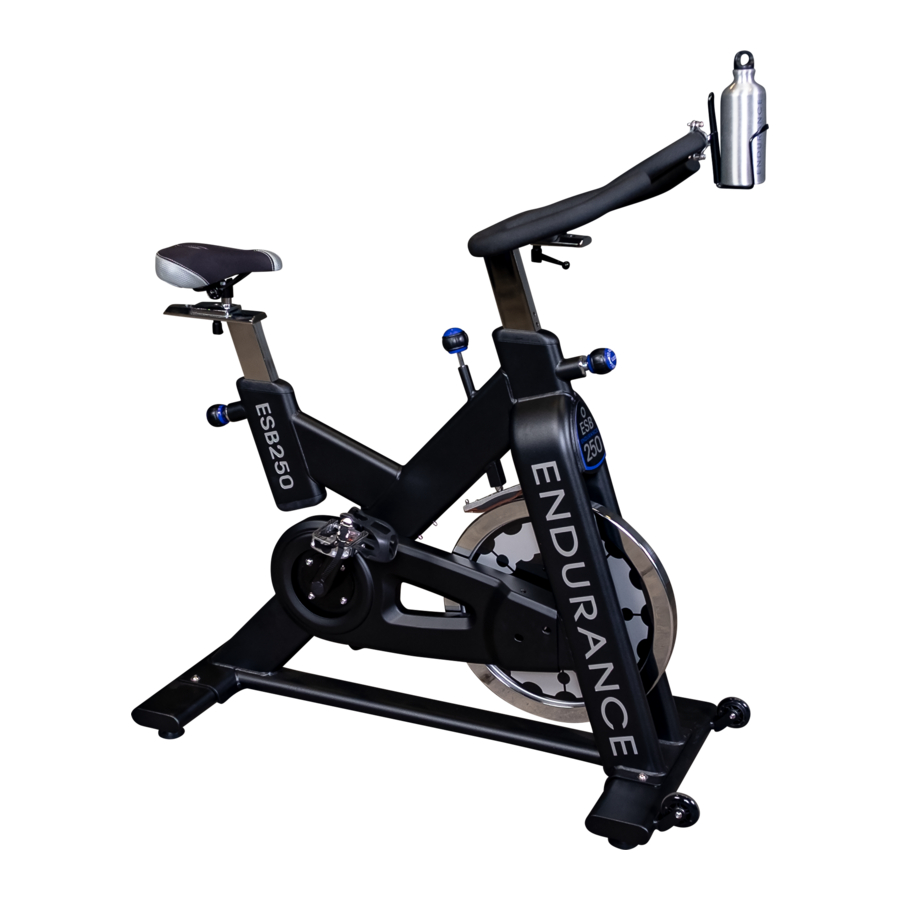
SPX INDOOR TRAINING CYCLE
ASSEMBLY MANUAL
MODEL: VF803J
Questions?
As a quality home gym supplier
wt'
are committed
to
your complete satisfaction.
1[ you
have questions, or
find
missing or damaged
parts,
we
will
g&UlffIIIUe
your
CQmplete satisfaction
through
our authorized
detJJer
service centers or our home offia customo .service department. Please coU your /oaJ1 deDler for
assistance or BODYCRAFT at 800-990-5556 (9:00AM - 5:00 PM). Our trained tedlaniciallS
will
provide
immediate assistance to
you,
free of charge.
We stand behind
OUT
products. Every piece, every
part
of this BODYCRAFT strenglh
troining
system
is
pranlud for as long
4S
you own iI. We
will
repair or
repltlce
anything that
goes
wrong.
Bodycraft is a division of Recreation Supply Inc.
p.
0. Box lSI
S/#Ibwy, OH 43074
Advertisement

Related Manuals for BodyCraft VF803J


Summary of Contents for BodyCraft VF803J
- Page 1 .service department. Please coU your /oaJ1 deDler for assistance or BODYCRAFT at 800-990-5556 (9:00AM - 5:00 PM). Our trained tedlaniciallS immediate assistance to free of charge. you, We stand behind products.
- Page 2 For your safety and benefits, read this manual and the accompanying literature before using the SPX INDOOR TRAINING CYCLE. Keep this manual for future reference. If you have additional questions, please call your· local BODYCRAFT dealers or our customer service department at 800-990-5556 Monday through Friday, 9 a.m.
- Page 3 EXPLODEDl </.'73...
- Page 4 EXPLODED 2 14 ,~~...
- Page 5 DESCRIPTION Main Frame Rear Stabilizer M8 X 4" Domed Bolt M8 Washer M8 Domed Nut . Front Stabilizer 71.1 R) Pedal M8Nut Bottle Caoe 10 " Bottle Caoe Fixed Screw Handle Bar Seat Clamp Busino for Handle Stem and Seat Post Stainless Steel Handle Bar Stem Stainless Steel Seat Post Seat Sliding Housing...
- Page 6 DESCRIPTION Brake Pad M6 X 3/4" Screw M6 Washer M6 Nut Brake Arm Brake Sleeve 4.5L SprinQ "U" Sleeve M6 X 1·1/4" Bolt M6 X 4-3/4" Adj. Screw M10 Washer M10 Domed Nut PU Transportation Wheel 3/8" X 5/8" Bolt 608ZZ Bearina M6 Bolt Nut M6 X 1/2"...
- Page 7 STEP 1 FRONT AND REAR STABILIZER 1. Attach Rear Stabilizer(2) and Front Stabilizer (6) to Main Frame (1) on a flat level surface floor, using two M8 X 4" Domed Bolts (3), two M8 Washers (4) and two M8 Domed Nuts (5) on each.
- Page 8 STEP 2 ASSEMBLE PEDALS 1. Carefully align the threads of the axle on the Right Pedal (7R) ("R" on end of axle) with the threaded hole on the right crank arm and screw in clockwise by hand. Tighten the pedal to the crank arm using a 15mm wrench.
- Page 9 STEP 3 ASSEMBLE HANDLE BAR AND STEM 1. Insert the Stainless Steel Handlebar Stem (14) into the Front Tube of Bike (1), adjust the height according to your personal height above the SAFETY LINE, tighten by Lock Lever (18). Pull Note: the Lever of Lock Lever (18) backward and then release to adjust the angle of Lever you desired.
- Page 10 STEP 4 ASSEMBLE SEAT AND SEAT POST 1. Insert the Seat Post (15) intothe Rear Tube of Bike (1), adjust the height according to your perSonal height above the SAFETY LINE, tighten by Lock Lever (18). Note: Pull lever of Lock Lever (18) backward and then release to adjust the angle of Lever.
- Page 11 STEP 5 ASSEMBLE BOTTLE CAGE • 1. Attach a Bottle Cage (9) to each side of the front forks and secure using the Bottle Cage Fixed Screws (10).' RIGHT LEFT • · •...
Need help?
Do you have a question about the VF803J and is the answer not in the manual?
Questions and answers