Advertisement
Quick Links
Advertisement

Subscribe to Our Youtube Channel
Related Manuals for Kogan KAMN28UHFSA


Summary of Contents for Kogan KAMN28UHFSA
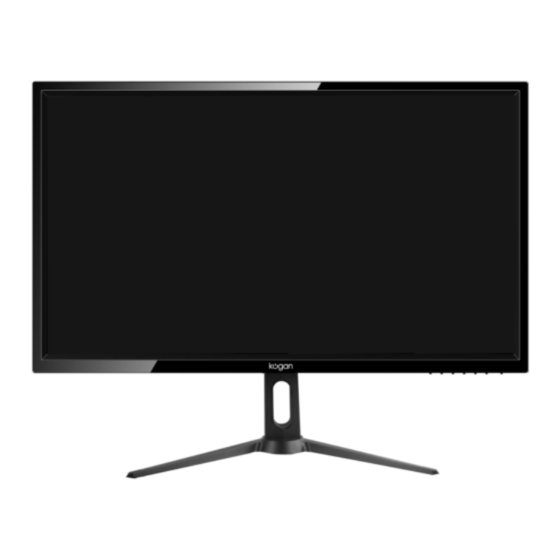
- Page 1 28” ULTRA HD 4K FREESYNC MONITOR (3840 x 2160) KAMN28UHFSA...
-
Page 3: Safety And Warnings
SAFETY & WARNINGS • Read all instructions before using the appliance and retain this guide for reference. • Unplug the monitor before cleaning it. • Use a clean, slightly dampened cloth to wipe the main monitor body. • To clean the screen: turn it off, unplug it and wait for it to cool completely, then wipe it with a dry microfibre cloth. - Page 4 IN THE BOX LED monitor Stand Base Quick start guide DP cable Power cable Adapter...
- Page 5 OVERVIEW Source C. Down D. Right Left Menu/Enter G. Power On/Off Controls HDMI 1 HDMI 2 Display Port Audio Out Power input (DC 12V) DC IN HDMI 1 HDMI 2 DP AUDIO OUT Ports...
- Page 6 ASSEMBLY Installing the stand Clear a table and place a piece of soft cloth on it to prevent the LED monitor from being scratched. Lay the LED monitor flat on the table with the LED screen facing down. Insert stand into the monitor, then secure the base by tightening the screw. Stand the LED monitor up.
- Page 7 VESA mount Follow the steps below to install onto a monitor arm or wall mount (not included). Place the mounting plate onto the back of the LED monitor, lining up the holes of the plate with the holes in the back of the monitor. Insert the 4 screws into the holes and tighten.
-
Page 8: Operation
OPERATION Setup Connect a HDMI or DisplayPort cable from your monitor to the computer. Connect the power adapter to a properly grounded AC outlet, then to the monitor. The indicator LED should illuminate orange. Power on the computer, then power on the monitor. Set the display mode on your computer accordingly. - Page 9 Button operation A. Source button • Press the button to display all the signal channel menus. • Press the button to Exit the OSD menu. B. Upward button C. Downward button D. Rightward button E. Leftward button • Press these buttons to move the cursor to the needed function. •...
- Page 10 The On-Screen Display (OSD) Menu may be used to adjust your monitor’s settings and appears on screen after turning on the monitor and pressing the “ ” button. When using the monitor for the first time, the monitor will configure optimal settings automatically.
- Page 11 List of Functions Main Menu Sub-Menu Options Description Brightness ~0-100 Adjust display brightness Contrast ~0-100 Adjust display contrast Turns dynamic contrast ratio on or Picture STANDARD/PHOTO/ GAME/MOVIE/ Preset colour modes FPS/RTS Normal Warm Select colour temperature mode or Colour allow manual colour configuration Temperature (USER) Cool...
- Page 12 Enable or disable monitor speaker Mute output High Volume Adjust monitor speaker volume Restore factory defaults for all Reset settings Automatic identification of signal Aduio Source source Wide Screen Aspect Ratio Select the display's aspect ratio Auto Blue light reduction adjustment Medium Low blue Light Other...
- Page 13 Sub Win3 Input DP Select source to be displayed in DP HDMI1 the third window DP HDMI2 Small PiP Size Change the size of the sub Medium window in PIP mode Large PiP Position Top Right Top Left Change the position of the sub window in PIP mode Bottom Right Bottom Left...
-
Page 14: Specifications
SPECIFICATIONS Panel size 28" Normal, <35W (Typical), <40W (Maximum) Power management Standby mode: <0.5W Off mode: <0.5W Displayable resolution 3840 x 2160 Pixel dimension 0.16 (H) x 0.16 (V)mm Display colour 1.07B colours Tilt -5° ~ 15° Stand can up and down, 100mm, Swivel -20°... - Page 15 NOTES...
- Page 16 This is a Quick Start Guide and we hope that this has given you the assistance needed for a simple set-up. For the most up-to-date guide for your product, as well as any additional assistance you may require, head online to help.kogan.com...
Need help?
Do you have a question about the KAMN28UHFSA and is the answer not in the manual?
Questions and answers