Advertisement
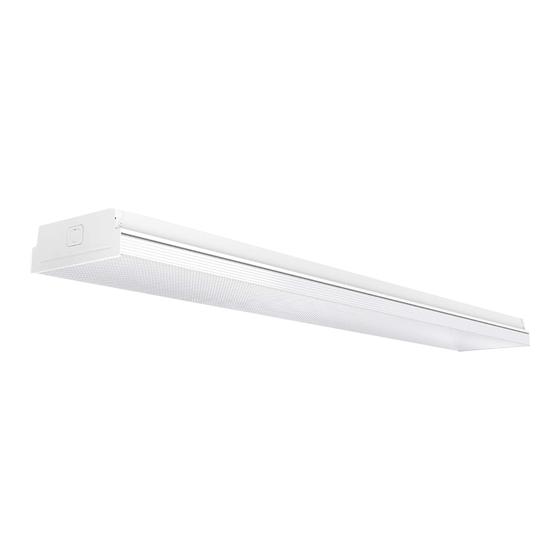
SUNCO'S WRAPAROUND 5"
Install Guide and Manual
EASY INSTALLATION
1.
Turn Power OFF
4.
6.
A
A
7.
10.
b
c
a
11.
WARNING
All electrical connections must be in accordance with local and
National Electric Code (N.E.C.) standards. Consult a qualified electrician
if you are unfamiliar with proper electrical wiring connections. Please
review instructions carefully before proceeding.
WARNING: Risk of fire or electric shock. Don't alter, relocate or remove
wiring during installation. Don't install directly over a heat source.
NOTE: When first turned on wait about 1 minute for the circuitry
to calibrate. Not for use with dimmers.
(844) 334-9938
Junction Box Installation
Turn off circuit breaker that provides power to
the light switch for the recessed lights.
If replacing a fixture, remove existing fixture and
make a sketch of wiring configuration (by color) or
mark wires with masking tape for identification.
Remove the diffuser from the lamp base.
Open the junction box and take out the cables
from the lamp base, connect the wires:
•Live to Live (black);
•Neutral to Neutral (white);
•Ground to Ground (yellow/green).
Secure the wires with the wire nuts, and fold
them into the junction box.
Put the diffuser (cover) back on
a)
Align one end then slowly press down;
b)
Push the diffuser to the corner of the lamp base;
c)
Lock the diffuser with the aluminium base.
Turn on circuit breaker and the test light.
CUSTOMER SERVICE
info@suncolighting.com
2.
3.
F
AA
5.
Junction
Box
8.
9.
1.
1.
2.
2.
3.
3.
SPECIFICATION
Voltage
Wattage
Suitable for Locations Ingress
Lumens
Weight
Warranty
Still having trouble? Contact us!
SALES
sales@suncolighting.com
www.suncolighting.com
Required Tools: Drill, Ladder, Tape
Measure, Pencil, Stud Finder
Mounting surface must be able to support
the weight of the fixture.
Depending on your lighting plan, space the
fixtures accordingly.
•Link up to 4 Fixtures.
Install the two screws (AA) into the junction
box.
Leave 1/4" of screws exposed to accommodate
lamp base.
Attach the Lamp Base to the junction box by
aligning the holes on the Lamp Base with the
screws on the junction box.
Turn Lamp Base clockwise to lock into place
and tighten screws to ensure the fixture is
secure.
LINKING INFORMATION
Use provided linking cords to connect multiple
fixtures to one outlet;
Link up the 8 Fixtures;
For protection, place plastic end caps on the ends
of any final fixtures in the linking line.
120/277V
40W
Damp
4500
3.50lbs
7 years
163 W Cochran St,
Simi Valley, CA 93065
Advertisement
Table of Contents

Related Manuals for Sunco WRAPAROUND 5"


Summary of Contents for Sunco WRAPAROUND 5"
- Page 1 SUNCO’S WRAPAROUND 5” Install Guide and Manual EASY INSTALLATION Required Tools: Drill, Ladder, Tape Junction Box Installation Measure, Pencil, Stud Finder Turn off circuit breaker that provides power to Mounting surface must be able to support the light switch for the recessed lights.
- Page 2 Push the diffuser to the corner of the lamp base; Lock the diffuser with the aluminium base. Turn Power ON COMPONENTS Sunco is proudly based in the USA, offering quality products at affordable prices backed by industry-leading warranties. USA BASED COMPANY...
Need help?
Do you have a question about the WRAPAROUND 5" and is the answer not in the manual?
Questions and answers