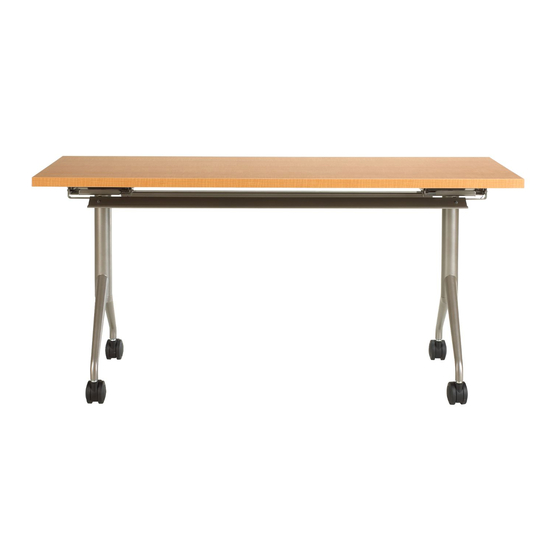
Advertisement
March, 2002
KI
1330 Bellevue Street
P.O. Box 8100
Green Bay, Wisconsin 54308-8100
TEL (920) 468-8100
FAX (920) 468-0280
Assembly Instructions
™
Trek
& DataLink
®
Multipurpose Tables with PowerUp
table top
Figure 1
cord
management
troughs
Figure 2
#14 x 1" wood screw
leg
base
module hole
vertical leg wireway
#10 x
5
/
" screw
8
module
cord
#10 x
screw
through clip
power & data
module
Fixed and Folding Base Installation
Tools Required:
Phillips screwdriver
Hardware Included:
(8) #14 x 1" screws
1. Place the table top upside down onto a
soft protective surface.
2. Locate the four pre-drilled pilot holes
at each end of the table for each base.
Orient the mounting holes of each
base with the pre-drilled holes in the
table (Figure 1).
Note: The vertical leg wireways must
face the side of the table with the
module hole. The folding legs of the
table bases must be positioned to fold
toward the center of the table.
3. Secure each base to the table with four
#14 x 1" screws provided (Figure 1).
Power and Data/Cord Management
Installation
Tools Required:
Phillips screwdriver
Hardware Included:
(6) #10 x
5
/
" screws
8
1. Position the table top upside down on
a soft protective surface. For tables
with the Folding Base, fold out the
table legs by unsnapping each leg
from the leg holder on the base. Then
lift the table leg up 90°, making sure
that the base locks securely into place
by pressing down on the leg such that
it engages the leg lock (Figure 2).
2. Carefully tip table up on edge.
5
/
"
8
Position the power & data module
over the topside as shown in Figure 2.
From the topside, route the module
cord through the module hole and
snap the power & data module into
place. Be sure that the module is
closed (by pressing in on the "stars"
in the module) and carefully set the
table upside down again onto a soft
protective surface.
Advertisement
Table of Contents

Summary of Contents for KI Trek
- Page 1 Assembly Instructions ™ Trek & DataLink ® Multipurpose Tables with PowerUp March, 2002 Fixed and Folding Base Installation #14 x 1" wood screw Tools Required: 1330 Bellevue Street Phillips screwdriver P.O. Box 8100 Green Bay, Wisconsin 54308-8100 Hardware Included: (8) #14 x 1" screws...
- Page 2 9. Press the module cord into one of the L-hanger vertical channels of the leg wireway (Detail B). Note: The other vertical channel of the same leg wireway is for routing data lines. modesty panel Figure 3 © KI 2002 Litho in USA Code KI-61266/KP302...


Need help?
Do you have a question about the Trek and is the answer not in the manual?
Questions and answers