Advertisement
#14 x 1"
screws
lock
lever
rod
Detail A
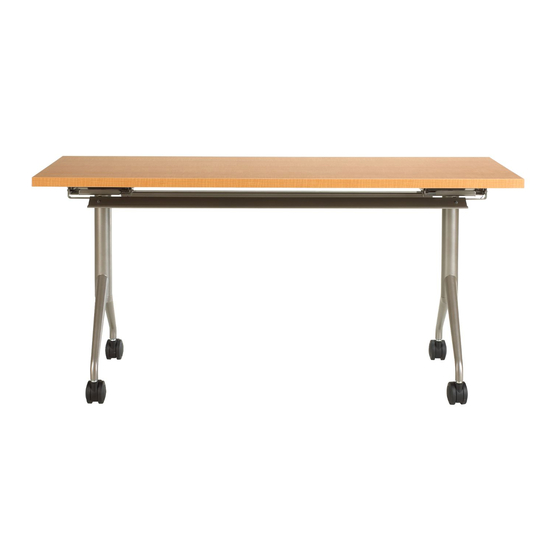
Figure 1
Assembly Instructions
Assembly Instructions
Trek Table
Trek
®
Flip-Top Table
June 2012
glides
flip base
mechanism
lock
lever
rod
Detail B
Tables
®
Flip Top
Tools Required
Tools Required
? Phillips Screwdriver
Phillips Screwdriver
•
/
" hex wrench (Allen wrench)
3
?
3/16"" hex wrench (Allen wrench)
•
16
/
" wrench
3
?
3/8" wrench
•
8
/
" wrench
7
?
7/16" wrench
•
16
Hardware
Hardware
Twelve #14 x 1" screws
?
•
Twelve #14 x 1" screws
Four ¼-20 x ½" Socket Head Cap
?
•
Four ¼-20 x ½" Socket Head Cap
Screws with patch
Screws with patch
Four ¼-20 Nuts
•
?
Four ¼-20 Nuts
Two #10-32 x ½" Phillip Head
•
?
Two #10-32 x ½" Phillips Head Pan
Pan Heads Screws with locking
Heads Screws with locking washer
washer
?
Two #10-32 Cap Nuts
Two #10-32 Cap Nuts
•
Base Installation
Base Installation
1.Unpack table bases and table top.
1. Unpack table bases and table
2.To avoid scratching the table top, place it
top.
finish side down on a soft protective
2. To avoid scratching the table
material.
top, place it finish side down on
3.Unlock and open flip base mechanisms,
a soft protective material.
position base assemblies on underside of
table top, aligning holes in base assemblies
3. Unlock and open flip base
with pre-drilled holes in table top. Attach
mechanisms, position base
each base to the top using four #14 x 1"
assemblies on underside of
screws in the four front holes
table top, aligning holes in base
(Figure 1 & Detail A).
assemblies with pre-drilled
4.Close flip-top mechanisms by pulling
holes in table top. Attach each
base to a vertical position. Bases are secure
base to the top using four
when lock level engages rod (Detail B).
#14 x 1" screws in the four front
5.Finally, insert and tighten two #14 x 1"
holes (Figure 1 & Detail A).
screws to the back of bases, Insert glides
into base feet and stand table upright
4. Close flip-top mechanisms
(Figure 1).
by pulling base to a vertical
position. Bases are secure
Note:
Two people are required to turn table
to the up-right position.
when lock level engages rod
(Detail B).
5. Finally, insert and tighten two
#14 x 1" screws to the back of
bases, Insert glides into base
feet and stand table upright
(Figure 1).
Note: Two people are required to
turn table to the up-right position.
Advertisement
Table of Contents

Related Manuals for KI Trek


Summary of Contents for KI Trek
- Page 1 Assembly Instructions Assembly Instructions Trek Table Trek Tables ® ® Flip Top Flip-Top Table June 2012 Tools Required Tools Required ? Phillips Screwdriver Phillips Screwdriver glides • ” hex wrench (Allen wrench) 3/16”” hex wrench (Allen wrench) • #14 x 1”...
- Page 2 Trek Table - Flip-Top Tables ® Assembly Instructions Assemble units as described herein only. To do otherwise may result in instability. All screws, nuts and bolts must be tightened securely and must be checked periodically after assembly. Failure to assemble properly, or to secure parts may result in assembly failure and personal injury.
- Page 3 Trek Tables - Flip-Top Table ® Assembly Instructions Assemble units as described herein only. To do otherwise may result in instability. All screws, nuts and bolts must be tightened securely and must be checked periodically after assembly. Failure to assemble properly, or to secure parts may result in assembly failure and personal injury.
- Page 4 1330 Bellevue Street • P .O. Box 8100 • Green Bay, WI 54308-8100 • Tel 1-800-424-2432 • www.ki.com © 2012 KI All Rights Reserved • Litho in USA • Code KI-62455/KI/GT/0612...
Need help?
Do you have a question about the Trek and is the answer not in the manual?
Questions and answers