Subscribe to Our Youtube Channel
Summary of Contents for Uberhaus 38115134
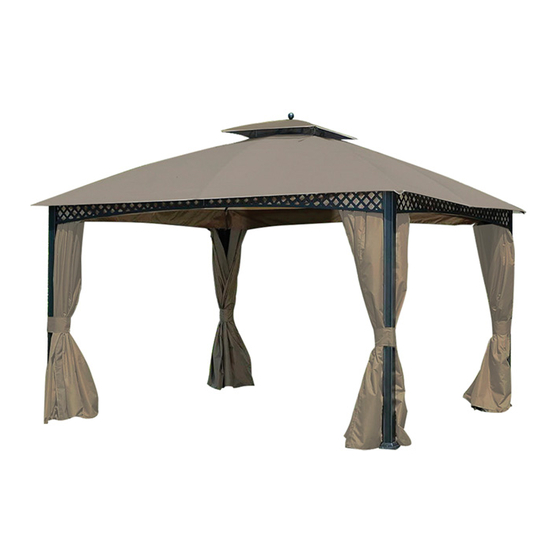
- Page 1 Model/Modèle : 38115134 sun shelter Operators’ Manual (p. 2) ABRI-SOLEIL Guide de l'utilisateur (p. 10)
- Page 2 WARNING! To reduce the risk of serious injury or damage to equipment, read all following safety instructions before assembling and using the sun shelter. Failure to follow these warnings may result in serious injury or death. • Keep all children and pets away from assembly area. Children and pets should be supervised while gazebo is being assembled.
-
Page 3: Care And Maintenance
PREPARATION: Required for Assembly: Before beginning assembly of the product, make sure all parts are present. Compare parts with package contents list and hardware contents list. If any part is missing or damaged, do not attempt to assemble the product. Arrange 4 or more manpower when assembling or moving the product. -
Page 4: Parts List
Parts List Description Part Part No Quantity Image Post GZ0717XXCR01 Long side left beam GZ0717XXCR02 Long side right GZ0717XXCR01 beam Short side left GZ0717XXCR04 beam Short side right GZ0717XXCR05 beam Curved beam GZ0717XXCR06 Long middle beam GZ0717XXCR07 Middle beam down GZ0717XXCR08 tube Short middle beam... - Page 5 SUN SHELTER ASSEMBLY INSTRUCTIONS Our clear, easy-to-follow, step-by-step instructions will guide you through the project from start to finish. All that is required is a screwdriver, a hammer and two ladders of at least height feet (2.5 m) high. (not included). For your safety, DO NOT assemble this item alone.
-
Page 6: Hardware Pack
Hardware Pack 1 Part Description Part No Quantity Image M6*15 Screw SM06015C 8 PCS M6 Flat washer UD06C 40 PCS M5*15 Bolt BM05015C 24 PCS M6*15 Bolt BM06015C 24 PCS M6 Nut LM06C 8 PCS M5 Flat washer UD05C 24 PCS Wrench W1008D 2 PCS... - Page 7 Fig. 4: Attach middle beam down connector (G) to beam with bolt (CC) and flat washer (II). Fig. 5: Attach long mosquito net rail (N) to long side beam, attach short mosquito net rail (O) to short beam with bolt (CC) and flat washer (II). Hardware Pack 2 Part Description...
- Page 8 Fig. 6-1: Insert long middle Fig. 6-2: Insert hook (M) into Fig. 7: Attach middle beam down beam (E2) into middle beam large top connector (I), then tube (E1) to middle beam down down tube (E1). Insert F2 into insert long middle beam (E2) connector (G) with screw (FF), flat and short middle beam (F2) into washer (BB) and nut (EE).
- Page 9 Fig. 14: Slide the large canopy (S) on the roof; do not spread, insert small top curved beam (J) into the pipe of curved beam (D) to fix the assembled small top. Hardware Pack 3 Part Description Part No Quantity Image Plastic ring R40W...


Need help?
Do you have a question about the 38115134 and is the answer not in the manual?
Questions and answers
Replacement Canopy Do you sell replacement canopy for this model?