Advertisement
Quick Links
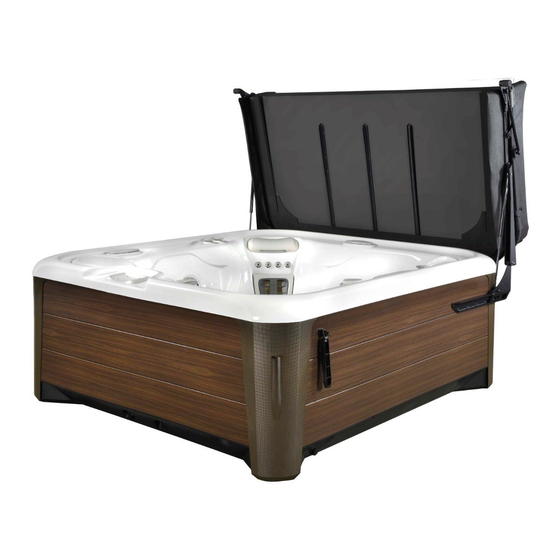
SwimSpa Upright 3.0
Figure 1
EAS Handle
Figure 2
Cover
Mounting
E
Bracket
Button Head
Socket Bolt
Figure 3
E
Button Head
Socket Bolt
L
Mounting
Screws
Smartop SwimSpa Upright 3.0 200709
EAS Bracket
Button Head
Socket Bolt
K
J
F
Washer
Locknut
Rubber
Stop
F
Washer
Locknut
Plastic
A
Spacers
Cabinet
Mounting
Bracket
Installation Instructions - Updated as of 07/09/20
Step #1
Position the Smartop (in the closed position) on the spa making sure that all
four corners are properly positioned and square on the spa with the two cover
halves meeting in the middle with no gap between the covers.
Step #2
Attach the EAS handle to the EAS bracket using the supplied 5/16 x 1-1/4"
button head socket bolt (see Fig. 1).
Step #3
Insert the 3/8 x 2" button head socket bolt into the top hole in the back of
the Smartop cover mounting bracket. Make sure to install the rubber stop
on the button head socket bolt once you insert the bolt through the outside
flange of the Smartop cover mounting bracket. Secure the 3/8 washer and
locknut to the opposite end of the button head socket bolt (see Fig. 2). Note:
Do not overtighten locknut.
Step #4
G
Attach the Smartop 3.0 cabinet mounting bracket to the Smartop 3.0 cover
mounting bracket, in the bottom hole, using the supplied 3/8 x 2" button
head socket bolt, washer and locknut (see Fig. 3). Note: You are supplied with
(7) plastic spacers per bracket, so make sure to use equal amounts on either sides
of the Smartop cabinet mounting bracket where the bolt goes through.
Step #5
While pressing downward on the Smartop cover mounting bracket, swing the
Smartop cabinet mounting bracket up until it is parallel with the spa acrylic
and attach to the spa cabinet using the supplied #10 x 2" mounting screws
(see Fig. 3).
Step #6
Repeat steps 2 through 5 for the 2nd cover before proceeding to step #7.
I
Step #7
Gently raise the Smartop into the upright position making sure to keep a firm
grip on the cover and attach the shocks to the ball studs (see Fig. 4). Note:
When attaching the shocks, make sure the black body of the shock is on top. The
ball studs are pre-installed in the hole closest to the back of the bracket. If the
Smartop doesn't lift off the spa easily, start by moving the ball stud on one of the
sides of the spa to the front hole and re-attach the shock. If the Smartop still
doesn't lift off the spa easily, move the ball stud on the opposite side of the spa and
G
re-attach the shock.
Figure 4
H
N
Shock
(Black Body)
Page 1
Advertisement

Subscribe to Our Youtube Channel
Related Manuals for Leisure Concepts Smartop SwimSpa Upright 3.0


Summary of Contents for Leisure Concepts Smartop SwimSpa Upright 3.0
- Page 1 Washer re-attach the shock. Locknut Figure 4 Shock (Black Body) Button Head Plastic Socket Bolt Spacers Cabinet Mounting Mounting Screws Bracket Smartop SwimSpa Upright 3.0 200709 Page 1...
- Page 2 Do not use the Smartop in high wind conditions. Injury from the spa cover being blown over CAUTION! and impacting the spa user can occur. For additional information on our Smartop product, please visit our website: “www.smartopspacover.com” Smartop SwimSpa Upright 3.0 200709 Page 2...
Need help?
Do you have a question about the Smartop SwimSpa Upright 3.0 and is the answer not in the manual?
Questions and answers