Advertisement
Table of Contents
Figure 1a
P
Q
R
M
I
X
K
L
Figure 1c
Figure 2
Back
of
spa
2"
Figure 3
C
Pivot Arm
A
Support Arm
Figure 4
P
Smartop 130911
Figure 1b
L
U
O
N
C
J
X
T
Figure 1d
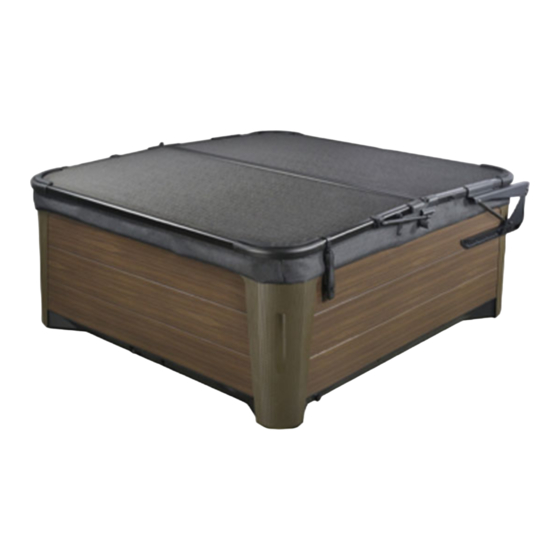
Spa with Cover
#12 x 1-1/2" mounting screws
Left Mounting Bracket
R
Installation Instructions - Updated as of 09/11/13
Step #1
Position the spa cover (in closed position) on the spa making sure that all four
corners are properly positioned and square on the spa.
M
Step #2
Install the ball studs and ball stud washers on each mounting bracket (See Fig
1a).
Step #3
Install the wind lock bar on the determined bracket side, (See Fig. 1b) Note:
lightly tighten nut, washer and bolt combination so that the lock bar
moves freely.
Step #4
Install the metal plate, plastic stop and pivot arm bolt assembly, (See Fig.1c -
1d). Note: Lightly tighten bolt assembly, overtightening will cause plastic
to disfigure, not allowing the cover plates to snap on properly. Place the
four Large Plastic Dome Caps over the 3/8" locknuts.
Step #5
Using the #12 x 1-1/2" screws, attach the left and right mounting brackets to
the appropriate sides of the spa. Brackets should be mounted 2" from the back
of the spa, directly beneath the lip of the spa (see Fig. 2).
Step #6
Z
If your Smartop came with optional skirting, please follow the Optional
Skirting Installation on page 3, if not, please proceed to Step #7.
Step #7
Slide the support arms into the hole in the hinge bracket on either side of the
cover (see Fig. 3). Note: For any spa that is less than 6'8" in length, you will
need to cut 2" off the end of the pivot arms and create a new bottom hole
with the self-tapping screw. Touch up with black sharpie as needed.
Step #8
Slide the left and right pivot arms onto the short end of the support arms (See
Fig. 3) Note: Do not insert self-tapping screws at this time, this will be
completed in step #9. Next connect the Pivot Arms to the Brackets (See Fig.
1d). Be sure to run the Hex Cap Screws as pictured. Lightly tighten the nut
so the pivot arm can move freely.
Step #9
Next, install the ball studs to the left and right pivot arms. Place the two Hex
Dome Caps over the Ball Stud Lock Nuts. Note: Be sure that the ball is
pointing away from the spa. (see Fig. 4).
Step #10
Using the #10 self-tapping screws, fasten the support arms to the pivot arms.
Step #11
Using the Covermate, lift the cover off the spa and place it in the upright
position. Snap the gas shocks on the ball studs. Note: Be sure to install Gas
Shocks with the black body on top. (see Fig. 5 for complete look).
Step #12
Using the #10 self-tapping screws, fasten the support arms to the internal tube
in the center of the cover through the screw plates on the underside of the the
cover (see Fig. 6). Next snap the screw plate covers into the screw plates.
Page 1
Advertisement
Table of Contents

Related Manuals for Leisure Concepts Smartop Series


Summary of Contents for Leisure Concepts Smartop Series
- Page 1 Installation Instructions - Updated as of 09/11/13 Figure 1a Figure 1b Step #1 Position the spa cover (in closed position) on the spa making sure that all four corners are properly positioned and square on the spa. Step #2 Install the ball studs and ball stud washers on each mounting bracket (See Fig 1a).
- Page 2 Figure 5 Figure 10 Black Body Figure 6 Back Figure 7 Rear Tub Lock Assy 3/8” Rubber Sleeve Figure 11 Figure 8 Front Attach to Figure 9 Side OR Front of Spa Large Small Front Tub Lock Assy SMARTOP 130911 Page 2...
- Page 3 Step #13 Attach the 3/8” Rubber Sleeve to the end of the Pivot Arm that the Wind Lock Bar latches onto. (see Fig. 7). Attach the provided 3 hook TowelMate on the preferred side of your Covermate by simply snapping it into place and inserting the middle self tapping screw (see Fig. 8). Step #14 Snap on the left and right bracket covers (small and large covers) (see Fig.
- Page 4 Operation of your Smartop Cover 1. Fold the first half of the Smartop cover off the spa. Gripping the foam grip, motion the Smartop cover into it’s vertical upright position. 2. Important: when closing the Smartop cover, always unlock the Wind Lock Bar by lifting up on the Wind Lock Bar and pulling the Smartop down to prevent possible lift damage.
Need help?
Do you have a question about the Smartop Series and is the answer not in the manual?
Questions and answers