Advertisement
Quick Links
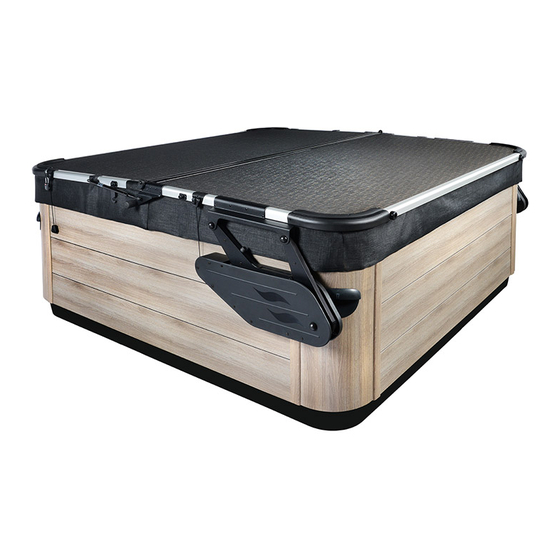
SwimSpaVanish XL
Figure 1
EAS Handle
S
Locknut
Figure 2
Washer P
O
Bu on Head
Socket Bolt
N
Vanish XL
Rear Pivot Arm Vanish XL
D
Front Pivot Arm
C
Figure 3
Smartop SwimSpa VanishXL 200709
Step #1
Position the Smartop (in closed position) on the spa making sure that all four
EAS Bracket
corners are properly positioned and square on the spa with the two cover
halves meeting in the middle with no gap between the covers.
Step #2
Attach the EAS handle to the EAS bracket using the supplied 5/16 x 1-1/4"
button head socket bolt (see Fig. 1).
Step #3
Attach the Vanish XL pivot arms to the Smartop using the supplied button head
socket bolts and let the assembly hang freely (see Fig. 2). Note: Make sure to run
the bolts from the inside out. The locknuts need to be facing outwards.
Bu on Head
sure to use the supplied plastic washers as a spacer in between the metal plate on the
sure to use the supplied plastic washers as a spacer in between the metal plate on the
Socket Bolt
pivot arms and the Vanish XL cover mounting bracket.
pivot arms and the Vanish XL cover mounting bracket.
T
the pivot arms must rotate freely.
Step #4
Vanish XL Cover
Prior to completing this step, open the first half of each of the two covers and adjust
Prior to completing this step, open the first half of each of the two covers and adjust
Moun ng Bracket
the position of each cover by 1/4" towards the middle of the spa. This is so that
the position of each cover by 1/4" towards the middle of the spa. This is so that
B
when the shocks are finally installed and motioned a couple times, the two covers
when the shocks are finally installed and motioned a couple times, the two covers
seal against each other properly when they are in the closed position.
seal against each other properly when they are in the closed position.
Vanish XL bracket assembly forward making sure the two pivot arms rest
against each other (see Fig. 2). Attach the Vanish XL bracket assembly to
the spa cabinet using the supplied #10 x 1-1/2" mounting screws. Note:
Make sure to put downward pressure on the Smartop when attaching the Vanish
XL bracket assembly to the spa cabinet to ensure the Smartop is making a good
seal with the acrylic of the spa.
Step #5
Repeat steps 2, 3 & 4 for the opposite side of the spa.
Step #6
To attach the shocks to the bracket assembly, partially open your Smartop cover
and snap the shocks onto the appropriate ball studs (see Fig. 3). Note: Make sure
the black body of the shock is pointing towards the middle of the Smartop. See
attached shock positioning guide.
Vanish XL
Base Bracket
Step #7
A
Open the Smartop so it is in the fully upright position. Using the supplied #10
x 1-1/2" mounting screws, finish attaching the Vanish XL bracket assembly to
the spa.
Figure 4
Shocks
Y
X
Black
Body of
Shock
Installation Instructions - Updated as of 07/09/20
R
Hex Cap
Bolt
Also, make
Also, make
Do not overtighted bolts,
Swing the
V
Self-Tapping
Screws
Page 1
Advertisement

Related Manuals for Leisure Concepts Smartop SwimSpaVanish XL


Summary of Contents for Leisure Concepts Smartop SwimSpaVanish XL
- Page 1 SwimSpaVanish XL Installation Instructions - Updated as of 07/09/20 Step #1 Figure 1 Position the Smartop (in closed position) on the spa making sure that all four EAS Bracket corners are properly positioned and square on the spa with the two cover halves meeting in the middle with no gap between the covers.
- Page 2 Step #8 Operation of your Smartop Cover Attach the Vanish XL cover plate to the bracket assembly using the supplied self-tapping screws. Next, thread the 3/8 x 3/4” hex cap 1) Fold the first half of the Smartop cover off the spa. While gripping the bolt through the hole in the cover plate that lines up with the rear EAS handle, motion the Smartop cover into it’s vertical upright position.
Need help?
Do you have a question about the Smartop SwimSpaVanish XL and is the answer not in the manual?
Questions and answers