Table of Contents
Advertisement
Quick Links
Upright 3.0
DeckMount
Figure 1
EAS Handle
Figure 2
H
Plastic
Spacer
B
Smartop
Ball stud
O
DeckMount
Washer
Mounting
Bracket
Figure 3
Cover
Mounting
E
Bracket
Button Head
Socket Bolt
Smartop Upright 3.0 DeckMount 200318
EAS Bracket
Button Head
Socket Bolt
K
J
C
A
F
Washer
Locknut
Rubber
Stop
Installation Instructions - Updated as of 03/18/20
Step #1
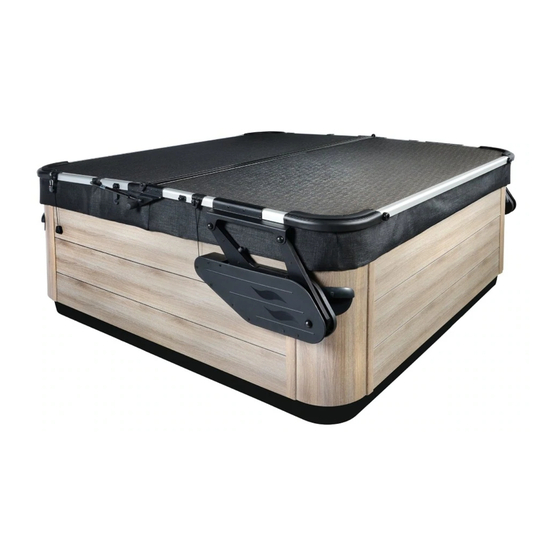
Position the Smartop (in closed position) on the spa making sure that all four
corners are properly positioned and square on the spa.
Step #2
Attach the EAS handle to the EAS bracket using the supplied 5/16 x 1-1/4"
button head socket bolt (see Fig. 1).
Step #3
Attach the ball stud, washer, plastic spacers and locknut to the Smartop deck-
mount mounting bracket (see Fig. 2).
Step #4
Insert the 3/8 x 2" button head socket bolt into the top hole in the back of
the Smartop cover mounting bracket. Make sure to install the rubber stop
on the button head socket bolt once you insert the bolt through the outside
flange of the Smartop cover mounting bracket. Secure the 3/8 washer and
locknut to the opposite end of the button head socket bolt (see Fig. 3). Note:
Do not overtighten locknut.
Step #5
Attach the Smartop 3.0 deckmount mounting bracket to the Smartop 3.0
cover mounting bracket, in the bottom hole, using the supplied 3/8 x 2"
button head socket bolt, washer and locknut (see Fig. 4). Note: Make sure to
use one plastic spacer in between the Smartop deckmount mounting bracket and
the Smartop cover mounting bracket where the bolt goes through.
Step #6
Attach the Smartop deckmount mounting bracket to the deck using the
supplied hex lag bolts (see Fig. 4). Note: If the Smartop deckmount mounting
bracket does not contact the deck, you may need to shim the bracket with wood
G
in the thickness needed.
Figure 4
I
E
Button Head
Socket Bolt
F
Washer
G
Locknut
L
Lag
Bolt
H
Plastic
Spacer
Page 1
Advertisement
Table of Contents

Related Manuals for Leisure Concepts Smartop Upright 3.0 DeckMount


Summary of Contents for Leisure Concepts Smartop Upright 3.0 DeckMount
- Page 1 Washer in the thickness needed. Locknut Figure 4 Washer Locknut Rubber Cover Stop Bolt Mounting Bracket Button Head Socket Bolt Button Head Socket Bolt Plastic Spacer Smartop Upright 3.0 DeckMount 200318 Page 1...
- Page 2 LOCK DOWN ANCHOR - DECKMOUNT 101078 LOCK 100014 #10 x 1" MOUNTING SCREW 100016 SMALL BLACK DOME CAP 101942 #8 x 3/4" BUTTON HEAD SOCKET BOLT - BLACK 101372 #8 NYLON LOCKNUT - BLACK Smartop Upright 3.0 DECKMOUNT 200318 Page 2...
Need help?
Do you have a question about the Smartop Upright 3.0 DeckMount and is the answer not in the manual?
Questions and answers