Advertisement
Advertisement

Related Manuals for imex Bullseye 30


Summary of Contents for imex Bullseye 30
- Page 1 Bullseye 30 USER MANUAL 1.0...
-
Page 2: Table Of Contents
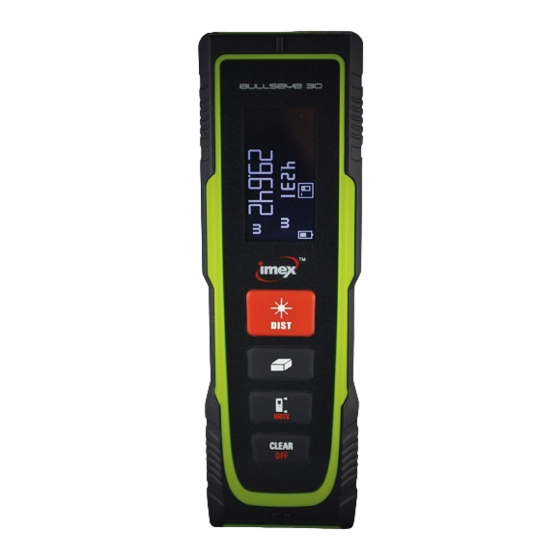
Congratulations on the purchase of the Imex Bullseye 30. Carefully read the Safety Instructions and the User Manual before using this product. The person responsible for the Bullseye 30 must ensure that all users understand these directions and adhere to them. -
Page 3: Safety Instructions
Important paragraphs which must be adhered to in practice as they enable the product to be used in a technically correct and efficient manner. USE OF THE BULLSEYE 30 Press the button to switch on the device. The laser beam emits from the front. - Page 4 Using outside the stated limits. Deactivation of safety systems and removal of explanatory and hazard labels. Opening of the Bullseye 30 by using tools (screw drivers, etc.), as far as not specifically permitted for certain cases. Carrying out modification or conversion of the product.
- Page 5 This person is also accountable for the placement of personnel and their training and for the safety of the Bullseye 30 when in use. The person in charge of the Bullseye 30 has the following duties: To understand the safety instructions on the product and the instructions in the User Manual.
- Page 6 PRECAUTIONS: Carry out periodic test measurements, particularly after the Bullseye 30 has been subject to abnormal use, and before, during and after important measurements. Make sure the optics is kept clean and that there is no mechanical damage to the bumpers.
- Page 7 Never attempt to repair the product yourself. In case of damage, contact Imex. Laser Classification: Integrated distance meter The Bullseye 30 produces a visible laser beam which emerges from the front of the Bullseye 30. It is a Class 2 laser product in accordance with: IEC60825-1: 2007 "Radiation safety of laser products"...
-
Page 8: Start-Up
Start-up 1. INSERTING/REPLACING BATTERIES Operation diagram Press the end of device Pull out the buckle belt Open the battery compartment Replace the batteries when the symbol flashes permanently in the display. Remove the batteries before any long period of non-use to avoid the danger of corrosion. -
Page 9: Operation
3. REFERENCE SETTING The default reference setting is from the rear of the Bullseye 30. The display will show Press the button to change the reference to the front. The display will show Press the button, to set the rear reference again. -
Page 10: Functions
Functions 1. AREA Press once. The symbol appears in the display. Press the button to take the first length measurement (e.g. Length). Press again to take the second length measurement (e.g. Width). The result is displayed in the summary line. 2. -
Page 11: Technical Data
Technical Data *Use a target plate to increase the measurement range during daylight or if the target has poor reflection properties. **Measurement accuracy could reach ± 2mm in good conditions (good measurement surface, room temperature). If under adverse measuring conditions, such strong light, high temperature, or reflected surface, the deviation over distance could increase slightly. -
Page 12: Measuring Conditions
CARE Do not immerse the Bullseye 30 in water. Wipe off dirt with a damp, soft cloth. Do not use aggressive cleaning agents or solutions. Handle the Bullseye 30 as you would a telescope or camera. - Page 13 WARRANTY CARD Instrument Model Serial Number Date of sales Sale company Sale Address Copyright © Imex Group International 2016 www.imexlaseres.com...
Need help?
Do you have a question about the Bullseye 30 and is the answer not in the manual?
Questions and answers