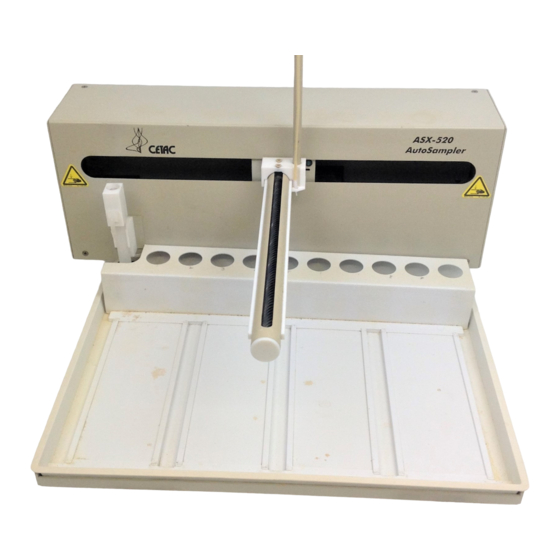
CETAC ASX-520 Manual To Installing
Splash guard and two piece shield
Hide thumbs
Also See for ASX-520:
- Replacement (9 pages) ,
- Quick installation manual (9 pages) ,
- Upgrading and servicing manual (24 pages)
Advertisement
Quick Links
Advertisement

Subscribe to Our Youtube Channel
Related Manuals for CETAC ASX-520


Summary of Contents for CETAC ASX-520
- Page 1 Guide to Installing the Splash guard and two piece shield on the ASX-520 and ASX-520HS Autosamplers...
- Page 2 Guide to installing the splash guard and two piece shield on the ASX-520 and ASX-520HS Autosamplers This guide describes the necessary steps for installing the splash guard and two piece shield on the ASX-520 and the ASX-520HS autosamplers. Accessing the Board inside the Autosampler 1.
- Page 3 Guide to installing the splash guard and two piece shield on the ASX-520 and ASX-520HS Autosamplers Figure 1-3. Z-drive removed from arm assembly. 3. Remove the whole Z-drive assembly from the arm by pulling the whole Z-drive assembly forward and off the autosampler arm (Figure 1-3).
- Page 4 Guide to installing the splash guard and two piece shield on the ASX-520 and ASX-520HS Autosamplers Figure 1-5. View of rinse station removed from the front cover. 5. The autosampler tray should then be removed. Lift up the tray and pull out (Figure 1-6).
- Page 5 Guide to installing the splash guard and two piece shield on the ASX-520 and ASX-520HS Autosamplers Figure 1-7. Front view of ASX-520 Autosampler showing front cover screws. 6. Next, the front cover needs to be removed. Remove the four corner screws (Figure 1-7).
- Page 6 Guide to installing the splash guard and two piece shield on the ASX-520 and ASX-520HS Autosamplers Figure 1-9. View of inner shield inside the ASX-520 Autosampler. 8. The five screws that hold the inner shield will have to be removed.
- Page 7 Guide to installing the splash guard and two piece shield on the ASX-520 and ASX-520HS Autosamplers Figure 1-11. View of ASX-520 with inner shield removed. Removing the carriage cable 10. Pull out the ribbon cable from the main board to the carriage (Figure 1-12).
- Page 8 Guide to installing the splash guard and two piece shield on the ASX-520 and ASX-520HS Autosamplers Installing the splash guard & two piece shield 12. Install the splash guard. Begin by sliding the right side of the splash guard in the middle of the instrument.
- Page 9 Guide to installing the splash guard and two piece shield on the ASX-520 and ASX-520HS Autosamplers of applying enough pressure to the bottom left screw to displace the shield out of the carriage path. 16. Plug in the top end of the ribbon cable to the carriage assembly as shown in Figure1-16 Figure 1-16.
Need help?
Do you have a question about the ASX-520 and is the answer not in the manual?
Questions and answers