Table of Contents
Advertisement
Quick Links
Thank you for purchasing a Hitachi air purifier.
This air purifier is for household use only.
Do not use it for any other purpose besides purifying air.
Please read this instruction manual carefully before
using this product to ensure the unit is operated
correctly.
For future reference, keep this manual in an easily
accessible place.
Read "Safety Precautions"
to ensure correct use.
EP-PF120J_EN.indd 1
EP-PF120J_EN.indd 1
(P.E-8 - E-12)
Instruction Manual
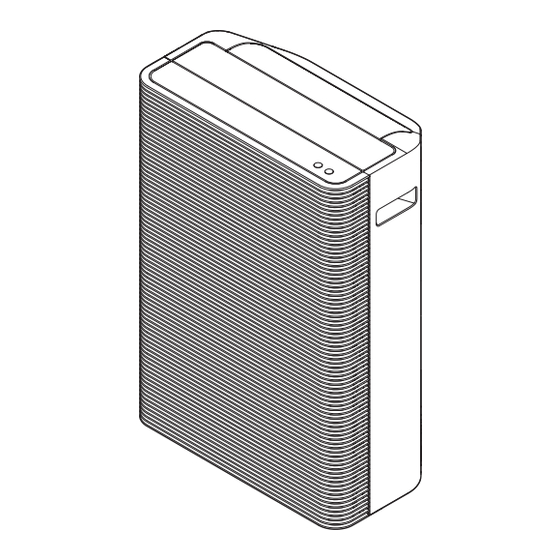
Hitachi Air Purifier
Model
EP-PF120J
EP-PF90J
2/11/2019 3:36:11 PM
2/11/2019 3:36:11 PM
Advertisement
Table of Contents


Need help?
Do you have a question about the EP-PF120J and is the answer not in the manual?
Questions and answers