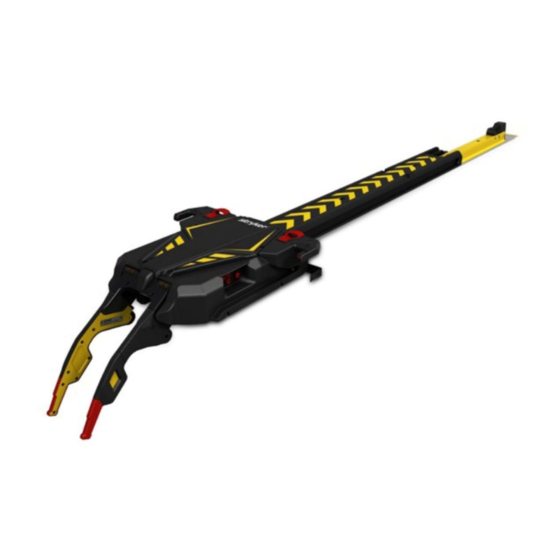
Stryker Power-LOAD 6390 Calibration Instructions
For angle position sensor (aps)
Hide thumbs
Also See for Power-LOAD 6390:
- Operation & maintenance manual (193 pages) ,
- Maintenance manual (154 pages) ,
- Operation manual (66 pages)
Advertisement
6390 Angle Position Sensor (APS) Calibration Instructions
TOOLS REQUIRED
• Stryker EMS USB Tool
• T25 Torx Driver
PROCEDURE
1. Place the vehicle on a level surface.
2. Make sure that the Power-LOAD main power is turned on.
3. Press and hold the release lever at the foot end of the Power-LOAD system and pull to remove the cot from the
vehicle patient compartment.
Note: The head end LED indicators turn solid green only when the cot is ready to unload.
4. Unload the cot from the vehicle:
• For cot models 6500/6506 & 6510/6516:
1. Press and hold the extend (+) button on the cot control switch to extend the cot base until the cot wheels
rest on the ground.
2. Release the extend (+) button after the cot is no longer supported by the lifting arms. The lifting arms will
continue moving until they have fully lowered. Do not unlock the cot from Power-LOAD.
• For cot models 6085/6086:
1. Operator 1 (foot end) - Grasp the cot frame at the foot end. Squeeze and hold the cot manual release.
2. Operator 2 (side) - Grasp the base frame, lift slightly, and lower the base frame to its fully extended
position. Verify that the base is fully extended.
3. Operator 1 (Foot End) − Release the cot manual release to lock the undercarriage into the extended
position.
4. Press the down () button on the Power-LOAD control panel to lower the lifting arms and cot. Do not
unlock the cot from Power-LOAD.
5. Using a T25 Torx driver, remove the two screws (A) that secure the cover to the left wing assembly to gain access
to the USB port (Figure 1). Save the screws and
cover for reinstallation.
6. Unscrew the cap that protects the USB port.
7. Set the laptop with the Stryker EMS USB tool
installed on top of the cot mattress at the foot end
of the cot.
www.stryker.com
• Male-to-Male USB Cable
• Tape Measure
Figure 1
A
1
Advertisement
Table of Contents

Summary of Contents for Stryker Power-LOAD 6390
- Page 1 4. Press the down () button on the Power-LOAD control panel to lower the lifting arms and cot. Do not unlock the cot from Power-LOAD. 5. Using a T25 Torx driver, remove the two screws (A) that secure the cover to the left wing assembly to gain access to the USB port (Figure 1). Save the screws and cover for reinstallation. 6. Unscrew the cap that protects the USB port. 7. Set the laptop with the Stryker EMS USB tool installed on top of the cot mattress at the foot end of the cot. Figure 1 www.stryker.com...
- Page 2 8. Plug the male-to-male USB cable into the USB port and to an available USB port on the laptop. Note: Make sure that the male-to-male USB cable will not get caught on anything while the Power-LOAD system moves in and out of the vehicle patient compartment. 9. Double-click the Stryker EMS USB Tool icon on your desktop. The tool software will automatically detect the Power-LOAD. 10. After the Stryker EMS USB tool and Power-LOAD are connected, click Advanced and then click Calibrate APS. 11. In the Enter Password field, enter Stryker1 and click Enter.
- Page 3 20. Screw the USB port cap back on to the USB port. 21. Using a T25 Torx driver, reinstall the two screws (removed in step 5) to secure the cover to the left wing assembly. Note: Make sure that the extruded “U” nut does not rotate clockwise when you tighten the bottom right T25 Torx screw on the left wing assembly cover. 22. Verify proper operation of the product before returning it to service. 3800 E. Centre Ave., Portage, MI 49002 1-800-327-0770 | 2014/01 www.stryker.com...


Need help?
Do you have a question about the Power-LOAD 6390 and is the answer not in the manual?
Questions and answers