
Related Manuals for Midea VCR09B


Summary of Contents for Midea VCR09B
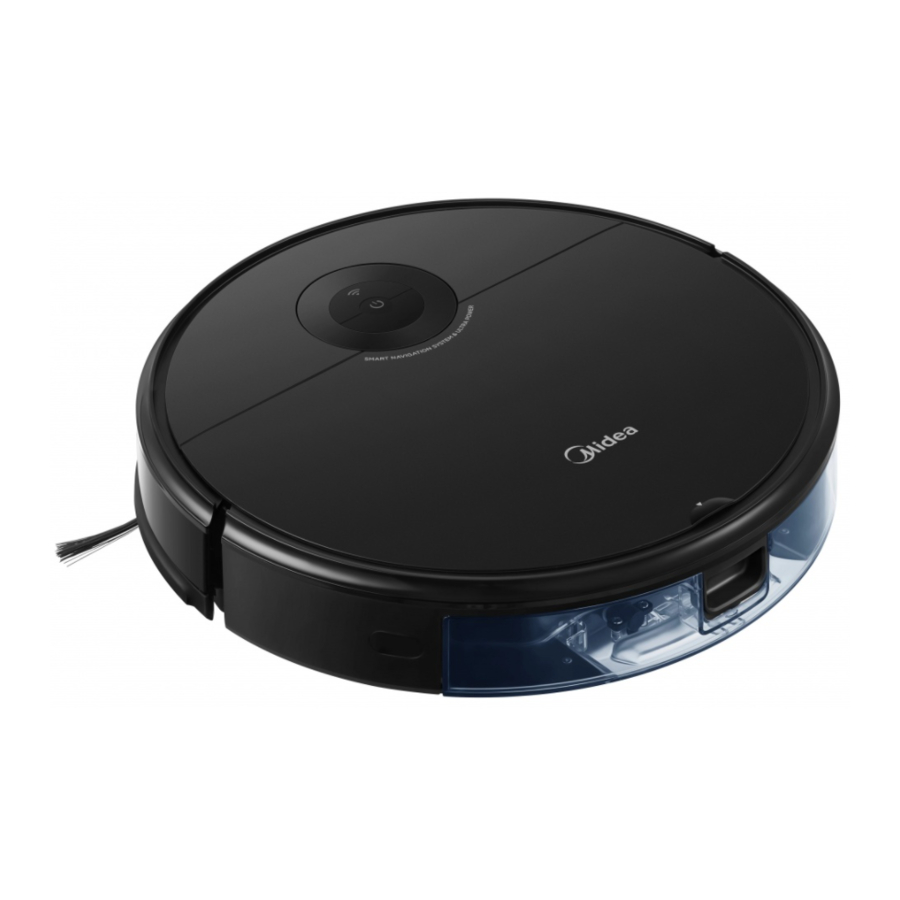
- Page 1 ROBOT VACUUM CLEANER VCR09B INSTRUCTION MANUAL English Please review this instruction manual before operating.
-
Page 2: Table Of Contents
Contents Safety Instructions Product Introduction Illustration of Appliance Introduction of Components Product Operation Installing the Side Brushes Charging your Robot Vacuum Introduction of Remote Control Power ON/OFF Clean/Pause Using APP Mopping Product Maintenance Cleaning the Side Brush Cleaning the Dust Bin, Sponge and Filter Cleaning the Water Tank Cleaning the Sensor and Wheel Cleaning the Charge Terminal... -
Page 3: Safety Instructions
SAFETY INSTRUCTIONS CAUTION SAFETY WARNING When using an electrical appliance, basis precautions should always be followed, including the 21. Do not use and store in extremely hot or cold environments( below4°C or above 40°C). Please following: charge the robot in temperature above 4°C and below 40°C. READ ALL THE INSTRCUTIONS BEFORE USING( THIS APPLIANCE), Failure to follow the warnings 22.Follow all charging instructions and do not charge the battery pack or appliance outside of the temperature range specified in the instructions. -
Page 4: Product Introduction
Product Introduction Battery X2 Robot Vacuum Docking station X1 Side brush X2 Pairs Manual Power cord X1 Instruction manual X1 Remote control X1 Spare ilter X1 Cleaning brush X1 Mop holder X1 Mopping pad X2... -
Page 5: Illustration Of Appliance
Product Introduction Illustration of Appliance Introduction of Components Bumper Dust bin Start / Pause Spare Filter Cover Water tank Dust bin release button Docking station Power switch Dust bin Power socket Brushroll cover Water tank assembly Brushroll Release button Mop holder Wheel Water tank Water inlet... -
Page 6: Product Operation
Product Operation NOTE Installing the Side Brushes 1. Do not use your robot on wet surfaces or surfaces with standing water. Before using the product on a rug with tasseled edges,please fold the rug edges under. a. Turn the unit over. b. -
Page 7: Introduction Of Remote Control
NOTE Zig-zag cleaning: The robot will clean in a zig-zag route. tion increase: Increases the suction power. 1. For the first use, please charge for 12 hours; 2. When the battery is low power, please charge it as soon as possible; Suction decrease: Decreases the suction power. -
Page 8: Clean/Pause
Clean/Pause Using APP Clean NOTE To begin cleaning, use one of the options below: Ensure the power switch is in the a. Press the " " key to start cleaning. "ON" position. If your home WiFi name or password is changed, you will need to reestablish connection with your robot vacuum. - Page 9 " button for 3 seconds until a beep is heard. The WiFi indicator light should start to flicker. Follow instructions on app Press the " + " button on the main screen of the app and select VCR09B from the available for next steps.
-
Page 10: Mopping
Mopping Reinsert the water tank assembly into Attach the mopping pad to the holder. Press the button on tank and pull to Press ‘‘ ’’ to start mopping. the vacuum. remove. NOTE a. It is recommended to fill the water tank 80% full before mopping for the first time. b. -
Page 11: Product Maintenance
Product Maintenance Cleaning the Side Bru h NOTE Wash the filter and sponge ever 2-4 weeks. Rinse the dust bin, sponge, and filter with Replace the spare filter Regularly check the side brush for hair wrapping. warm water. dry THOROUGHLY for 24 hrs. holder back into the dust bin. -
Page 12: Cleaning The Water Tank
Cleaning the Water Tank Wipe dry the water tank and set aside. Exposure to sunlight is not recommended. Once finished mopping, press the water tank release button and pull to remove the water tank. Detach the mop holder and mopping pad by pulling them apart. Cleaning the Sensor and Wheel Wipe the sensor and wheels gently with a soft cloth, as shown in the figure below. -
Page 13: Cleaning The Brushroll
Cleaning the Brushroll Clean the brushroll with a soft cloth or warm water. Dry THOROUGHOLY and reinstall. With the vacuum turned upside down, place your thumb in the open slot between the two tabs Press brushroll lock and lift up to access brushroll. -
Page 14: Trouble Shooting
TROUBLE SHOOTING TROUBLE SHOOTING In case of mis-function, please refer to the following table. In case of mis-function, please refer to the following table. Problem Possible reason Solution Problem Cause Troubleshooting Solution - The power switch is not turned on - Power on the appliance The appliance will not while charging...
Need help?
Do you have a question about the VCR09B and is the answer not in the manual?
Questions and answers