Advertisement
Quick Links
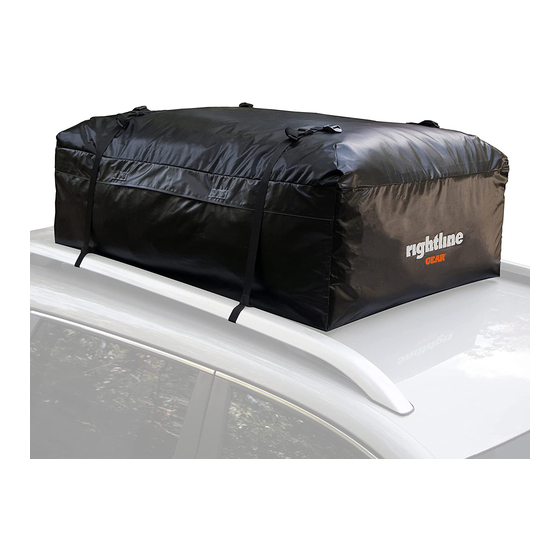
Edge Car Top Carrier Set Up Guide
The correct attachment of this product is critical and
beyond the control of Rightline Gear. The safe use
and long life of this product depends entirely on
your good judgment and following these directions.
Pack The Carrier
1-Place the Edge Car Top Carrier on the top of your ve-
hicle with its closed end facing forward.
2-Load your gear inside the carrier, evenly distributing
the weight. Place items with sharp or pointed edges in the
middle and pack softer items around them to protect the
carrier material (Fig 1).
3-Close the zipper and fold the protective flap down (Fig
2). Secure all of the Velcro closures.
Fig 1
IMPORTANT: PACK THE CARRIER FULL SO THAT
ITS SIDES ARE PULLED TIGHT. THIS STEP PRE-
VENTS
EXCESS
MATERIAL
IN THE WIND WHICH CAN DAMAGE THE CAR-
RIER AND CAUSE THE STRAPS TO LOOSEN.
Attach The Carrier - WITH A Roof Rack
The Edge Carrier comes with (4) straps (Fig 3). Attach-
ing (2) straps front to back between the cross bars or (2)
straps side to side between the side rails will sufficiently
secure the carrier. Using all (4) straps will provide the
most secure method of attachment (Fig 4). Make sure the
roof rack is anchored to your vehicle and don't exceed its
weight limit.
Fig 4
Fig 3
Fig 2
FROM
FLAPPING
Each strap has (2) strap pieces connected through a center
buckle.
1-Unthread the short strap piece from the buckle and se-
cure it to your rack by threading its end through its loop and
pulling tight (Fig 5). Go to the opposite side of the vehicle
and secure the long piece to the rack by the same method.
2-Run both strap pieces through the d-rings on each side
of the carrier (Fig 6). Bring them together on top of the
carrier.
3-Thread the short strap piece back through the center
buckle (Fig 7).
4-Repeat steps 1-3 for each of the straps that will be used.
Fig 5
Fig 6
Attach The Carrier - WITHOUT A Roof Rack
Through The Vehicle
Connect (2) straps together to form (1) double long strap.
Fig 8
1-Leave (1) strap as originally provided and separate the
(2) pieces of the second strap by unthreading the short
strap piece from the center buckle.
2-Connect the loop end of each strap piece to a loop end
of the first strap (Fig 8).
3-Run this double long strap through the vehicle, through
the d-rings and over the top of the carrier (Fig 9).
4-Thread the short strap piece back through the center
buckle (Fig 7) and tighten.
5-Repeat steps 1-4 to create a second double long strap.
Buckle
Loop Ends
Double Long Strap
Fig 7
Fig 9
Buckle
Tri-glides
Advertisement

Related Manuals for Rightline Gear Ace 2


Summary of Contents for Rightline Gear Ace 2
- Page 1 (Fig 6). Bring them together on top of the The correct attachment of this product is critical and carrier. beyond the control of Rightline Gear. The safe use 3-Thread the short strap piece back through the center and long life of this product depends entirely on buckle (Fig 7).
- Page 2 Fig 12 Fig 10 Fig 11 in its use. Rightline Gear is not responsible for the con- sumer’s or user’s use or misuse of this product. Dam- age to Purchaser’s vehicle or any other vehicle caused by Purchaser’s improper use of this product may cause serious injury or death.
Need help?
Do you have a question about the Ace 2 and is the answer not in the manual?
Questions and answers