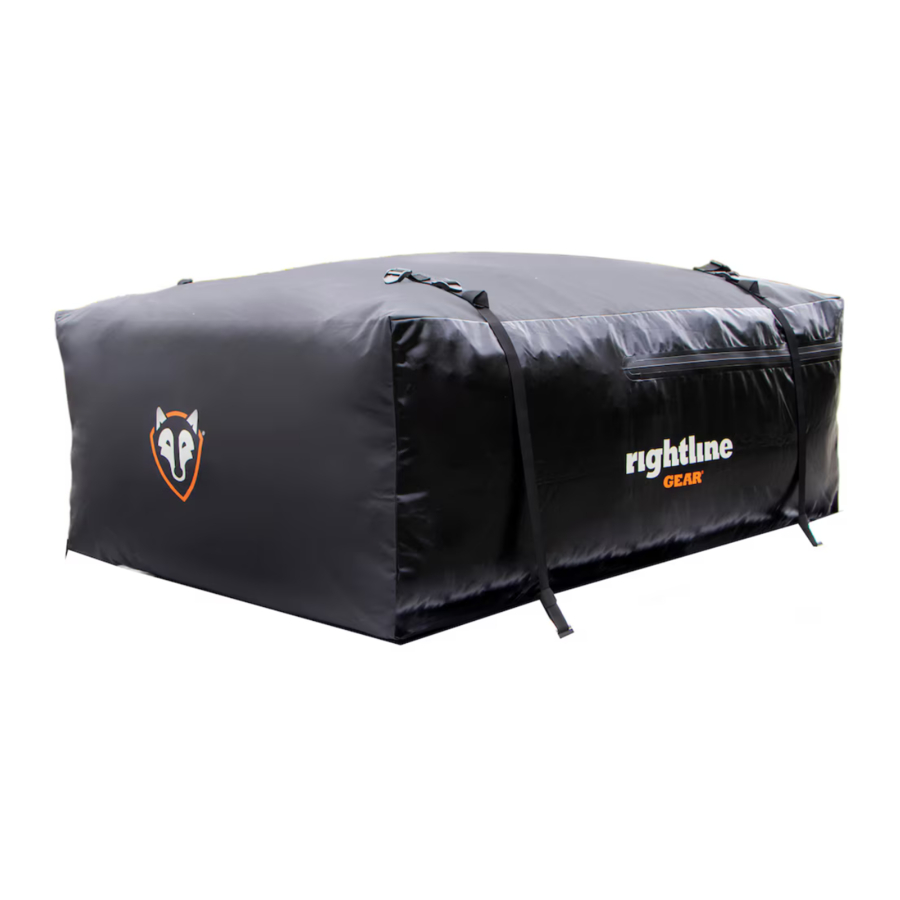
Rightline Gear Ace 2 Set Up Guide
- Setup manual (2 pages) ,
- Quick start manual (2 pages)
Advertisement

Edge Car Top Carrier Set Up Guide
The correct attachment of this product is critical and beyond the control of Rightline Gear. The safe use and long life of this product depends entirely on your good judgment and following these directions.
Pack The Carrier

- Place the Edge Car Top Carrier on the top of your vehicle with its closed end facing forward.
- Load your gear inside the carrier, evenly distributing the weight. Place items with sharp or pointed edges in the middle and pack softer items around them to protect the carrier material (Fig 1).
- Close the zipper and fold the protective flap down (Fig 2). Secure all of the Velcro closures.
PACK THE CARRIER FULL SO THAT ITS SIDES ARE PULLED TIGHT. THIS STEP PREVENTS EXCESS MATERIAL FROM FLAPPING IN THE WIND WHICH CAN DAMAGE THE CARRIER AND CAUSE THE STRAPS TO LOOSEN.
Attach The Carrier - WITH A Roof Rack
The Edge Carrier comes with (4) straps (Fig 3). Attaching (2) straps front to back between the cross bars or (2) straps side to side between the side rails will sufficiently secure the carrier. Using all (4) straps will provide the most secure method of attachment (Fig 4). Make sure the roof rack is anchored to your vehicle and don't exceed its weight limit.

Each strap has (2) strap pieces connected through a center buckle.

- Unthread the short strap piece from the buckle and secure it to your rack by threading its end through its loop and pulling tight (Fig 5). Go to the opposite side of the vehicle and secure the long piece to the rack by the same method.
- Run both strap pieces through the d-rings on each side of the carrier (Fig 6). Bring them together on top of the carrier.
- Thread the short strap piece back through the center buckle (Fig 7).
- Repeat steps 1-3 for each of the straps that will be used.
Attach The Carrier - WITHOUT A Roof Rack
Through The Vehicle
Connect (2) straps together to form (1) double long strap.

- Leave (1) strap as originally provided and separate the (2) pieces of the second strap by unthreading the short strap piece from the center buckle.
- Connect the loop end of each strap piece to a loop end of the first strap (Fig 8).
- Run this double long strap through the vehicle, through the d-rings and over the top of the carrier (Fig 9).
- Thread the short strap piece back through the center buckle (Fig 7) and tighten.
- Repeat steps 1-4 to create a second double long strap.
![]()
Car Clips
Rightline Gear Car Clips (sold separately) are added to the straps of an Edge Car Top Carrier (Fig 10). The clips allow the carrier to attach to a sturdy ledge on the vehicle's door frame. On most vehicles, the best ledge can be found under the weather molding (Fig 11 & Fig 12), however, any metal ledge, rain gutter, or the outside of the weather molding itself can be used.
Each strap has (2) strap pieces connected through a center buckle.

- Unthread the short strap piece from the buckle and run both strap pieces through the d-rings on each side of the carrier. Bring them together on the top of the carrier (Fig 13).
- Thread the short strap piece back through the center buckle (Fig 14).
- Attach the clips to the open door frames and tighten the strap at the buckle.
- Repeat steps 1-3 for a second strap.
- Shut the doors of the vehicle over the clips/straps, securing them in place (Fig 15).
DO NOT ATTACH STRAPS TO THE DRINGS AS THEY WILL CAUSE THEM DAMAGE. The strap tension over the top of the carrier secures the load.
Final Adjustments For All Straps

- Secure the extra length of each strap in the plastic triglide so that it doesn't flap in the wind (Fig 16).
- Tie off any excess strap length (Fig 17). If the straps are too long, cut off the extra length and melt the cut end to prevent fraying.
- Position the straps at least 20" apart on each side of the carrier (Fig 18).
- Check the straps before driving and regularly throughout the trip.
Documents / Resources
References
Download manual
Here you can download full pdf version of manual, it may contain additional safety instructions, warranty information, FCC rules, etc.
Advertisement


Need help?
Do you have a question about the Ace 2 and is the answer not in the manual?
Questions and answers