Table of Contents
Advertisement
Quick Links
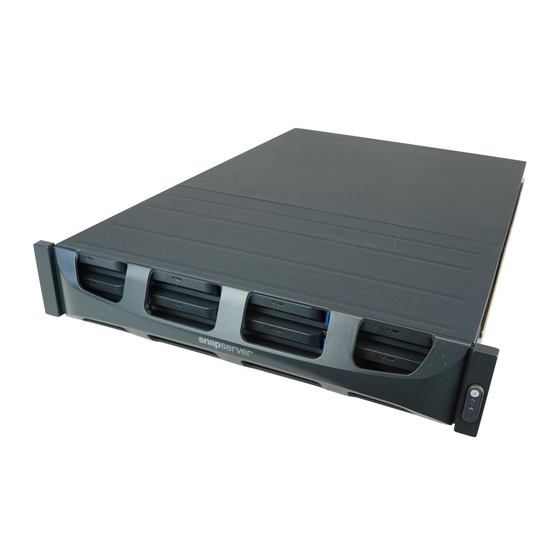
Spare Chassis Replacement Instructions
This document describes how to remove and replace a
SnapServer 2U appliance or SnapScale X2 node chassis from
Overland Storage.
WARNING:
To reduce the risk of electric shock or damage to
equipment, always remove any power cords while working
with the unit.
WARNUNG:
Um das Risiko eines elektrischen Schlags oder
Schäden am Gerät zu vermeiden, ziehen Sie stets den
Netzstecker, bevor Sie an der Einheit arbeiten.
AVERTISSEMENT:
Pour réduire le risque de choc électrique
ou endommagement de l'équipement, retirez toujours les
cordons électriques en travaillant avec l'appareil.
CAUTION:
While working with the unit, observe standard
Electrostatic Discharge (ESD) precautions to prevent damage
to micro-circuitry or static-sensitive devices.
Prepare the Unit
Remove Node from Cluster (SnapScale)
When replacing a SnapScale node's chassis, you must first
remove the node from the cluster:
1. At the Web Management Interface, go to Storage > Nodes
and click the node name to view the Node Properties page.
2. Click Remove Node from SnapScale and confirm.
3. If the node is running, wait for the node to reboot as an
Uninitialized node.
Power Off and Disconnect
If the unit is still running, power it down cleanly:
1. Power off the server/cluster:
• SnapServer: Use the Web Management Interface to
shut down the server (Maintenance > Reboot and
Shutdown > Shutdown).
• SnapScale: After removing the node from the cluster,
press the Power button on its left flange to shut it
down.
2. When all the LEDs are off, disconnect the power cords.
3. Disconnect the remaining cables from the unit, noting
their locations.
10400578-003
SnapServer 2U Appliance / SnapScale X2
Power Button
Power Sockets
©2014 Overland Storage, Inc.
®
X2 Node
Cable Ports
XSR 120
Page 1 of 5
Node
Advertisement
Table of Contents

Related Manuals for Overland Storage SnapServer 2U Appliance


Summary of Contents for Overland Storage SnapServer 2U Appliance
- Page 1 ® Node Spare Chassis Replacement Instructions This document describes how to remove and replace a SnapServer 2U appliance or SnapScale X2 node chassis from Overland Storage. WARNING: To reduce the risk of electric shock or damage to equipment, always remove any power cords while working with the unit.
- Page 2 1. Remove and retain the screws securing one of the rails to the old chassis. 2. Position the rail on the new chassis, and secure it with the retained screws. 3. Repeat Steps 1–2 for the other rail assembly. 10400578-003 Page 2 of 5 ©2014 Overland Storage, Inc.
- Page 3 5. Install the slot cover in the old chassis where the PCIe card was located using the retained screw. 6. Repeat Steps 1–5 for any other PCIe cards. 10400578-003 Page 3 of 5 ©2014 Overland Storage, Inc.
- Page 4 1. Reattach all cables to the same connections as before. 2. Attach the power cords. 3. At the front of the unit, press the power switch for less than a second to power the unit ON. 10400578-003 Page 4 of 5 ©2014 Overland Storage, Inc.
- Page 5 1. Place the replaced chassis in the anti-static bag and put it in the replacement part’s box. 2. Use the existing packing materials to secure it. 3. Use an RMA to return the part to Overland Storage. For return shipping details and RMA number, go to: http://docs.overlandstorage.com/return-instructions http://support.overlandstorage.com...
Need help?
Do you have a question about the SnapServer 2U Appliance and is the answer not in the manual?
Questions and answers