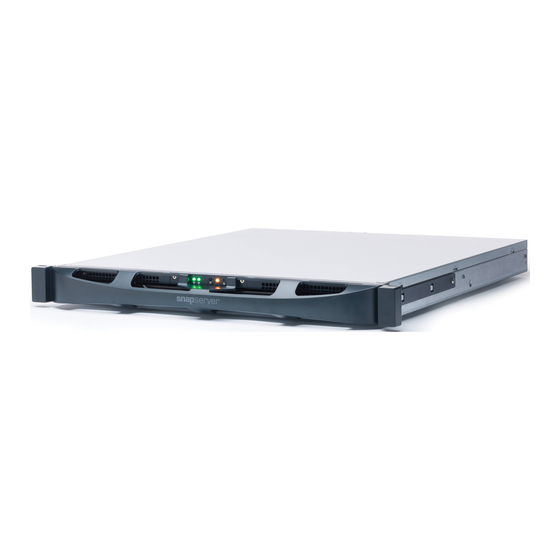
Overland Storage SnapServer XSR 40 Instructions
Optional sliding rail kit
Hide thumbs
Also See for SnapServer XSR 40:
- Replacement instructions (5 pages) ,
- Instructions (4 pages) ,
- Quick start manual (2 pages)
Table of Contents
Advertisement
Quick Links
Optional Sliding Rail Kit Instructions
This document describes how to upgrade the standard fixed
brackets that come pre-installed on a new SnapServer XSR 40
from Overland Storage.
WARNING:
To reduce the risk of electric shock or damage to
equipment, always remove any power cords while working
with the unit.
WARNUNG:
Um das Risiko eines elektrischen Schlags oder
Schäden am Gerät zu vermeiden, ziehen Sie stets den
Netzstecker, bevor Sie an der Einheit arbeiten.
AVERTISSEMENT:
Pour réduire le risque de choc électrique
ou endommagement de l'équipement, retirez toujours les
cordons électriques en travaillant avec l'appareil.
CAUTION:
While working with the unit, observe standard
Electrostatic Discharge (ES10400557-002D) precautions to
prevent damage to micro-circuitry or static-sensitive devices.
Prepare the Unit
NOTE: If this is a new SnapServer that has not yet been installed
into a rack, go to the
Power Off and Disconnect
1. Power off the unit by pressing the Power button on the
front of the unit.
2. When all the LEDs are off, disconnect the power cord.
3. Disconnect all data cables from the unit.
Remove the Bezel
1. Carefully take hold of the front bezel by the right and left
flanges and pull straight out from the appliance until the
retaining clips release.
2. Set the bezel aside on a secure surface.
10400557-002
section.
©2014 Overland Storage, Inc.
Data Cables
Pull
SnapServer
XSR 40
®
Power Socket
Pull
Page 1 of 5
Advertisement
Table of Contents

Related Manuals for Overland Storage SnapServer XSR 40


Summary of Contents for Overland Storage SnapServer XSR 40
- Page 1 XSR 40 ® Optional Sliding Rail Kit Instructions This document describes how to upgrade the standard fixed brackets that come pre-installed on a new SnapServer XSR 40 from Overland Storage. WARNING: To reduce the risk of electric shock or damage to equipment, always remove any power cords while working with the unit.
- Page 2 1. Remove the four screws holding the right bracket to the chassis. Set the bracket aside. 2. On the left side, remove the four screws holding the left bracket, and set it aside. Page 2 of 5 10400557-002 ©2014 Overland Storage, Inc.
- Page 3 (b). NOTE: Make sure the rear holes are the same height as the front holes so the rail is level. 4. For the other rail, repeat Steps 1–3. Page 3 of 5 10400557-002 ©2014 Overland Storage, Inc.
- Page 4 IMPORTANT: f this is a new appliance install, continue with the SnapServer XSR 40 Quick Start Guide instructions for connecting and configuring the appliance. Page 4 of 5 10400557-002 ©2014 Overland Storage, Inc.
- Page 5 3. At the front, press the power switch to power on the unit. Power Socket Data Cables NOTE: Refer to your SnapServer XSR 40 Quick Start Guide for complete cabling details and locations. http://support.overlandstorage.com You can get additional technical support on the Internet at the...
Need help?
Do you have a question about the SnapServer XSR 40 and is the answer not in the manual?
Questions and answers