
Related Manuals for ESP DECO GuardCam


Summary of Contents for ESP DECO GuardCam
- Page 1 GUARDCAMDECO: COMBINED WI-FI SECURITY CAMERA LED FLOODLIGHT SYSTEM QUICK START GUIDE www.espuk.com GUARDCAMDECO QUICK START GUIDE.indd 1 12/03/2018 14:35:09...
-
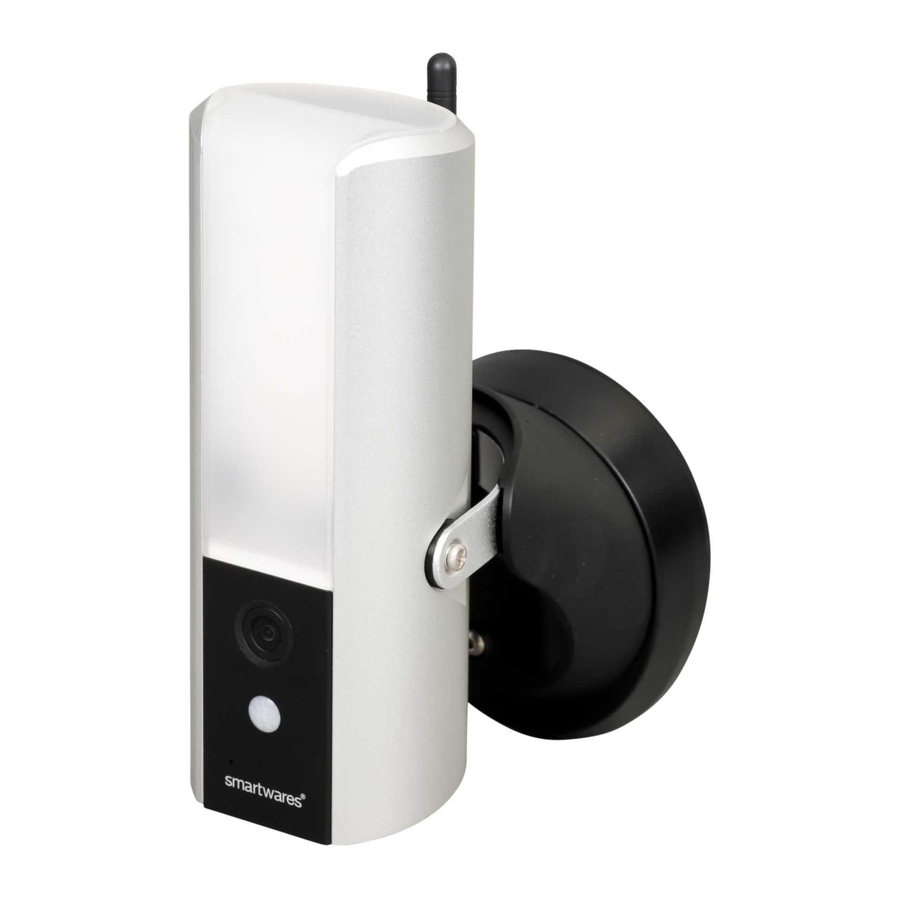
Page 2: Kit Content
KIT CONTENT GuardcamDECO Bracket HARDWARE OVERVIEW GUARDCAMDECO QUICK START GUIDE.indd 2 12/03/2018 14:35:09... -
Page 3: Setup The Camera
SETUP THE CAMERA 1. APP DOWNLOAD Download and install the “ESP SMART’ APP to your device. 2. Power Up The Camera For Wi-Fi Setup - Power the camera temporarily or use any standard Micro USB Cable with USB power adaptor to connect to the bottom of the camera as shown below. - Page 4 Enter the default password 12345678 and save the settings. (2) Android device: Launch the ESP Smart APP. Tap "+" and select Smart Camera. At the next screen enter a new Password/security code and remember it or write it down, Tap Wi-Fi Setting or OK.
- Page 5 Blue LED will be constant (3) iOS device: The APP will start to search, once the Launch the ESP Smart APP. Tap "+" and select Smart Camera. screen indicates the camera is connected, Tap Live view GUARDCAMDECO QUICK START GUIDE.indd 4...
- Page 6 Once the camera is found, the screeen will show a Live View briefly before moving to setup screen. Please enter a new Password/security code and remember it or write it down, Tap Wi-Fi Setting or OK. Then your Wi-Fi list will popup out, please select your home network from the menu and then enter your home network' s wireless password Tap OK.
-
Page 7: Installation
INSTALLATION Notice: - For optimal performance , please install the lighting camera 2.5 meters height. - Disconnect power at fuse or circuit breaker before proceeding to the installation. - Recommend to have the installation distance between the lighting camera and the router to be 150 meters or less in case the transmission range of the router is not long enough for optimal Wi-Fi connection. -
Page 8: Camera Setup Instruction
CAMERA SETUP INSTRUCTION (1) Please make sure you have turn off the power from the breaker before this step. (2) A) Make a small hole in the rubber pad to have AC power wire run into the junction box base. B) Lead the wires to the front of the base, screw the wires firmly to the terminal blocks. - Page 9 (3) Fasten the junction box to the wall. Make sure that the UP sign is at the top. (4) Connect the power cable to the junction box. (5) Place the device on the junction box. (6) Fasten the screw by using the Phillips screw driver. Connect to here GUARDCAMDECO QUICK START GUIDE.indd 7 12/03/2018 14:35:11...
- Page 10 (7) Adjust the tilting angle of camera by adjusting the screws on both side. (8) Loosen the screw on the back using hex key provided to adjust the pan angle. Screw it firmly when you done. (9) Once completed, turn on the power from the breaker and the lighting camera will power up. Wait for 1 minute for camera to connect to internet.
- Page 11 APP OVERVIEW/LIGHTING SETTINGS Camera List Live-View ESP Smart Information Quad View Tap here to turn on/ off light Reconnect Edit Setting adjust the brightness of light Add Camera Talk Alarm Video record Mute/ Unmute Snapshot ‘Armed’ & ‘Disarmed’ Option (Important) To receive push notification on mobile devices &...
- Page 12 Follow the steps below for Event Playback 1. Tap and then the Event 2. Select the time interval for the event list. 3. Tap to select the file for playback. 4. If you want to store the files in mobile device, tap to download the file Download (Best while under Wi-Fi enviornment due to larger high defination data size).
Need help?
Do you have a question about the DECO GuardCam and is the answer not in the manual?
Questions and answers