Advertisement
Quick Links
0086
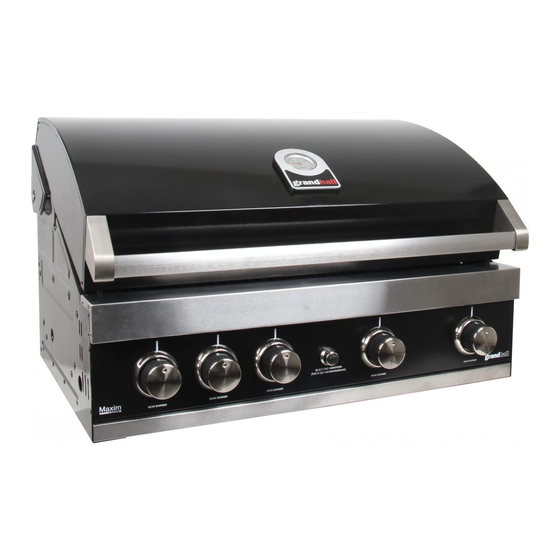
gas barbecue
Assembly instructions
IE
GB
Instructions d'assemblage
CH
FR
Montageanweisungen
AT
CH
DE
Istruzioni per il montaggio
CH
IT
Montage-instructies
LU
BE
NL
Montering
SE
Kokoamisohjeet
FI
Instrucciones de armado
ES
Instruções para Montagem
PT
Monteringsvejledning
DK
Montering
NO
Upute za montažu
HR
Navodila za montažo
SI
GTI3S
GTI4B
GTI4S
GTI4ISB
Advertisement


Need help?
Do you have a question about the GTI3S and is the answer not in the manual?
Questions and answers