Table of Contents
Advertisement
Quick Links
Advertisement
Table of Contents

Related Manuals for Chauvet Professional ROGUE R3 SPOT


Summary of Contents for Chauvet Professional ROGUE R3 SPOT
- Page 1 USER MANUAL...
-
Page 2: Table Of Contents
DMX Value ....................13 Address ......................20 Run Mode .....................20 ..................20 DMX Personality ....................20 Auto Test ....................20 Manual Test Setup......................21 ....................21 Tilt Reverse ...................21 Screen Reverse ....................21 Pan Angle ....................21 Tilt Angle TOC 1 of 2 Rogue R3 Spot User Manual Rev. 2... - Page 3 Factory Reset Function System Information ..................22 Offset Mode ....................22 6. Technical Information ............... 24 Product Maintenance ...................24 7. Technical Specifications ............25 Returns ................... 26 Contact Us ..................27 Rogue R3 Spot User Manual Rev. 2 TOC 2 of 2...
-
Page 4: Edition Notes
1. Edition Notes The Rogue R3 Spot User Manual includes a description, safety precautions, installation, programming, operation and maintenance instructions for the Rogue R3 Spot as of the release date of this edition. Trademarks CHAUVET, the Chauvet logo and Rogue R3 Spot are registered trademarks or trademarks of Chauvet &... -
Page 5: Before You Begin
40,000 to 50,000 hours. If extending this lifespan is vital, lower the operating temperature by improving the ventilation around the product, thus reducing the ambient temperature. In addition, limiting the overall projection intensity may extend the LEDs’ lifespan. Rogue R3 Spot User Manual Rev. 2 Page 2 of 27... -
Page 6: Safety Notes
The maximum ambient temperature is 113 °F (45 °C). Do not operate the product at higher temperatures. • In the event of a serious operation problem, stop using this product immediately! If your Chauvet product requires service, contact Chauvet Technical Support. Page 3 of 27 Rogue R3 Spot User Manual Rev. 2... -
Page 7: Introduction
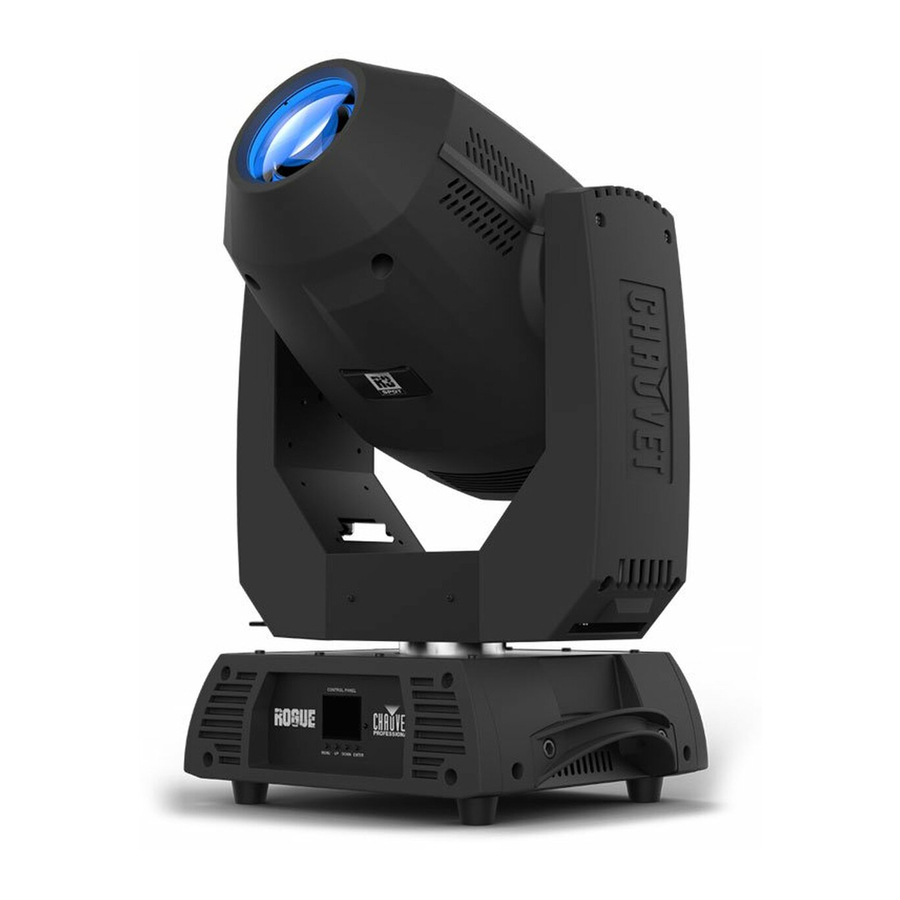
3. Introduction Description Rogue R3 Spot delivers intense output, crisp optics, and sharp focus, and maintains a value proposition designed to maximize ROI. This moving spot has a bright 300 W LED light engine that produces an even field of light, a rotating and a static gobos, (2) 8-position and split-color-enabled color wheels, and three- facet prism to create stunning looks. -
Page 8: Product Dimensions
NTRODUCTION Product Dimensions 14.7 in 373mm 11 in 282 mm 23.7 601 mm 14.2 in 360 mm Page 5 of 27 Rogue R3 Spot User Manual Rev. 2... -
Page 9: Setup
DMX Linking You can link the Rogue R3 Spot to a DMX controller using a 3- or 5-pin DMX connection. If using other DMX-compatible products with this product, you can control each individually with a single DMX controller. -
Page 10: Remote Device Management (Rdm)
Procedure The Rogue R3 Spot comes with a preinstalled mounting surface to which you will be able to attach the included omega bracket. Make sure the clamps are capable of supporting the weight of this product. Use at least 2 mounting points per product. In addition, use a safety cable to link the product to the structure. -
Page 11: Gobo Wheels
Tribal breakup Bricks Shattered Triangle rays Stickmen Grouped ovals Linear ovals Static gobo Rotating wheel gobo wheel Triangle breakup Laser triangle Foliage breakup Line Circle dot Thatched breakup Mosaic breakup Rogue R3 Spot User Manual Rev. 2 Page 8 of 27... -
Page 12: Color 1
ETUP Color 1 Color 2 Page 9 of 27 Rogue R3 Spot User Manual Rev. 2... -
Page 13: Operation
<DOWN> function Control Options Set the Rogue R3 Spot starting address in the 001-512 DMX range. This enables control of up to 20 products in the 25-channel 25 personality. Programming Refer to the Menu Map to understand the menu options. The menu map shows the main level and a variable number of programming levels for each option. -
Page 14: Menu Map
Defines the color change move-in-black BL.O.Color Move delay Defines the gobo change move-in-black BL.O.Gobo Move delay 600Hz 1200Hz 2000Hz PWM Option Selects the PWM output frequency 4000Hz 6000Hz 15KHz Page 11 of 27 Rogue R3 Spot User Manual Rev. 2... - Page 15 Displays the software version Running Mode Displays the current running mode DMX Address Displays the current DMX address Sys Info Displays the product’s temperature in Temperature Celsius Shows product UID Rogue R3 Spot User Manual Rev. 2 Page 12 of 27...
-
Page 16: Dmx Value
112 119 Color 6 + Color 7 120 127 Color 7 + White 128 191 Clockwise color scroll, slow to fast 192 255 Counterclockwise color scroll, slow to fast Page 13 of 27 Rogue R3 Spot User Manual Rev. 2... - Page 17 128 191 Clockwise scroll, slow to fast 192 255 Counterclockwise scroll, slow to fast Focus 000 255 0-100% Fine focus 000 255 Fine control (16-bit) Rogue R3 Spot User Manual Rev. 2 Page 14 of 27...
- Page 18 128 191 Slow zoom out, fast zoom in (slow to fast) 192 255 Slow zoom in, fast zoom out (slow to fast) 000 004 No function Frost 005 255 Frost effect Page 15 of 27 Rogue R3 Spot User Manual Rev. 2...
- Page 19 144 151 No function 152 159 All reset 160 167 Iris reset 168 175 Frost reset 176 183 Zoom reset 184 255 No function Rogue R3 Spot User Manual Rev. 2 Page 16 of 27...
- Page 20 112 119 Color 6 + Color 7 120 127 Color 7 + White 128 191 Clockwise color scroll, slow to fast 192 255 Counterclockwise color scroll, slow to fast Page 17 of 27 Rogue R3 Spot User Manual Rev. 2...
- Page 21 005 255 Prism effect 000 127 Prism index 128 189 Clockwise rotation, fast to slow Rotating prism 190 193 Hold 194 255 Counterclockwise rotation, slow to fast Rogue R3 Spot User Manual Rev. 2 Page 18 of 27...
- Page 22 144 151 No function 152 159 All reset 160 167 Iris reset 168 175 Frost reset 176 183 Zoom reset 184 255 No function Page 19 of 27 Rogue R3 Spot User Manual Rev. 2...
-
Page 23: Address
Set the attribute value (000–255), press <ENTER>. Repeat step 2 for the other attributes. • When exiting the Manual Test level, the values of all tested channels will revert to zero. Rogue R3 Spot User Manual Rev. 2 Page 20 of 27... -
Page 24: Setup
Use <UP>, <DOWN>, <LEFT>, or <RIGHT> to select the PWM frequency, from 600Hz, 1200Hz, 2000Hz, 4000Hz, 6000Hz, or 15000Hz, or touch the display where it says the desired option. Press <ENTER>. Page 21 of 27 Rogue R3 Spot User Manual Rev. 2... -
Page 25: System Information
<ENTER>. This brings you into the Zero Adjust menu screen. 1. Highlight PAN, press <ENTER>. 2. Select 000–255, press <ENTER>. Tilt 1. Highlight TILT, press <ENTER>. 2. Select 000–255, press <ENTER>. Rogue R3 Spot User Manual Rev. 2 Page 22 of 27... - Page 26 To adjust the fourth, fifth, or sixth MAC address, do the following: Use <UP> or <DOWN> to select MAC4, MAC5, or MAC6. Press <ENTER>. Use <UP> or <DOWN> to increase or decrease the value, from 000–255. Page 23 of 27 Rogue R3 Spot User Manual Rev. 2...
-
Page 27: Technical Information
Softly drag any dirt or grime to the outside of the transparent surface. Gently polish the transparent surfaces until they are free of haze and lint. Always dry the transparent surfaces carefully after cleaning them. Rogue R3 Spot User Manual Rev. 2 Page 24 of 27... -
Page 28: Technical Specifications
I/O Connector Channel Range 3- and 5-pin XLR 19 or 25 Ordering Product Name Item Code UPC Number Rogue R3 Spot 08111414 781462217624 UL 1573 CSA C22.2 No. 166 E113093 Page 25 of 27 Rogue R3 Spot User Manual Rev. 2... -
Page 29: Returns
Be sure to pack the product properly. Any shipping damage resulting from inadequate packaging will be your responsibility. FedEx packing or double-boxing are recommended. Chauvet reserves the right to use its own discretion to repair or replace returned product(s). Rogue R3 Spot User Manual Rev. 2 Page 26 of 27... -
Page 30: Contact Us
Visit the applicable website above to verify our contact information and instructions to request support. Outside the U.S., U.K., Ireland, Mexico, France, Germany, or Benelux, contact the dealer of record. Page 27 of 27 Rogue R3 Spot User Manual Rev. 2...
Need help?
Do you have a question about the ROGUE R3 SPOT and is the answer not in the manual?
Questions and answers