Do you have a question about the ID5000 and is the answer not in the manual?
Questions and answers
David Megahy
March 19, 2025
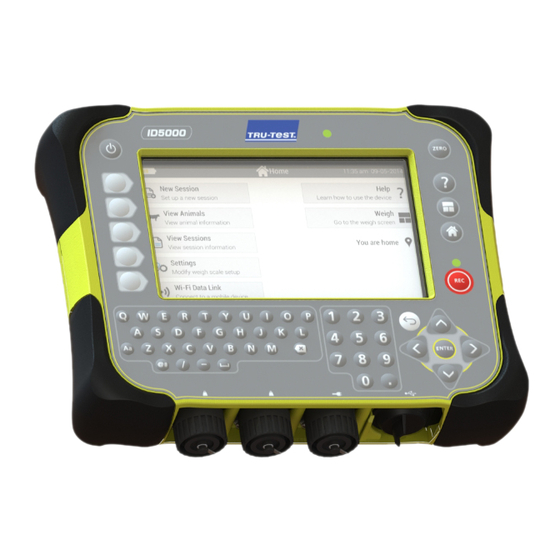
screen wont stay on, a picture of a battery with a line through it appears , then it goes blank!
1 comments:
Mr. Anderson
March 19, 2025
The screen not staying on and displaying a battery icon with a line through it suggests a battery issue. Possible causes include a faulty or insufficiently charged battery. Try recharging the battery for at least twelve hours and check if the charging indicator cycles. If the battery does not recover, measure its open circuit voltage; if it is below 2.5V, replace the battery. If the issue persists, the PCA may be faulty and require replacement.


Need help?
Do you have a question about the ID5000 and is the answer not in the manual?
Questions and answers
screen wont stay on, a picture of a battery with a line through it appears , then it goes blank!
The screen not staying on and displaying a battery icon with a line through it suggests a battery issue. Possible causes include a faulty or insufficiently charged battery. Try recharging the battery for at least twelve hours and check if the charging indicator cycles. If the battery does not recover, measure its open circuit voltage; if it is below 2.5V, replace the battery. If the issue persists, the PCA may be faulty and require replacement.
This answer is automatically generated