Mircom TX3-TOUCH-S15B-WR Replacement Manual
Hide thumbs
Also See for TX3-TOUCH-S15B-WR:
- Installation manual (12 pages) ,
- Replacement manual (2 pages) ,
- Replacement (2 pages)
Advertisement
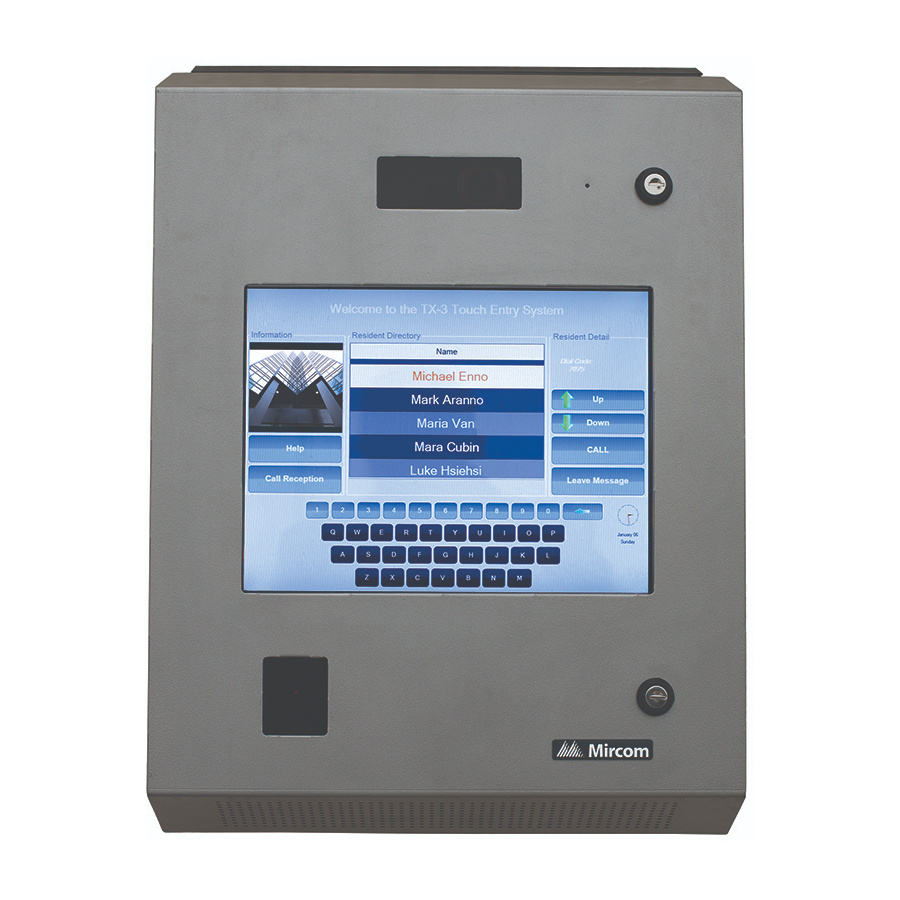
Replacement Display for
TX3-TOUCH-S15B-WR and
TX3-TOUCH-S15S-WR
A.
Shut down the Touch Screen
1. Press the On/Off switch located at the bottom of the
inner chassis.
2. After the TX3 Configurator and Windows have finished
shutting down, disconnect power from the Touch
Screen.
Remove the old display
1. Disconnect the cables from the current display.
2. Unscrew the 8 nuts that hold the display assembly to the door. See Figure 1.
Door
Figure 1
3. Unscrew the 8 screws that hold the 4 brackets to the display. See Figure 2.
LT-6656 Rev 1
Display on door (back view)
On/Off Switch
4 nuts
4 nuts
Display
assembly
Page 1 of 3
Advertisement
Table of Contents

Related Manuals for Mircom TX3-TOUCH-S15B-WR


Summary of Contents for Mircom TX3-TOUCH-S15B-WR
- Page 1 Replacement Display for TX3-TOUCH-S15B-WR and TX3-TOUCH-S15S-WR Shut down the Touch Screen 1. Press the On/Off switch located at the bottom of the inner chassis. 2. After the TX3 Configurator and Windows have finished On/Off Switch shutting down, disconnect power from the Touch Screen.
- Page 2 Attach the new display 1. Secure the new display to the brackets with the 8 screws. See Figure 2. 8 screws bracket bracket display bracket bracket Figure 2 Display assembly (back view) Back Included screws Front Figure 3 Display assembly from above Included screws Front Back...
- Page 3 2. Attach the new display to the door with the 8 nuts. See Figure 5. 4 nuts Display Door assembly 4 nuts Figure 5 Display on door (back view) 1. Connect all the cables to the new display. 2. Turn on the Touch Screen. You are done! If you need more help, call us at 1-888-660-4655.
Need help?
Do you have a question about the TX3-TOUCH-S15B-WR and is the answer not in the manual?
Questions and answers