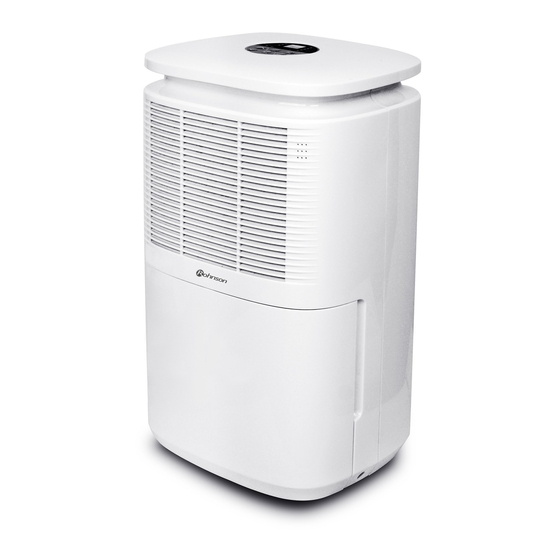
Summary of Contents for Rohnson R-9310
- Page 1 R-9310 IONIC DEHUMIDIFIER Instruction Manual Thank you for choosing our product. For proper operation, please read and keep this manual carefully.
-
Page 2: Table Of Contents
Content Operation Notices ● Operation Area......................1 ● Safety Precautions....................2 ● Parts Name......................3 ● Check Before Operation..................4 Operation Instructions ● Operation Method....................5 ● Drainage Option.....................8 Maintenance ● Clean and Maintenance..................10 Malfunction ● Troubleshooting....................12 ● Malfunction Codes....................13 Note: Graphics in this manual are only for reference. Please refer to actual products for specific details. -
Page 3: Operation Area
Operation Area not be used for commercial or industrial applications. enclosed area, such as a closet. temperature will not below 5°C or above 32°C. ● Allow at least 30 cm of air space on all sides of the unit. ● Close all doors, windows and other outside openings of the room to improve the working effect. -
Page 4: Safety Precautions
Safety Precautions ● This appliance can be used by children aged from 8 years and above and pe- rsons with reduced physical, sensory or mental capabilities or lack of experie- nce and knowledge if they have been given supervision or instruction concer- ning use of the appliance in a safe way and understand the hazards involved. -
Page 5: Parts Name
Parts Name Front Side CONTROL PANEL Air Inlet Water Bucket Back Side Handle Air Outlet... -
Page 6: Check Before Operation
Check Before Operation aced. Below are the checking steps: 1. Hold the handles on both sides of the water bucket and pull it out following the arrow direction. moved a little after long-time transportation. If it's not placed properly, move it to the correct position by hand. -
Page 7: Operation Method
Operation Method indicator light Notes: ● Do not remove the bucket while unit is in operation. ● If you want to use drain hose to drain water away, please install the hose acc- ording to section "Drainage method". ● Each time pressing the effective button on the control panel will give out a "beep"... - Page 8 Clild Lock Long press 5 seconds to lock Again long press 5 second to unlock Fan Speed Button Pressing this button can set fan speed circularly as: High, Low. Corresponding indicator will be on for each fan speed. Timer Button Press this button to set Timer On or Timer Off (Timing range 01~24h).
- Page 9 • Dehumidify You can set the target humidity 30% - 80 % and se the speed fan as you wish. • Automatic-Smart Automatically set humidity of 50-55%, the wind speed is automatically adjusted to maintain the humidity at 50- 55%. The wind speed is in LOW level •...
-
Page 10: Drainage Option
Drainage Option Option 1 Emptying Manually Notes: ● Do not remove the bucket when unit is in operation or has just stopped. ● Do not use the hose if using water bucket to collect water. When the hose is connected, water will be drained out through it instead of into the bucket. 1. - Page 11 Option 2 Gravity Drain Hose 1. Hose is provided, so user shall prepare it in advance. [Size: The hose thread should have an outer diameter of 17 mm and length 1 meter ] 2. Remove bucket from the unit as instructed. 3.
-
Page 12: Clean And Maintenance
Clean and Maintenance Warning: may lead to electric shock. Otherwise it will damage unit's appearance. 1. Grille and Case To clean the case: When there is dust on the case, use soft towel to dust it off; When the case is very dirty(greasy), use mild detergent to clean it. -
Page 14: Troubleshooting
Troubleshooting ● Not all the following problems are malfunctions. Problem Possible Causes ● Unit is operating in an area where temperature is higher than 32°C or lower than 5°C. Controls can not be set. ● Bucket is full. ● Power Noise will supplyrise problem.if compressor Noise suddenly rises during has just started. -
Page 15: Malfunction Codes
Problem Possible Causes Solution ● Empty the bucket and replace ● Bucket is not properly Bucket full indicator placed. is lit up. ● Water is full in the bucket. ● If you want the air drier, ● Bucket has been removed. Unit can function press - button to lower the ●... - Page 16 IMPORTANT INFORMATION FOR CORRECT DISPOSAL OF THE PRODUCT IN ACCORDANCE WITH EC DIRECTIVE 2002/96/EC. At the end of its working life, the product must not be disposed of as urban waste. It must be taken to a special local authority differentiated waste collection centre or to a dealer providing this service.


Need help?
Do you have a question about the R-9310 and is the answer not in the manual?
Questions and answers