Advertisement
Quick Links
Advertisement

Subscribe to Our Youtube Channel
Summary of Contents for Anzzi SD-AZ03-01
-
Page 2: Tools Required
Preparation 1. After opening all boxes and packages, read this introduction carefully. Check that all of the needed parts are included in the package by marking all the components on the “Detailed Diagram of Shower Door Components”. Examine boxes and packages for shipping damage. If the unit has been damaged, has a finishing defect, or is missing parts, please contact our customer support department within 5 business days of the delivery date. -
Page 3: Parts List
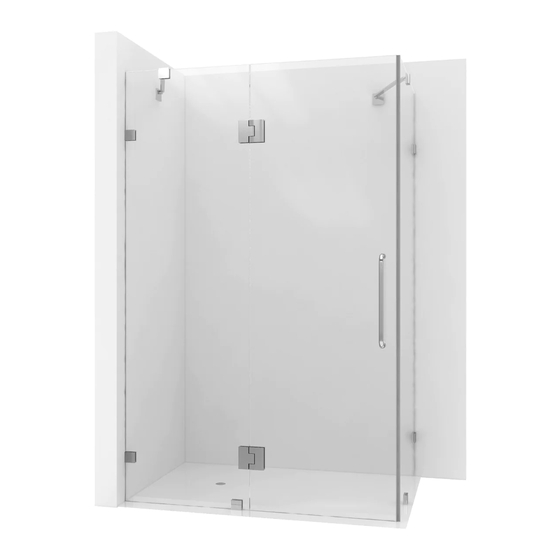
Detailed Diagram of Shower Enclosure Components Parts List Stationary glass panel Big head screw ST4.2×55 6pcs Glass door Decorative cover 2pcs Return glass panel Side anti-water strip Support bar 2pcs 12 Flanged anti-water strip - i t Wall bracket 4pcs Wall anchor 6pcs 15 Bottom bracket... - Page 4 Shower Enclosure Installation 1. Assemble the Wall brackets (14) onto the Stationary glass panel (01) and the Return glass panel (03). See Fig. 1 for details. 2. Draw the line on the wall according to your Shower Enclosure model size. Model No SD-AZ03-01BN 46 5/16"...
- Page 5 3. Make sure the distance between the Glass panels is Glass panels must be on same level 23 7/8”. See Fig. 3 for details. 23 7/8” Glass panels must be on same level 23 7/8” 4. Outline the position of the Wall brackets (14) on the wall.
- Page 6 5. Place the Stationary glass panel (01) and Return glass panel (03) back into the designated position, assemble the Wall brackets (14) and tighten the bolts. See Fig. 5 for details. 6. Locate the Support bar (04). Adjust the bar to a proper position on the glass and the wall.
- Page 7 7. Repeat the Step 6 to mount the second support bar. 8. Attach the Hinges (06) to the Stationary glass panel (01) with the decorative bolts facing inside the shower. Bring the Glass door (02) into the Shower base between the two stationary glasses.
- Page 8 9. Get three measurements: from the top edge of the Glass door (02) to the top edge of the upper Hinge (06); from the bottom edge of the upper Hinge to the top edge of the bottom Hinge; from the bottom edge of the bottom Hinge to the surface of the shower base Cut the Flanged anti-water strip (12) according to the measurements.
- Page 9 10. After final adjustment is complete secure both Stationary glasses. Assemble the Bottom brackets (15) onto the bottom of the Stationary glasses. Drill the holes in the Shower base through the holes in the flange of the Bottom brackets using Ø 1/8” drill bit.
-
Page 10: Product Maintenance
HOURS HEURES IMPORTANT WARNING: DO NOT USE THE SHOWER ENCLOSURE IN 24HOURS, SO THAT SILICONE GEL CAN GET TOTALLY DRY. Product Maintenance To ensure long lasting life for your acrylic back walls, wipe them off after each use with a soft cloth.


Need help?
Do you have a question about the SD-AZ03-01 and is the answer not in the manual?
Questions and answers