Advertisement
Advertisement
Table of Contents

Related Manuals for ZOSI C306 PRO


Summary of Contents for ZOSI C306 PRO
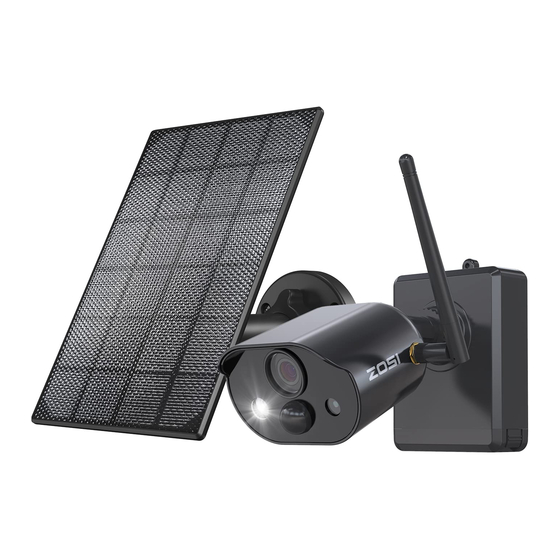
- Page 1 What's in the Box Camera*1 Quick Start Guide*1 Mounting Base*1 Mounting Screw Bag*1...
- Page 2 Camera ①Antenna ⑤Network Indicator ⑨Release Button ⑬Retaining Screw ⑩Power Switch ⑭Micro USB Port ②HD Lens ⑥PIR Sensor ③Infrared LEDs ⑦White LED Spotlight ⑪Loudspeaker ④Microphone ⑧Adjusting Screw ⑫Charge Indicator Description of the Camera Network indicators: Blue light on: The camera is paired or woken up Red light fleshes slowly: Waiting for pairing with NVR Red and blue lights off: In Standby Description of the Camera Buttons:...
- Page 3 Camera Installation 3.1 You can place it on any flat surface: table, chair, floor etc.. 3.2 Install with Wall Mount (as shown in the figure) Drill 5 holes according to the position of the mounting base, 3.2.1 and mount the base on the wall with the included pack of screws. Lock the two slots on the camera base to the hook on mounting base.
- Page 4 Install and tighten the safety set screw. 3.2.3 Insert and tighten the screw on the bottom of the camera battery pack. 3.2.4 Use the included screwdriver to adjust the camera to a proper angle 3.2.5 and tighten the adjustment screw. Wall Adjusting Screw...
- Page 5 Installation precautions 1. Please fully charge the camera battery before use. 2. Do not disassemble the device. This product is not equipped with any parts that can be disassembled/maintained by yourself. 3. Do not install at location with objects covering or obscuring the camera. 4.
- Page 6 Pair the Cameras with The NVR (1) Place the camera near the NVR at a distance of 30~100cm. (2) In the power-on state, press and hold the reset button of the camera for 3-5 seconds, after hearing a voice prompt from the camera, open the NVR system interface and use the camera to scan the QR code (Phone port number) for pairing.
Need help?
Do you have a question about the C306 PRO and is the answer not in the manual?
Questions and answers