
Related Manuals for Heartland WaveRider Speed Queen


Summary of Contents for Heartland WaveRider Speed Queen
- Page 1 WaveRider Installation Single Washers Pulse-Hybrid Mode PREP FOR COIN CARD ONLY OPERATION Coin Box Mount www.heartlandmicropayments.com 2115 Chapman Road, Suite 159, Chattanooga TN 37421 800.332.4835...
- Page 2 Laundry Machine Types This document applies to the WaveReader installation process for the following Alliance/Speed Queen/Heubsch type of machines: REAR CONTROL with METER CASE, PREP FOR COIN, PULSE-HYBRID MODE CARD ONLY OPERATION EXAMPLE: SWT 920 If you are not certain that these instructions will apply to the machine you are installing, please contact MicroPayments Customer Service at: Tel: 800-332-4835 Press 2 www.heartlandmicropayments.com...
- Page 3 Installation Kit Contents & Required Tools This following tables list the required tools & components for the installation process. If you cannot locate and/or identify any of the components listed above, please contact MicroPayments Customer Service at 800-332-4835 , then press 2. Required Tools ...
- Page 4 Interface Harness KIT-HRN-041-6-005 Harness Kit for Speed Queen Card Only Item Part Number Description AYS-041-6-005 Cable, Speed Queen Pulse-Hybrid Card Only AYS-168110 110 TRANSFORMER KITSLIM 110VAC:18VAC HDW-TAP250-F18 18-22AWG TAPSPLICE3M PUR-CABLE-TIE CABLE TIE WRAP PANDUIT PLT1.5M-M PUR-CABTIECLAMP CABLE TIE CLAMP PANDUIT# ABM2S-A-D www.heartlandmicropayments.com...
- Page 5 Bracket Kits KIT-050-6-900 or KIT-050-6-901 Speed Queen Bracket Kit (Coin Box Mounting) Item Part Number Description MFP-050-6-900 Mounting Bracket for WaveReader or… for Speed Queen coin box MFP-050-6-901 (900 = Short, 901 = Tall) SRW-1032X.50HM Screw Hex Head 10-32 thread 1/2" length WAS-#10F Washer, #10, Flat SRW-632X.125PM...
- Page 6 !! WARNING !! MAKE SURE THAT ALL POWER HAS BEEN REMOVED FROM THE MACHINE BEFORE ATTEMPTING TO INSTALL ANY HARDWARE OR CABLING! Preparation Disconnect the laundry machine from all power sources before performing any of the following steps. Installation Drop the backsplash and unlock the service panel so that you...
- Page 7 Installation Locate the power adapter harness and transformer. Attach two of the .250 spade-lugs to the 120VAC mating connectors on the transformer, as shown. Typically, they are light blue. Polarity matching is not required. Inside the back-splash of the machine, locate the main AC power lines coming out of the internal transformer.
- Page 8 Installation Place the transformer into recess of the back-splash. Ensure that no wires are pinched. Please note: Take care to connect the spade-lugs properly. It is possible to misalign the tabs. No part of the metal ‘blade’ inside the female connector should be visible. Examine your connections to ensure that they are correct.
- Page 9 Installation Pull the power harness through the service door opening so that you have plenty of slack to work with. Route the main interface harness through the top of the service door, so that the card-reader connector comes through the coin-vault opening of the meter case.
- Page 10 Installation Looking inside the service door opening of the meter case, locate the coin-slide switch connectors (they are on the left side). Disconnect the Black/White and Pink/Yellow wires. On the WaveReader main interface harness, locate the White and Yellow wires. Connect the: Yellow wire to the Pink/Yellow coin-slide switch wire and the...
- Page 11 Installation Looking inside the service door opening, remove the retaining screw(s) that secure the control board. Lift the control board high enough that you can see the H7 connector a the bottom of the board. Attach the Brown & Orange wires of the WaveReader interface harness to this connector (orange on bottom), then re-secure the control board in the machine.
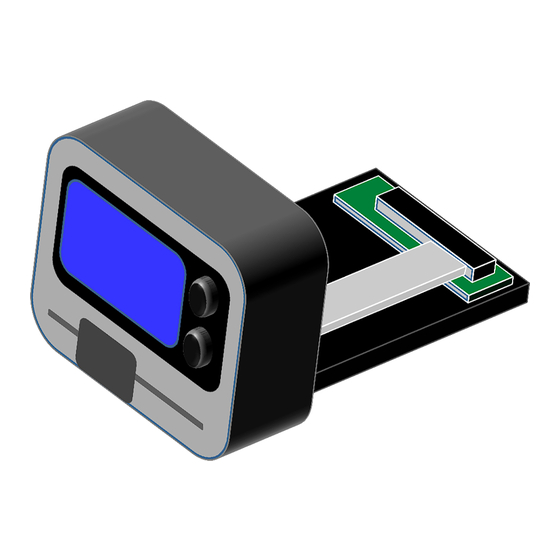
- Page 12 Installation The completed assembly looks like this... Connect the end of the harness to the WaveReader. The WaveReader is now ready to be inserted into the coin-vault opening. www.heartlandmicropayments.com...
- Page 13 Installation Insert the reader & bracket into the coin box opening, feeding the cable slack to ensure that no wires are pinched. DO NOT SECURE READER TO THE MACHINE AT THIS TIME. Re-latch all service panels that are required for testing (before securing card reader and dressing all...
- Page 14 Testing Before the WaveReader has been fully secured, it should be tested to ensure that all components are operating correctly. Link the WaveReader to the WaveController and verify that the reader has received its’ configuration. Test procedure for Washers & Dryers www.heartlandmicropayments.com...
- Page 15 If the test was successful, disconnect power from the laundry machine, and proceed to step 25. If the test cycle failed, refer to the “WaveRider Trouble-Shooting Guide” to resolve the issue, before proceeding to step 25. Open the service panel and back-splash. Using cable-ties and cable-tie mounts, secure all wiring harnesses to prevent pinching, wire-strain, and chafing.
-
Page 16: Final Steps
FINAL STEPS Apply the self- adhesive coin drop cover label to the machine. Apply the self-adhesive sticker that displays the accepted card brands (supplied) in a clearly visible location . This label is required by the credit card issuers. If you require additional stickers, contact us at 800-332-4835 as soon as possible. - Page 17 Testing Apply power to the laundry machine. Re-test the machine, as shown in step 23. If the test is successful, the machine is now in service. www.heartlandmicropayments.com...
Need help?
Do you have a question about the WaveRider Speed Queen and is the answer not in the manual?
Questions and answers