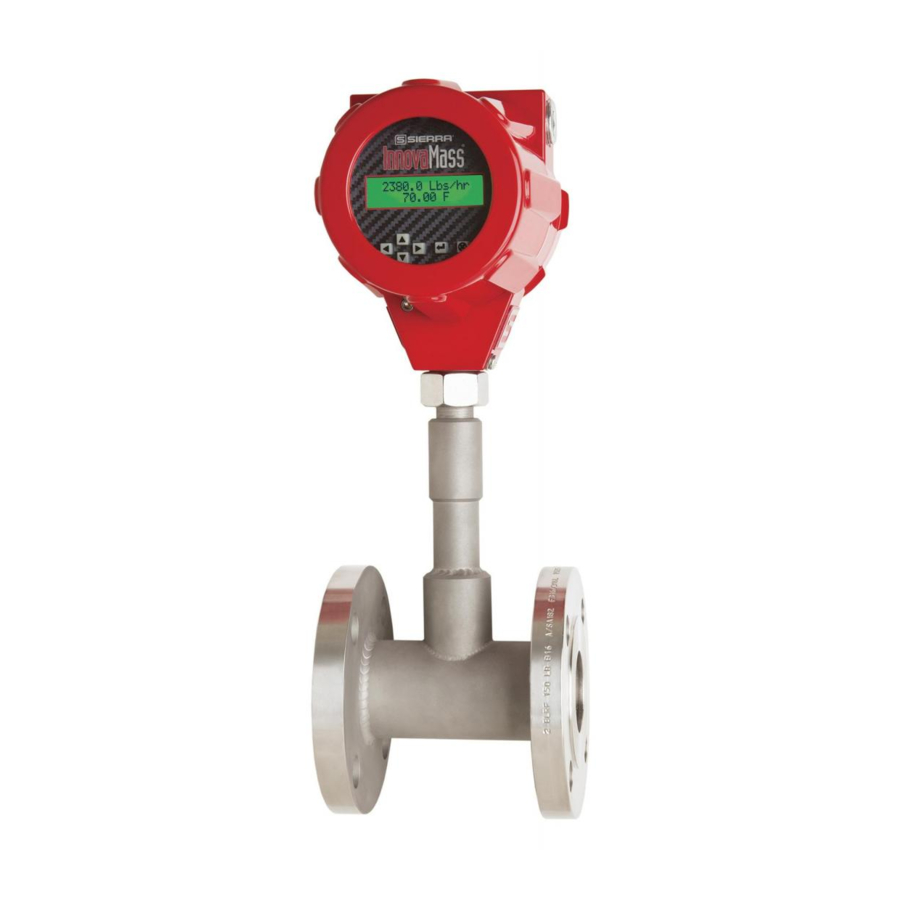
Sierra InnovaMass 240i Instruction Manual
Preliminary instruction manual modbus specification volumetric & multivariable mass vortex flow meter
Hide thumbs
Also See for InnovaMass 240i:
- Preliminary instruction manual (45 pages) ,
- Instruction manual (28 pages) ,
- Instruction manual (115 pages)

Subscribe to Our Youtube Channel
Related Manuals for Sierra InnovaMass 240i


Summary of Contents for Sierra InnovaMass 240i
- Page 1 InnovaMass 240i/241i ® Modbus Preliminary Instruction Manual Modbus Specification for Models: 240i and 241i Volumetric & Multivariable Mass Vortex Flow Meter Part Number: IM-24i-Modbus, V2, June 2019...
- Page 2 Sierra Instruments, Inc., is not liable for any damage or personal injury, whatsoever, resulting from the use of Sierra Instruments standard mass flow meters for oxygen gas. You are responsible for cleaning the mass flow meter to the degree required for your oxygen flow application.
- Page 3 Warnings and Cautions Note and Safety Information We use caution and warning statements throughout this book to draw your attention to important information. Warning! Caution! This statement appears with This statement appears with information that is important to information that is important for protect people and equipment from protecting your equipment and damage.
- Page 4 Caution! Calibration must be performed by qualified personnel. Sierra strongly recommends that you return your flow meter to the factory for calibration. In order to achieve accurate and repeatable performance, the flow meter must be installed with the specified minimum length of straight pipe upstream and downstream of the flow meter’s sensor head.
-
Page 5: Table Of Contents
Table of Contents Chapter 1 InnovaMass 240i/241i Modbus ..................... 6 InnovaMass Modbus Introduction ......................6 Electrical Connections .......................... 7 Instrument Power Connection ......................7 RS-485 Connection ..........................7 Connecting the RS-485 to Your InnovaMass ..................8 General 2-Wire Topology RS-485 Network ..................9 Cable .............................. -
Page 6: Chapter 1 Innovamass 240I/241I Modbus
• Multipliers to change data to/from integer. 10, 100, 1000, 256 ... The Modbus RS-485 interface discussed in this manual is an option for Sierra’s InnovaMass 240i and 241i Vortex Volumetric Flow and Multivariable Mass Flow. The interface makes it possible to connect the InnovaMass to a Modbus network and remotely operate it. -
Page 7: Electrical Connections
Electrical Connections All electrical connections are made on the terminal board inside the InnovaMass enclosure. Instrument Power Connection DC Power - DC Power + Power supply requirements for the InnovaMass are the following: Voltage: 24 VDC +/- 10%, Amperage: 1.1 A Modbus RS-485 Connection Caution! The InnovaMass is equipped with an optical isolated RS-485 interface. -
Page 8: Connecting The Rs-485 To Your Innovamass
RS485 A RS485 B RS485 common Connecting the RS-485 to Your InnovaMass 1. Connect your 2-wire RS-485 network to terminal 13 (A -) and your 2-wire RS-485 to terrmnal 14 (B +). Occasionally you may find a Modbus device from another manufacter labeled A+ and B-, in that case the A and B terminals need to be swapped. -
Page 9: General 2-Wire Topology Rs-485 Network
Modbus data. In addition, it also provides for safety, EMI, RFI, and ESD protection. Both the main and remote (if E4 option ordered) enclosures should be connected to earth ground, see below for more details. A. External Earthing: The external earthing connections are located on the boss on the outside of both the main housing and remote housing (E4 option if ordered) and consist of an 18-8SS pan head Phillips screw (10-24 UNC-2B thread) and a serrated tooth #10 ring terminal for 16-14 AWG wire. -
Page 10: Cable
Cable It is recommended to use shielded twisted pair type of cable (reduces radiated and received EMI). Use a 24 AWG shielded twisted pair cable, with low capacitance like Belden 9841. Terminator Reflections in a transmission line can cause communication errors. To minimize the reflection it is required to place 120Ω... -
Page 11: Communicating
Communicating Once the flow meter is wired to the network and powered up, it is time to communicate with it. The factory default settings for the Modbus interface are as follows: • ID code = 1 • Baud rate = 19200 •... -
Page 12: Modbus Registers Overview
Modbus Registers Overview Register Description Read/ Type Address Write registers* 40001 Actual flow - low word 32 bits real 40002 Actual flow - high word 40003 Actual temp - low word 32 bits real 40004 Actual temp - high word 40005 Actual pressure - low word 32 bits real... - Page 13 40064 Low alarm flow trig – low word 32 bits real 40065 Low alarm flow trig – high word 40066 High alarm flow trig – low word 32 bits real 40067 High alarm flow trig – high word 40068 Low alarm temp trig – low word 32 bits real 40069 Low alarm temp trig –...
-
Page 14: Registers Explained
Caution! Exceeding the numbers of suggested registers will raise an exception code. Registers Explained The registers are divided into two groups. The first group (40001 – 40009) represents the dynamic data that changes the most of the two groups. The second group (40010 – 40131) contains the settings in the flow meter. - Page 15 0 - SCFS 23 - NCFD 51 - NLPM 109 - Lton/yr 1 - SCFM 24 - NCFY 52 - NLPH 110 - Mton/sec 2 - SCFH 25 - SM3/sec 53 - NLPD 111 - Mton/min 3 - SCFD 26 - SM3/min 54 - NLPY 112 - Mton/hr 4 - SCFY...
- Page 16 Warning! The totalizer only works when Flow units are chosen; it will not work when if Velocity units are selected. 40024: User Full Scale Register 40024 is the “4-20 Flow Out” full scale value. Changing this only affects the 4-20 flow output and will not affect the Modbus data.
- Page 17 40038: Standard Temperature Unit Index Value shows which temperature unit is selected as standard temperature: • 0 – F • 1 – C • 2 – K • 3 – R 40039: Standard Pressure Value shows the standard pressure. 40041: Standard Pressure Index Value shows which pressure unit is selected as the standard pressure: •...
- Page 18 40042: Normal Temperature Value shows the normal temperature. 40044: Normal Temperature Unit Index Value shows which temperature unit is selected as the normal temperature: • 0 – F • 1 – C • 2 – K • 3 – R 40045: Normal Pressure Value shows the normal pressure.
- Page 19 40054: Temperature - 4MA Value Temperature value that 4mA equals 40056: Temperature - 20MA Value Temperature value that 20mA equals 40058: Pressure - 4MA Value Pressure value that 4mA equals 40060: Pressure - 20MA Value Pressure value that 20mA equals 40062: Alarm Active Value indicates which alarm is active (see below).
- Page 20 40074: Pressure – High Alarm Threshold Value at which the high alarm is triggered 40076: Total – Low Alarm Threshold Value at which the low alarm is triggered 40078: Total – High Alarm Threshold Value at which the high alarm is triggered 40080: Pipe Diameter Value of the pipe diameter will be in the units that are currently active.
- Page 21 • 1 – On used for testing • 2 – 50ms • 3 – 100ms • 4 – 250ms 40090: Totalizer Reset Write any value to reset the totalizer. 40091: Password This register shows the currently active password. Note: the password is only used to control access to the display module.
- Page 22 • Kg/CM2 A • Kg/CM2 G • In H20 A • In H20 G • MM H20 A • MM H20 G 40102: Pipe Diameter Units ASCII string shows the pipe diameter units: • Inches • Feet • Millimeters • Meters 40104: Pipe Roughness Description ASCII string shows the selected pipe roughness:...
-
Page 23: Introduction
• High • Window 40116: Serial Number ASCII string shows the serial number of the unit. 40120: Firmware Revision ASCII string shows the firmware version of the unit. 40124: Calibration Date ASCII string shows the date the unit was calibrated. 40129: PCA Version ASCII string shows the revision number of the PCA. -
Page 24: Load Firmware
3. Start HyperTerminal from windows, and select the com port to which the RS-485 interface is connected. Use the following settings: Bits per Second : 9600 Data Bits Parity Stop bits Flow control :None The boot loader will only be active during the first two seconds after a power-up of the flow meter. - Page 25 3. The screen will start to fill up with the “§” character indicating that the XMODEM transfer can be started. Press the “ESC” key to abort (if needed). 4. From the “Transfer” menu select “Send file.” 5. A pop up window entitled “Send File” will open as shown below. Use this screen to get the file to be transferred.
-
Page 26: Setup Firmware
8. Click on the “Send” button to start the transfer of the file. A transfer screen will pop up showing the status of the transfer. Caution! If you need to stop or cancel the download, press the “Cancel” icon or press the “ESC”... -
Page 27: Quit
In this above example, the ID code of the unit can be set between 1- 247. The current setting for the ID is 1. Pressing the “C” key will prompt for a new value. Enter a new value and press the “Enter” key. -
Page 28: Troubleshooting
Troubleshooting Problem Solution During the firmware transfer, the download has halted Reset the unit and try again. Make sure that only .hex and nothing is happening anymore (or an error files intended for the unit are selected. message appears) When trying the enter data, the length is limited. No For each option, the data type and length are more data is accepted predefined.
Need help?
Do you have a question about the InnovaMass 240i and is the answer not in the manual?
Questions and answers