Advertisement
Congratulations on your purchase of our Grill Gazebo. Our clear, easy to follow, step-by-step
instructions will guide you through the assembly process from start to finish.
WARNING:
This unit is heavy. Do not assemble this item alone. 4 people are recommended for safe assembly.
Keep all children and pets away from assembly area. Children and pets should be supervised when
they are in the area of the Gazebo construction.
Keep assembly area at least 6ft/1.8m from any obstruction such as a fence, garage, house,
overhanging branches, laundry line or electrical wires.
Some parts may contain sharp edges. When assembling and using this product, basic safety
precautions should always be followed to reduce the risk of personal injury and damage to the product.
Please read all instructions before assembly and use.
Assemble on level ground.
Check all bolts for tightness before use, and periodically check and tighten bolts as necessary.
For outdoor use only
Please take time to read these instructions thoroughly and follow each step carefully for safe and easy
operation. Keep this manual to consumer for installer and consumer future reference/use.
We would like to hear from you with any comments or suggestions. In the continental U.S. or Canada,
you can call us toll-free at 1-888-301-0332 from 8 a.m. to 5 p.m. CST Monday – Friday.
You can also send us an email using the feedback icon at SamsClub.com.
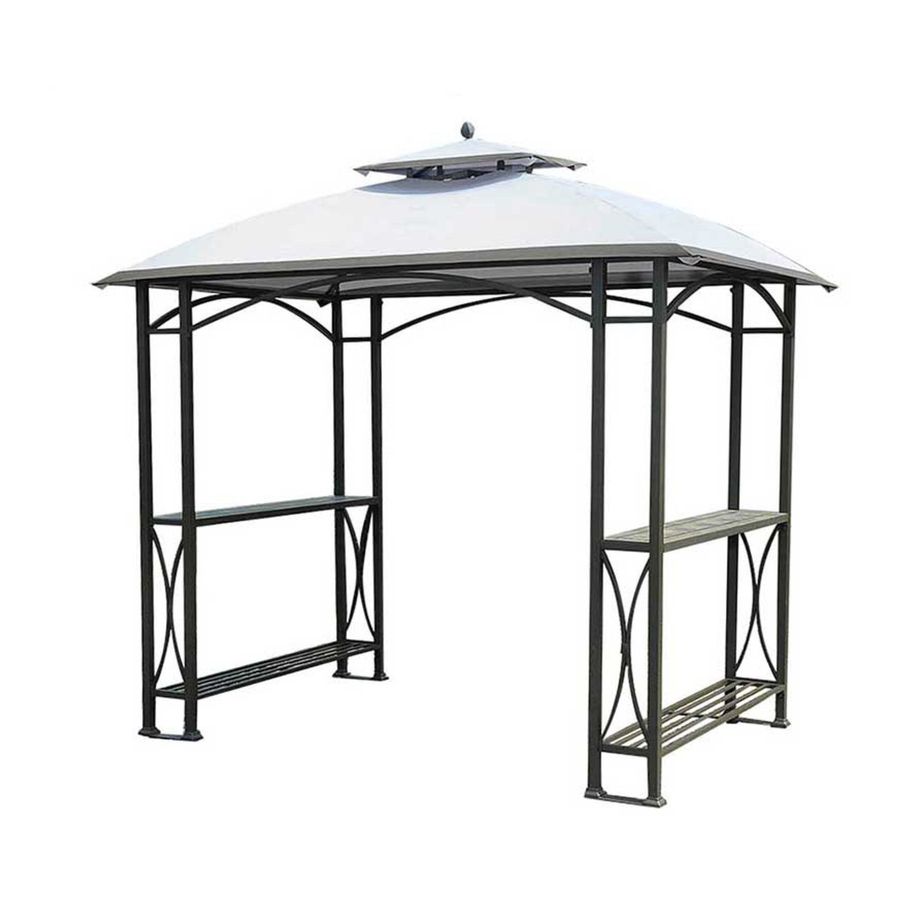
Grill Gazebo
Item# L-GG040PST-A
IMPORTANT
1
Advertisement
Table of Contents

Related Manuals for Sunjoy L-GG040PST-A


Summary of Contents for Sunjoy L-GG040PST-A
- Page 1 Grill Gazebo Item# L-GG040PST-A Congratulations on your purchase of our Grill Gazebo. Our clear, easy to follow, step-by-step instructions will guide you through the assembly process from start to finish. WARNING: This unit is heavy. Do not assemble this item alone. 4 people are recommended for safe assembly.
- Page 2 Parts List Description Pic. Post Screen 1 Post Screen 2 Long Side Screen Short Side Screen Slate Table Top Shelf Oblique Beam Big Top Connector Small Top Oblique Beam Small Top Connector Finial Hook Small Canopy Big Canopy Screw...
- Page 4 Fig.3: Insert Long Side Screen (C) Fig.2: Insert Slate Table Top Fig.1: Insert Shelf (F) into the into the buckle of Post Screen 1&2 (E) into the buckle of Post buckle of Post Screen 1&2 (A&B), and fix them by Screw (O). Screen 1&2 (A&B), and fix (A&B), and fix them by Screw (Do the same steps for Short Side...
- Page 5 Fig.5: Insert the bottom of Oblique Beam Fig.4: Insert Oblique Beam (G) into Big Top (G) into Post Screen 1&2 (A&B), then put Connector (H), then attach Hook (L) to Big Big Canopy (N) on the big top. Do not top Connector (H).
- Page 6 Hardware Pack Stake Φ8x180mm 8 PCS · Fig.9: Cover Oblique Beam (G) by Fig.8: Put Small Canopy (M) onto the Small Big Canopy (N). Top and extend it to Small Top Oblique Beam (I), attach Finial (K) to Small Top Connector (J). Fig.10: Fix the assembled gazebo to floor by Stake (HH).
- Page 7 Care & Maintenance Before using, clean the gazebo completely with a soft dry towel. When not in use, wipe free of any dirt or loose objects, wash with a mild solution of soap and water; rinse thoroughly and dry completely. Do not use strong detergent or abrasive cleaners.
Need help?
Do you have a question about the L-GG040PST-A and is the answer not in the manual?
Questions and answers