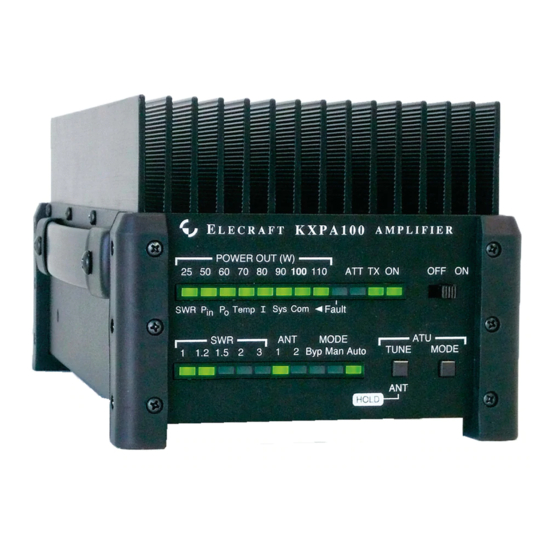
ELECRAFT KXPA100 Manual
Serial data noise suppression
Hide thumbs
Also See for KXPA100:
- Assembly manual (27 pages) ,
- Owner's manual (55 pages) ,
- Owner's manual (13 pages)
Advertisement
Introduction
Under certain conditions when the KX3 and the KXPA100 are connected to a personal computer via the RS232
port, noise from serial data may be audible in the receiver. Adding a bypass capacitor eliminates this noise.
Parts and Tools Required
You will need a temperature-controlled ESD-Safe soldering station, fine solder, and your normal hand tools such
as needle nose pliers and diagonal cutters.
A kit containing the required parts is available from Elecraft. Order KXPAMDKT1.
QUANTITY
Procedure
A grounded wrist strap and ESD dissipating mat are recommended whenever you work inside your
KXPA100. Optionally, touch a bare metal ground frequently while working.
1. Remove the KXPA100's bottom cover.
2. Remove the front and rear panel. Unplug the TMP jacks from the SO-239 Antenna connections to the
boards.
3.Remove the KXAT100 antenna tuner board, if installed.
4. With the LED bar graph at the front of the amplifier turned to your left, locate the square microprocessor,
U1 near the upper left corner of the LPF board. Locate the capacitor position C211 above the microprocessor.
You do not need to remove the LPF board from the PA board.
Elecraft KXPA100
Serial Data Noise Suppression
Revision A, February 4, 2014
Copyright © 2014, Elecraft, Inc. All Rights Reserved
DESCRIPTION
1
Capacitor, 0.01 µF, 50V, 0.1"LS
1
Capacitor, 0.01 µF, 0805 SMD
Elecraft
•
www.elecraft.com
•
ELECRAFT PART
NUMBER
E530019
E530305
831-763-4211
Advertisement
Table of Contents

Subscribe to Our Youtube Channel
Related Manuals for ELECRAFT KXPA100


Summary of Contents for ELECRAFT KXPA100
- Page 1 Copyright © 2014, Elecraft, Inc. All Rights Reserved Introduction Under certain conditions when the KX3 and the KXPA100 are connected to a personal computer via the RS232 port, noise from serial data may be audible in the receiver. Adding a bypass capacitor eliminates this noise.
- Page 2 9. Connect the TMP plug from the rear panel ANT 1 to the ANT 1 TMP jack on the rear of the KXAT100 board. 10. Connect the TMP plug from the rear panel RF IN to the RF IN TMP jack on the rear of the LPF board. KXPA100 Serial Noise Reduction Page 2 of 3...
- Page 3 13. Replace the front panel, taking care to align the LED bar graph(s). replace all of the screws. 14. Replace the front panel. Replace the feet and all hardware. This completes the modification. KXPA100 Serial Noise Reduction Page 3 of 3...
Need help?
Do you have a question about the KXPA100 and is the answer not in the manual?
Questions and answers