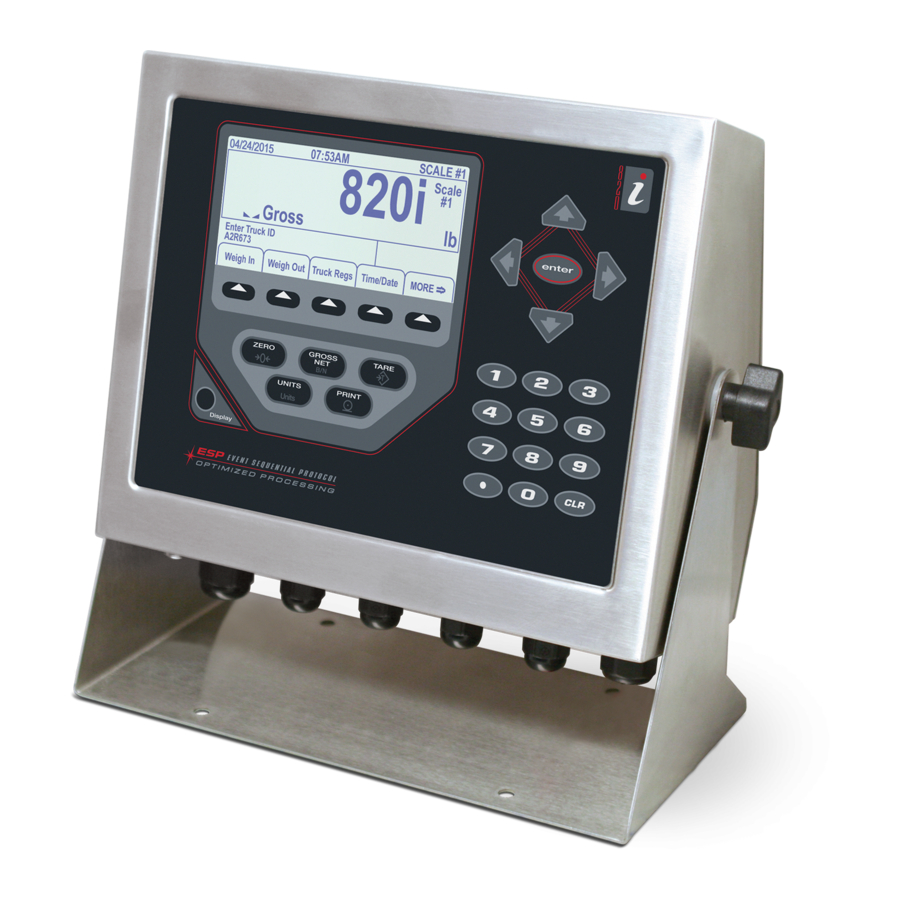
Rice Lake 920i Installation Instructions
Programmable hmi indicator/controller, digital i/o expansion card
Hide thumbs
Also See for 920i:
- Installation manual ,
- Programming reference manual (98 pages) ,
- Technical manual (40 pages)
Advertisement
Quick Links
™
920i
Programmable HMI Indicator/Controller
Digital I/O Expansion Card Installation Instructions
PN 67601
Use the following procedure to install digital I/O
expansion cards in
920i
indicators:
1. Disconnect indicator from power source.
Disconnect
indicator backplate.
2. Place indicator face-down on an antistatic
work mat. Remove screws that hold the
backplate to the enclosure body.
Use a wrist strap to ground yourself and
protect components from electrostatic
discharge (ESD) when working inside the
indicator enclosure.
3. Carefully align the large option card
connector with connector J5 or J6 on the CPU
board. Press down to seat the option card in
the CPU board connector.
4. Use the screws and lockwashers provided in
the option kit to secure the other end of the
option card to the threaded standoffs on the
CPU board (see Figure 1).
Figure 1. Installing Option Card Onto CPU Board
5. Make connections to the option card as
required. Figure 2 shows connections
available on connector J3 (up to eight digital
I/O channels). Connector J2 provides all 24
channels using a 50-pin ribbon cable (see
Table 3).
Use cable ties to secure loose cables inside the
enclosure.Once cabling is complete, position
the backplate over the enclosure and reinstall
the backplate screws. Use the torque pattern
shown in Figure 4 to prevent distorting the
backplate gasket. Torque screws to 15 in-lb
(1.7 N-m).
January 2005
power
before
removing
J6
J2
49
50
1
J3
Figure 2. Digital I/O Expansion Card
Pin
Signal
1
DIO24
3
DIO23
5
DIO22
7
DIO21
9
DIO20
11
DIO19
13
DIO18
15
DIO17
17
DIO16
19
DIO15
21
DIO14
23
DIO13
25
DIO12
Table 3. J2 Ribbon Cable Connections
J1
1
2
12
Pin
Signal
27
DIO11
29
DIO10
31
DIO9
33
DIO8
35
DIO7
37
DIO6
39
DIO5
41
DIO4
43
DIO3
45
DIO2
47
DIO1
49
+5V
even pins
GND
69087
Advertisement

Summary of Contents for Rice Lake 920i
- Page 1 ™ 920i Programmable HMI Indicator/Controller Digital I/O Expansion Card Installation Instructions PN 67601 Use the following procedure to install digital I/O expansion cards in 920i indicators: 1. Disconnect indicator from power source. Disconnect power before removing indicator backplate. 2. Place indicator face-down on an antistatic work mat.
- Page 2 1 5 i n - l b ( 1 . 7 N - m ) machine model I/O Connection 50-pin ribbon connector, 8-screw terminal connector Figure 4. 920i Enclosure Backplate 920i automatically recognizes all installed option cards when the unit is powered on. No hardware-specific configuration is required to identify the newly-installed card to the system.


Need help?
Do you have a question about the 920i and is the answer not in the manual?
Questions and answers