Extron electronics Quantum Ultra Replacing Manual
Hide thumbs
Also See for Quantum Ultra:
- User manual (85 pages) ,
- User manual (101 pages) ,
- Quick start manual (3 pages)
Advertisement
Quick Links
Replacing the Quantum Ultra
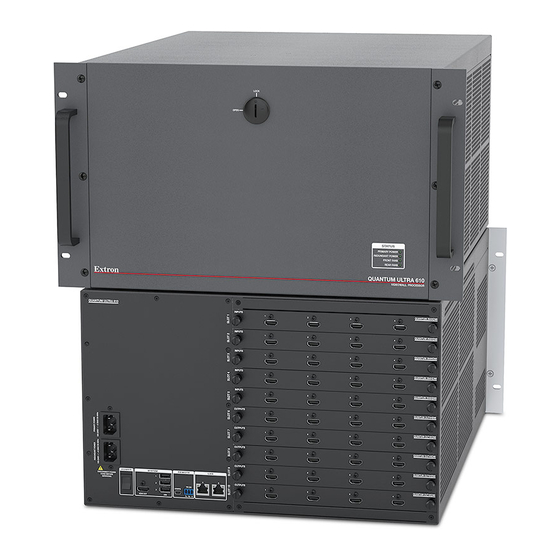
The Quantum Ultra has a primary and a redundant power supply unit (PSU) to ensure continued,
uninterrupted operation if a power supply should fail. However, if a power supply does fail, you should replace it as soon as
possible. The power supplies are hot-swappable, that is, one can be replaced while the unit is operating with the other PSU
supplying power.
NOTE:
For full installation, configuration, and operation details, see the Quantum Ultra User Guide, available at
www.extron.com.
To replace either Quantum Ultra power supply:
Using a screwdriver or other tool, loosen the two thumbscrews on the power supply and the two thumbscrews on the
1.
protective cover panel (see figure 1,
ATTENTION:
•
Thumbscrews should be tightened with a tool after both initial installation and subsequent access to the panel.
•
Les vis doivent être serrées avec un outil adapté après la première installation et l'accès postérieur au panneau.
NOTE:
The thumbscrews cannot be removed completely.
3 3
3 3
Unfastening the Power Supply
Figure 1.
Remove the cover panel (
2.
Rotate the lever to the right (
3.
Power Supplies
®
).
1
).
2
3
) until it is in a horizontal position, parallel to the bottom of the unit.
1
2
Product Category
1
Advertisement

Related Manuals for Extron electronics Quantum Ultra


Summary of Contents for Extron electronics Quantum Ultra
- Page 1 Power Supplies ® The Quantum Ultra has a primary and a redundant power supply unit (PSU) to ensure continued, uninterrupted operation if a power supply should fail. However, if a power supply does fail, you should replace it as soon as possible.
- Page 2 Replacing the Quantum Ultra Power Supplies (Continued) As you rotate the lever, the power supply slides to the right. If necessary, continue sliding the PSU to the right as far as possible (see figure 2, Rotating the Latch and Sliding the Power Supply to the Right Figure 2.
- Page 3 Product Category Slide the new power supply into the empty slot vacated by the old PSU, until its back panel is flat against the back wall of the power supply compartment. NOTE: There are two keyhole slots in the back wall and one on the front surface of the power supply compartment. The power supply has three protruding pegs (see figure 3, Pegs on the Back of the Power Supply Figure 3.
- Page 4 Extron USA - East +1.714.491.1500 +1.919.850.1000 +31.33.453.4040 +91.80.3055.3777 +1.714.491.1517 FAX +1.919.850.1001 FAX +31.33.453.4050 FAX +91.80.3055.3737 FAX www.extron.com 68-3175-01 © 2017 Extron Electronics — All rights reserved. All trademarks mentioned are the property of their respective owners. Rev. A 08 17...
Need help?
Do you have a question about the Quantum Ultra and is the answer not in the manual?
Questions and answers