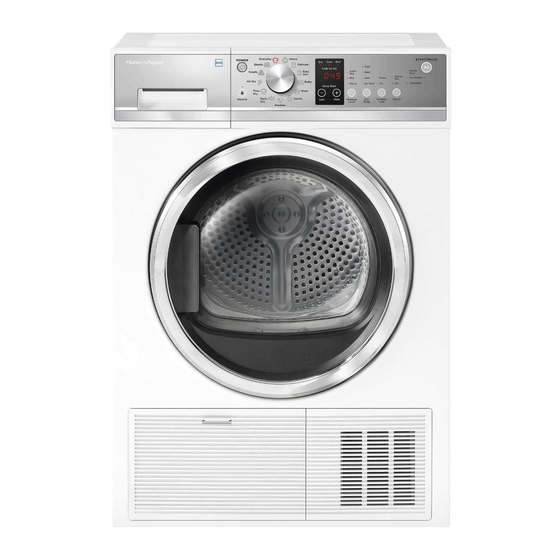
Fisher & Paykel DH8060P1 Quick Start Manual
Hide thumbs
Also See for DH8060P1:
- Service manual (34 pages) ,
- Installation instructions manual (8 pages) ,
- Getting started (2 pages)
Table of Contents
Advertisement
Quick Links
Caring for your dryer
When you have finished using your dryer
• Unplug the machine from the power socket.
• Wipe around the door to remove any remaining condensation and foreign matter.
• Clear the lint filter and empty the water tank (if not set up to automatically drain).
Cleaning your dryer
• Before you start cleaning your dryer, ensure that it is disconnected from the power (ie unplug the machine
from the power socket).
Cleaning the control panel and outer surfaces of the dryer
• Use a soft damp cloth to wipe all surfaces, then wipe dry. Avoid using chemical or scouring cleaners, as
these will damage the paint and plastic surfaces of your dryer.
Cleaning the inside of your dryer
• It is important that you occasionally clean the inside of your dryer. If the drum has any residual dirt or lint
stuck to it, remove this and wipe it clean with a damp cloth. Do not leave any metal objects in the drum, as
these may cause rust.
Cleaning the lint filter
• Lint is generally formed during wearing and washing. Fibres (ie lint) released from the clothes during the drying
cycle are collected in the lint filter.
• It is important to clean the lint filter after every load, as the lint produced in the drying process can become a fire
hazard if it is allowed to accumulate in or around your dryer.
• The lint filter is located in the door opening (at the bottom).
• There is a warning light that will flash at the beginning of every cycle to remind you to clean the filter. The
warning light will also flash on and off during the cycle if the filter becomes blocked. The filter should be cleaned
as soon as the 'Lint Filter' light starts flashing. Lint becomes a fire hazard if left to build up, and will reduce the
efficiency of your dryer.
https://producthelp.fisherpaykel.com/nz/Dry/Dryers/Condensing/DH8060P1/User_Guide_DH8060P1/09_Caring_for_your_dryer
Updated: Fri, 14 Feb 2020 06:11:37 GMT
Powered by
1
Advertisement
Table of Contents

Summary of Contents for Fisher & Paykel DH8060P1
-
Page 1: Caring For Your Dryer
The filter should be cleaned as soon as the ‘Lint Filter’ light starts flashing. Lint becomes a fire hazard if left to build up, and will reduce the efficiency of your dryer. https://producthelp.fisherpaykel.com/nz/Dry/Dryers/Condensing/DH8060P1/User_Guide_DH8060P1/09_Caring_for_your_dryer Updated: Fri, 14 Feb 2020 06:11:37 GMT Powered by... - Page 2 If the water tank becomes full during operation, the dryer will go into ‘Cool’ mode for several minutes, then pause and beep to alert you. Empty the tank and touch https://producthelp.fisherpaykel.com/nz/Dry/Dryers/Condensing/DH8060P1/User_Guide_DH8060P1/09_Caring_for_your_dryer Updated: Fri, 14 Feb 2020 06:11:37 GMT Powered by...
- Page 3 If the water tank becomes full, the tumble dryer will pause drying and will sound an • alarm. You must empty the water tank before the dryer can continue drying. Empty the tank, replace it back in the housing then touch to resume the cycle. https://producthelp.fisherpaykel.com/nz/Dry/Dryers/Condensing/DH8060P1/User_Guide_DH8060P1/09_Caring_for_your_dryer Updated: Fri, 14 Feb 2020 06:11:37 GMT Powered by...
-
Page 4: Cleaning The Condenser
To clean the sensors: 1. Open the door of your machine. 2. Allow the machine to cool if drying has been carried out. 3. Locate the metal sensors just behind the lint filter. https://producthelp.fisherpaykel.com/nz/Dry/Dryers/Condensing/DH8060P1/User_Guide_DH8060P1/09_Caring_for_your_dryer Updated: Fri, 14 Feb 2020 06:11:37 GMT Powered by... - Page 5 4. Wipe the sensors with a soft cloth, dampened with vinegar. Dry the sensors with a dry cloth. https://producthelp.fisherpaykel.com/nz/Dry/Dryers/Condensing/DH8060P1/User_Guide_DH8060P1/09_Caring_for_your_dryer Updated: Fri, 14 Feb 2020 06:11:37 GMT Powered by...


Need help?
Do you have a question about the DH8060P1 and is the answer not in the manual?
Questions and answers