
Related Manuals for Freewing F-35 Lightning II Joint Strike Fighter


Summary of Contents for Freewing F-35 Lightning II Joint Strike Fighter
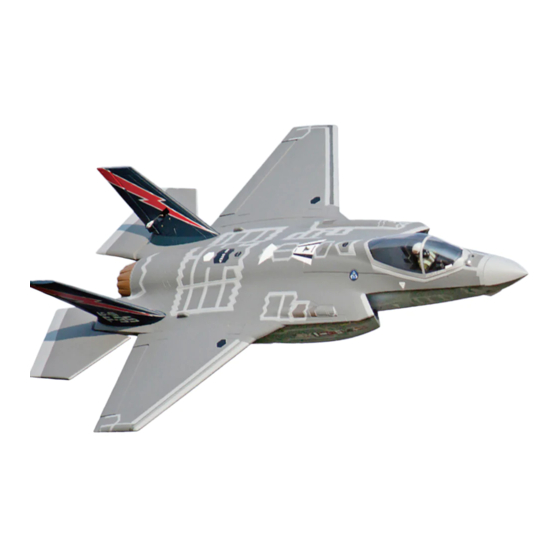
- Page 1 F-35 Lightning II Joint Strike Fighter FREEWING 1/13 SCALE 70MM EDF JET Wingspan:820mm Length:1210mm Empty Weight:1700G[w/o Battery] 中 9~16...
-
Page 2: Table Of Contents
Introduction Basic Product information Packing list PNP Assembly Instructions Install Vertical Stabilizer Install Main wing Install Horizontal Stabilizer Install Scale Accessories Battery Pushrod instructions Center of Gravity Control Direction Test Dual Rates and Flight Attention Servo Direction Motor Specification 前言 产品基本参数... -
Page 3: Introduction
Introdu ctio n Thank you for purchasing our Freewing 70 mm EDF Super Scale Jet, the F-35 Lightning II! It is 1210mm in length with a wingspan of 820mm. This 1/13 scale F35 uses EPO material. This F-35 innovates on previous versions by adding scale details with lots of engraved lines on the surface new paint and decal processes, and lots of scale plastic accessories. -
Page 4: Basic Product Information
Pro duct basic information Wingload:163g/dm² Wing Area: 14 dm2 Motor: 2957-2210KV I/R Motor Servo: 9g MG Digital servo (7pcs) ESC: 80A with 5A UBEC Ducted fan: 70mm 12-blade fan Weight: 1700g (w/o Battery) Thrust: 2600g Other Features Material:EPO Aileron: Yes Flaps: Yes Elevator: Yes Rudder: Yes... -
Page 5: Pnp Assembly Instructions
P NP Assemb ly In stru ctio ns Install Vertical Stabilizer Step1 As the photo show: 1.Connect the rudder cable with fuselage extension wire, and install the left/right vertical stabilizer. 2.Use 4pcs screws to fix the vertical stabilizer. A-Rudder B-Rudder servo cable C-Screw (FA3x8mm 4pcs)... -
Page 6: Install Scale Accessories
P NP Assemb ly In stru ctio ns As the photo show: Use elevator pushrod to connect the servo arm and elevator arm (2pcs) Battery Size Cockpit Use rubberized non-slip tape or hook-and-loop tape Battery Velcro Battery cabin size: L=270mm W=75mm H=50mm Before connecting the battery and receiver, please We recommend the following LiPo battery: switch on the transmitter power and make sure... -
Page 7: Pushrod Instructions
P NP Assemb ly In stru ctio ns Pus hrod ins truc tions Nose gear steering pushrod Iength Nose gear steering pushrod mounting hole Pushrod diameter Ø1 m m 65 mm ( - 15 / " ) Rudder pushrod Iength Rudder pushrod mounting hole Pushrod diameter Ø1... -
Page 8: Control Direction Test
P NP Assemb ly In stru ctio ns Control Direction Test After installed the plane, before flying, we need a fully charged battery and connect to the ESC, then use radio to test and check that every control surface work properly. Aileron Stick Left Stick Right... -
Page 9: Dual Rates And Flight Attention
P NP Assemb ly In stru ctio ns Dual Rates According to our testing experience, use the following parameters to set Aileron/Elevator Rate. Program your preferred Exponential % in your radio transmitter. We recommend using High Rate for the first flight, and switching to Low Rate if you desire a lower sensitivity. -
Page 10: Servo Direction
P re-In stal led C om p on en t Overview Servo Direction If you need to purchase another brand’s servo, please refer to the following list to choose a suitable servo. Pos itio n Servo regu latio n No . Pos ./R ev. - Page 11 前 言 中文版 欢迎购买飞翼 模型 2 01 9 款 F - 35 A 电 动 涵 道 模型 飞机 ,此 模型 机长 121 0mm,翼 展 82 0m m , 近似 1/ 13 比 例 , 主 要 采 用 E PO 材 料 制作 。外 形轮 廓仿真 ,细 节丰 富, 在机体 表面 拥 有...
- Page 12 标 准 版 翼载荷:163g/dm2 翼面积:14dm2 舵机:9g数码金属(7pcs) 电机:2957-2210KV内转无刷电机 涵道风扇:70mm 12叶一体涵道 电调:80A无刷电调 UBEC 5A 起飞重量:1700g(不含电池) 推力: 2600g 其 它 特 性 机体材料:EPO,ABS工程塑料 副翼:有 襟翼:有 平尾:有 垂尾:有 起落架:金属减震起落架 飞行员:仿真飞行员(1pcs) 电池范围:锂电池 6S 3500-4500mAh (1pcs) 1210mm(47.63 in) 注意: 此处各项参数,均使用本公司配件测试得出,如果使用副厂配件, 会有所差异。使用副厂配件时所产生的问题,我们将无法给予技术支持! 打开产品包装,核对包装清单。 (不同配置的版本,包含内容不同!) 序号 配件名称 AR F Plus Airfram e 序号...
- Page 13 垂 尾 组 装 步骤1 如图所示: 1.将垂尾舵机线与机身延长线连接后,把左、右垂尾安装好; 2.使用4颗螺丝固定住垂尾,防止松脱! A-垂尾 B-垂尾舵机线 C-螺丝 (FA3x8mm 4pcs) 步骤2 主 翼 组 装 步骤1 如图所示: 1.将碳纤管插入机身两侧,把主翼舵机线与机身延长线连接; 2.把左、右主翼安装好后,用螺丝把主翼固定。 (Ø6x680mm 1pcs) A-碳纤管 B-主翼舵机线 C-螺丝 (PWA3x8mm 4pcs) 步骤2 平 尾 组 装 如图所示: 1.将左、右平尾的转接塑料件分别 插到机身尾部; 2.让平尾居中,然后使用4颗螺丝 固定,防止松脱! (FA3x8mm 4pcs) F-35 Lightning II ltem No : FJ216-V01...
-
Page 14: 仿真小配件
如图所示: 用平尾控制钢丝将舵机摇臂与全动平尾的舵面摇臂连接起来。 (2pcs) 电 池 安 装 说 明 电池舱盖 电池安装好后,用魔术带扎紧 电池 扎带 电池舱尺寸: L=270mm W=75mm H=50mm 我们建议使用的电池容量和放电倍率如下: 将电池与电调间接前,首先请打开发射机电源,确 认油门杆处于低位。 锂电池6S22.2V 3500mAh~6S22.2V 4500mAh 放电倍率 > 30C 机 头 罩 安 装 机头罩 F-35 Lightning II ltem No : FJ216-V01... -
Page 15: 舵面控制钢丝尺寸
舵 面 控 制 钢 丝 尺 寸 前 轮 转 向 控 制 钢 丝 尺 寸 前 轮 转 向 控 制 钢 丝 安 装 孔 位 钢丝直径 Ø1.2mm 65 mm ( - 15 / " ) 垂... - Page 16 P NP 组装 说明 中文版 舵 面 测 试 当您按前面的步骤组装好飞机后,在飞机前,我们需要一块充满电的电池,连接到电调。用 遥控器测试每个舵面的工作情况,检查是否正常! 副 翼 副翼摇杆 副翼摇杆 向左运动 向右运动 方向舵 方向摇杆 方向摇杆 向右运动 向左运动 升降舵 升降摇杆 升降摇杆 向下运动 向上运动 F-35 Lightning II ltem No : FJ216-V01...
- Page 17 大 大 、 小 舵 参 数 根据我们的测试经验,我们认为,按以下参数来设置大小舵量,将有助于飞行,舵量越大,模型飞机 的动作响应更快,动作幅度可以更大。我们建议初次飞行使用大舵量起飞,然后根据个人情况调整到适合 您的舵量。 副 翼 升 降 舵 方 向 舵 副翼(内侧) 升降舵(内端) 方向舵(下端) H1 H2 14mm 14mm H1 H2 21mm 21mm H1 H2 13mm 13mm 小舵量 舵量比率: : 舵量比率: 舵量比率: H1 H2 18mm 18mm H1 H2 25mm 25mm H1 H2 15mm 15mm 大舵量...
-
Page 18: 电机参数
配 件 说 明 中文版 舵 机 使 用 介 绍 我们的舵机正、反向标准是: 当舵机输入信号从 到 时, 如果舵机摇臂, 顺时针旋转---正向舵机 你是猪旋转---反向舵机 如果您需要选购其它品牌的舵机进行安装, 请参考下面的表格选择的舵机 舵 机 位 置 舵 机 规 格 序 号 正 、 反 向 舵 机 线 长 正 向 前... - Page 19 RC.com...
Need help?
Do you have a question about the F-35 Lightning II Joint Strike Fighter and is the answer not in the manual?
Questions and answers