
Related Manuals for Freewing F 18E


Summary of Contents for Freewing F 18E
-
Page 1: Instruction Manual
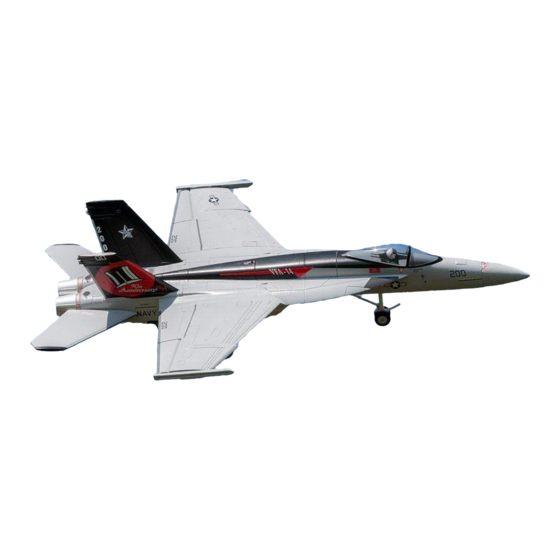
Item No.: F1901 F/A 18E Super Hornet Vectored Thrust EDF Jet Instruction Manual The manual suit for every color shame of Freewing F/A-18 Super Hornet. The manual only choose one color shame as an example. - Page 2 Flight weight....4-1/2 lB. [ <2100g ] Control setting............7 Wing Area....387 sq.in.approx Center of Gravity............11 EDF Fan....90mm Thank you for purchasing for the Freewing F/A 18E Thrust......84-1/2 oz. Super Hornet 90mm EDF that includes scale electric retractable landing gear with suspension,360 degree Motor......1700kv out-runner brushless motor.
-
Page 3: Safety Precautions
3. Freewing Model.and our dealers are not responsible Read Before Flight for any economic or law liability for any improper (general safety guidelines) usage or operation of this model. 4. This model is designed for use by modelers age 1. Before each flight,please check the aircraft 14 and over.This model is not recommended for... - Page 4 Before starting,use the contents list to take an inventory and make sure it is complete.If any parts are missing or are not of acceptable quality,contact freewing@sz-freewing.com Install instruction 1. This manual will help you assemble your F-18E. Let’s start with the installation of the main wing panels.
- Page 5 5. Plug in the servo connector and the wing tip light. Please match the polarity. On the servo connection, the orange wire matches with the white wire on the plug that exits the fuselage. 6. Feed the connected plugs into the fuselage and carefully push the wires into the slot in the wing and fuselage.
- Page 6 9. Attach the elevator to the fuselage using the supplied wood screws. 10. Connect the elevator linkage and install the foam cover using a contact adhesive. 11. Install the nose cone using foam safe CA glue, 5-minute epoxy, or contact adhesive. 12.
- Page 7 13. Use 5-minute epoxy to install the Vertical Fins. Be sure to push the light wires all the way into the fuselage so they do not interfere with the fit the Vertical Fins. 14. To install the drop tanks, push them into the matching tabs on the bottom of the wing.
- Page 8 25. A 7-channel computer radio is required to fly the F-18E. The following instructions are for the Spektrum DX-7 transmitter with the Spektrum AR7000 receiver. Make sure your screen matches the photos. 26. From the INPUT SELECT screen, inhibit AUX2 and FLAP. 27.
- Page 9 30. From the D/R & EXPO screen, select the AILE function. Set the dual rate switch for the ailerons to the “0” POSITION. Set the EXPO for +30 % to make the Ailerons less responsive in roll around the stick center. Set the D/R to 100%.
- Page 10 34. From the D/R & EXPO screen, select the RUDD function. Set the dual rate switch for the elevator to the “0” POSITION. Set the EXPO for +20 % to make the rudder less responsive around the stick center. Set the D/R to 100%. 35.
- Page 11 38. Select PROG.MIX4 from the radio menu. Set the mix for AILE to AUX2. Make sure that the rates are both at -100% and that the switch is set to ON. There should be no offset for this mix. 39. On LOW RATES the Ailerons should move 1/2"...
- Page 12 42. On HIGH RATES the Elevators should move 3/4" in both directions. 43. The Center of Gravity (CG) is measured from where the leading edge of the wing meets the fuselage. The CG range is 2- 3/4” (70mm) to 3” (75mm). This is an all- around good CG location;...
- Page 13 Flying We recommend that takeoffs and landings be made on LOW RATES. Initial flights should be made using LOW RATES until you are familiar with the aircraft. LOW RATES allow you to fly smooth pattern maneuvers. The jet is very stable with solid handling. On HIGH RATES with the Thrust Vectoring turned on, the airplane can perform amazing maneuvers.
- Page 14 Warranty Freewing guarantees this kit to be free from defects in both material and workmanship at the date of purchase. This warranty does not cover any component parts damaged by use or modification. In no event shall Freewing’s liability exceed the original cost of the purchased kit.
Need help?
Do you have a question about the F 18E and is the answer not in the manual?
Questions and answers