Table of Contents
Advertisement
Quick Links
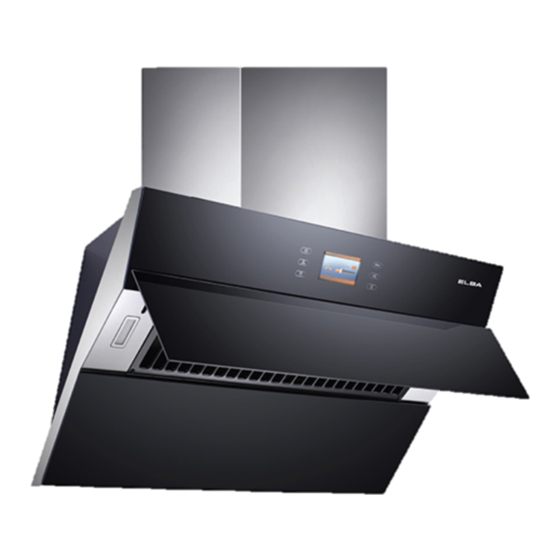
DESIGNER HOOD
MODEL: EH-H9329TFT(BK)
Owner's Manual
Please read this manual carefully
before operating your set.
Retain it for future reference.
Record model number and serial
number of the set.
See the label attached on the set and
quote this information to your dealer
when you require service.
For The Warranty Terms & Conditions, Please Refer To Warranty Certificate
Advertisement
Table of Contents

Subscribe to Our Youtube Channel
Related Manuals for Elba EH-H9329TFT(BK)


Summary of Contents for Elba EH-H9329TFT(BK)
- Page 1 DESIGNER HOOD MODEL: EH-H9329TFT(BK) Owner’s Manual Please read this manual carefully before operating your set. Retain it for future reference. Record model number and serial number of the set. See the label attached on the set and quote this information to your dealer when you require service.
-
Page 2: Table Of Contents
CONTENTS SAFETY PRECAUTIONS …………..……………………………………………………………………………………….1 ASSEMBLY INSTRUCTIONS ………………………………………………………………………………………………2 PRODUCT DESCIPTIONS ……..…………………………………………………………………………………………….3 3.1 CONTROL PANEL……………………………………………………………………………………………………………3 3.2 DISPLAY DESCRIPTIONS……………………………………………………………………………………………………4 3.3 MAIN MENU……………………………………………………………………………………………………………………4 3.4 SYMBOL…………………………………………………………………………………………………………………………4 PROGRAMS AND FUNCTIONS ………………………………………………………………………………………5 4.1 SELECTING THE COOKER HOOD PROGRAMS……………………………………………………………………5 4.2 SETTING FOR THE FIRST TIME………………………………………………………………………………………5-6 4.3 SPEED FUNCTION…………………………………………………………………………………………………………6-7 4.4 LIGHT FUNCTION…………………………………………………………………………………………………………7 4.5 TIMER FUNCTION…………………………………………………………………………………………………………8 4.6 FILTERING SYSTEM ALARM………………………………………………………………………………………………8... -
Page 3: Safety Precautions
Please read this instruction carefully. It is advisable to keep this instruction manual in a safe place for future reference. 1.0 SAFETY PRECAUTIONS 1. Keep electrical appliances out of reach from children. Do not let them to operate the appliances without supervision. 2. -
Page 4: Assembly Instructions
2.0 ASSEMBLY INSTRUCTIONS Please check the following before installation: Installation of cooker hood must be carried out by an authorized or qualified technician. Remove all packaging materials from the cooker hood. Check and make sure that the cooker hood is not damaged. ... -
Page 5: Product Desciptions
3.0 PRODUCT DESCRIPTIONS 3.1 Control Panel Number Icon Descriptions ON / OFF Button, Press button to turn appliance on or off. Fan Speed Button, Press button and set the fan speed setting. Light Button, Press button to adjust the light brightness. Menu Button, Press button to return to the main menu screen. -
Page 6: Display Descriptions
3.2 Display Descriptions Number Descriptions Menu Current Time Program Selection Scroll Up Scroll Down Press to turn on appliance. The main menu appears in the display with a list of options. Select the program by touching the screen. If the desire program is not appear in display screen, please scroll up or down to search for the programs. -
Page 7: Programs And Functions
4.0 PROGRAMS AND FUNCTIONS 4.1 Selecting the Cooker Hood Programs To select the cooker hood programs, touch the screen and select the desire programs. The detail of the programs as below: Program Description Speeds To control the fan speed in low, high, turbo mode. Light To control the light brightness Timer... -
Page 8: Speed Function
BRIGHTNESS Click brightness setting and select the brightness by sliding the screen. Slide left to turn the screen brightness to darker and slide right to turn the screen brightness to brighter. Click “OK” to save and return back to setting interface. VOLUME Click volume setting and select the volume by sliding the screen. -
Page 9: Light Function
During the operation of the motor, press the “Duration” button to set the delay shutdown. Set the duration “HOURS : MINUTES” and click “OK”. The cooker hood will turn off automatically after the duration. 4.4 Light Function Press the button to turn on/off the light. Click the “Light”... -
Page 10: Timer Function
4.5 Timer Function Click the “Timer” function in main menu interface to set a timer. Select the “HOURS : MINUTES” to set the delay shutdown and click “OK” to save the setting. The cooker hood will turn off automatically after the timer. 4.6 Filtering system alarm Click the “Filtering system alarm”... -
Page 11: Child Lock
4.7 Child Lock Press and hold the button for 3 seconds to activate the child lock function. The panel will be lock except for the child lock button. Press and hold the button for 3 seconds to deactivate the child lock. 5.0 CLEANING AND MAINTENANCE ... -
Page 12: Troubleshooting
TROUBLESHOOTING Malfunctions Possible Root Cause Checking The distance is too far between Lower down the cooker hood the cooker hood and cooking installation height but within the safety Weak Suction appliance guideline Strong convection due to too Shut off some of the windows or much ventilation doors The power supply is not... -
Page 13: Technical Specification
MAIN SPECIFICATION Rated Voltage : 220-240V/50Hz LED Light : 1.5W x 2 Suction Power : 1,400m³/hr Motor Power : 250W Product Dimension : 900mm (W) x 890 - 1,290mm (H) x 408mm (D) PRODUCT SIZE NOTICE This product must not be disposed together with domestic waste. It has to be disposed at an authorized place for recycling of electrical and electronic appliances.
Need help?
Do you have a question about the EH-H9329TFT(BK) and is the answer not in the manual?
Questions and answers