
Subscribe to Our Youtube Channel
Related Manuals for Osram ARCHISHAPE 2.5 Washer


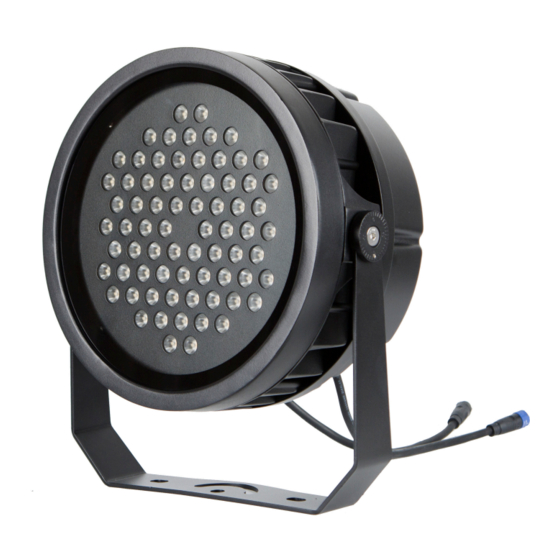
Summary of Contents for Osram ARCHISHAPE 2.5 Washer
- Page 1 Preliminary ARCHISHAPE 2.5 Washer ® ARCHISHAPE 2.0 Linear ® DMX and RDM Configuration Guide Cover: ARCHISHAPE 2.5 Washer ® ARCHISHAPE 2.0 Linear ®...
-
Page 2: Table Of Contents
TABLE OF CONTENTS 1. INTRODUCTION CONNECTION TOOLS TYPICAL CONNECTION DIAGRAM (WITH BUTLER S2) E:CUE PROGRAMMER CONFIGURATION AUTO-ADDRESSING EXPERT SETUP AUTO-ADDRESSING CONFIGURATION RDM CONFIGURATION (OPTIONAL) For your own safety and that of the product, please read this configuration guide carefully before beginning setup and installation. SPECIFICATIONS ARE SUBJECT TO CHANGE WITHOUT NOTICE. -
Page 3: Introduction
INTRODUCTION ARCHISHAPE 2.5 Washer and ARCHISHAPE 2.0 Linear allow users to configure the ® ® luminaire through the e:cue programmer easily. Major feature that can be configured include: • DMX Auto-addressing CONNECTION Tools • e:cue Programmer (part of Lighting Application Suite, need USB dongle to use ActionPad) •... -
Page 4: E:cue Programmer Configuration
E:CUE PROGRAMMER CONFIGURATION Open e:cue Programmer (V7.0 or higher). Go to “Application Options” under the “Advanced” top menu. Click “Advanced”. Make sure the “e:net” setting is in the same network for Butler S2. For example, if IP of Butler S2 is 172.16.17.201, then the IP of host computer should be 172.16.17.XXX, which XXX can be any values from 1 to 254. - Page 5 Click “Automatic Device Setup Wizard”, then click “OK” if the Butler S2 is detected: FIG.4: Auto Setup Then the Butler S2 will be “Online” in “Device Manager”. FIG.5: Device Manager SPECIFICATIONS ARE SUBJECT TO CHANGE WITHOUT NOTICE. DMX/RDM Configuraion Guide 07/19 / V0.1 5 of 10...
-
Page 6: Auto-Addressing
AUTO-ADDRESSING Expert Setup Select “Application Suite” > “Toolbox”. FIG.6: Toolbox Click “Expert Setup”. SPECIFICATIONS ARE SUBJECT TO CHANGE WITHOUT NOTICE. DMX/RDM Configuraion Guide 07/19 / V0.1 6 of 10... -
Page 7: Auto-Addressing Configuration
FIG.7: Expert Setup Set “universe_max” to 128 and “desk_channel_max” to 65536. Click “OK”. Auto-addressing Configuration Open a show file and detect any online device in the “Device Manager”. Click the “Auto Detect Wizard” icon, and then set the detected device as the output device. - Page 8 FIG.8: Auto Setup Right-click and select “Properties” to check each device properties. The output universe should be 1 and other universes should start from 2. The number increases when more devices are connected. FIG.9: Device Properties Click “OK”. Press CTRL + F2 to open the Action Pad. SPECIFICATIONS ARE SUBJECT TO CHANGE WITHOUT NOTICE.
-
Page 9: Rdm Configuration (Optional)
FIG.10: Action Pad Enter the DMX Address and Number of DMX Universe. Click “Patch”. The Patch button turns orange. Click “Set Cmd” and wait for a few seconds. Click “Send Cmd” and wait for a few seconds. When the auto-addressing is complete, the first 16 DMX channels of each universe should be 128. - Page 10 Information is subject to change without prior notice.
Need help?
Do you have a question about the ARCHISHAPE 2.5 Washer and is the answer not in the manual?
Questions and answers