Advertisement
LARGE FLAT SCREEN ROTATION ACCESSORY
Prior to assembly, unpack carton completely and verify contents.
If you are missing any of the following components, please contact Customer Service at 1-800/582-6480
(1) Rotation Assembly
(4) 10-24 x 1/4" Phillip Head Cap Screw
(1) 5/32" Security Hex Key
BEFORE PROCEEDING, READ INSTALLATION INSTRUCTIONS COMPLETELY
CAUTION!
1. Remove screen from Chief Mount or, if not installed, install PSB interface bracket to back of screen
per instructions supplied with mount.
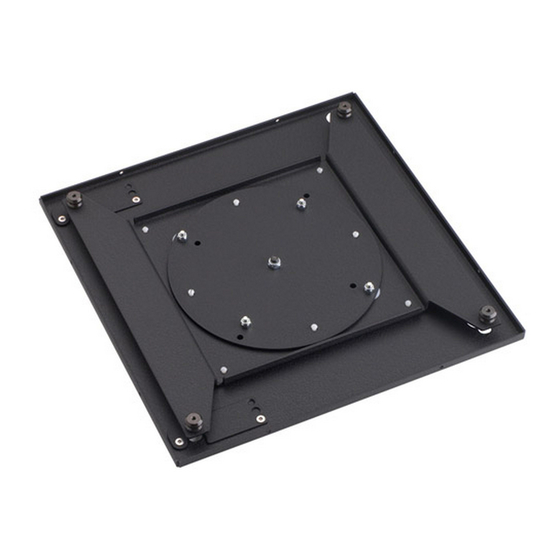
2. Attach mounting buttons to Rotation Assembly, making sure the buttons are securely fastened.
(see Figure 2 & Figure 3).
INSTALLATION INSTRUCTIONS
PAC-400
Figure 1
LARGE FLAT SCREEN DISPLAYS ARE EXTREMELY
FRAGILE.
Figure 2
(4) Mounting Buttons-Tapped 10-24
(4) 10-24 x 3/8" Flat Head Security Screws
(2) Latching Flags
Figure 3
Advertisement
Table of Contents

Related Manuals for CHIEF PAC-400


Summary of Contents for CHIEF PAC-400
- Page 1 LARGE FLAT SCREEN DISPLAYS ARE EXTREMELY FRAGILE. 1. Remove screen from Chief Mount or, if not installed, install PSB interface bracket to back of screen per instructions supplied with mount. 2. Attach mounting buttons to Rotation Assembly, making sure the buttons are securely fastened.
- Page 2 PAC-400. (See Figure 7). Figure 7 With the aid of another person, lift Large Flat Panel Display and PAC-400 up to Chief Mount, aligning buttons of rotation accessory with slots in the Chief Mount. Raise safety latch on Chief Mount to secure Display, making sure latch is completely engaged.
Need help?
Do you have a question about the PAC-400 and is the answer not in the manual?
Questions and answers