Advertisement
I N S T A L L A T I O N I N S T R U C T I O N S
Instrucciones de instalación
Installationsanleitung
Instruções de Instalação
Istruzioni di installazione
Installatie-instructies
Instructions d´installation
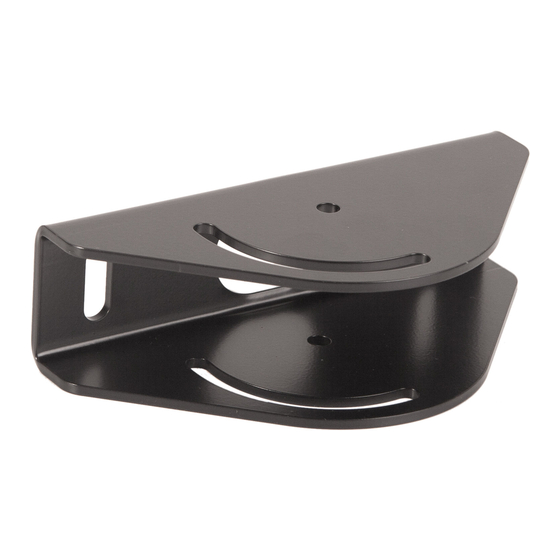
Angled Ceiling Adapter
Spanish Product Description
German Product Description
Portuguese Product Description
Italian Product Description
Dutch Product Description
French Product Description
CPA395
Advertisement
Table of Contents

Subscribe to Our Youtube Channel
Related Manuals for CHIEF CPA395


Summary of Contents for CHIEF CPA395
- Page 1 I N S T A L L A T I O N I N S T R U C T I O N S Instrucciones de instalación Istruzioni di installazione Installationsanleitung Installatie-instructies Instruções de Instalação Instructions d´installation Angled Ceiling Adapter Spanish Product Description German Product Description Portuguese Product Description Italian Product Description Dutch Product Description French Product Description CPA395...
-
Page 2: Installation Instructions
All rights reserved. installation with any height of ceiling with 2" x 4" or larger wood joists. IMPORTANT ! : The CPA395 must be attached to ceiling using two (minimum) 3/8 x 2-1/2" Grade 2 lag bolts (not IMPORTANT SAFETY INSTRUCTIONS! included). -
Page 3: Tools / Parts For Installation
Installation Instructions CPA395 DIMENSIONS 8.00 203.2 DIMENSIONS: INCHES [MILLIMETERS] TOOLS / PARTS FOR INSTALLATION 1/2" 1/2" B (4) 5/16-18 x 1" A (1) [CPA395] 1/2" nut driver C (4) 5/16" 1/4" D (4) 5/16"... -
Page 4: Assembly And Installation
The following instructions assume a suitable mounting structure and surface exists prior to installation. Using CPA395 plate (A) as a template, mark locations of two pilot holes (See Figure 1). Ensure the marks are in the center of wood joists. - Page 5 Tighten hardware installed in Steps 3 and 4. two 5/16" split lock washers (C) and two 5/16" flat washers Complete installation following mount installation (D) through fastener hole in CPA395 into first hole on each instructions. side of extension column. (See Figure 3)
- Page 6 CPA395 Installation Instructions...
- Page 7 Installation Instructions CPA395...
- Page 8 Europe A Franklinstraat 14, 6003 DK Weert, Netherlands P +31 (0) 495 580 852 F +31 (0) 495 580 845 Chief Manufacturing, a products division Asia Pacific A Office No. 1 on 12/F, Shatin Galleria of Milestone AV Technologies 18-24 Shan Mei Street...
Need help?
Do you have a question about the CPA395 and is the answer not in the manual?
Questions and answers