Advertisement
Quick Links
2
-
IN-B
+
-
EC-B
+
-
24 V
+
-
OUT B3
+
-
24 V
+
-
OUT B2
+
-
24 V
+
-
OUT B1
+
-
24 V
+
-
OUT A3
+
-
24 V
+
-
OUT A2
+
-
24 V
+
-
OUT A1
+
-
EC-A
+
-
IN-A
+
Connections
IN-A +
Input plus B
Input plus A
Input plus B
Input minnus A
Input minnus B
IN-A -
E-call plus A
E-call plus B
EC-A +
E-call minnus A
EC-A -
E-call minnus B
OUT A1 +
Speaker plus A1
Speaker plus B1
Speaker minnus A1
OUT A1 -
Speaker minnus B1
Relay plus A1
24V +
Relay plus B1
Relay minnus A1
24V -
Relay minnus B1
Speaker plus A2
OUT A2 +
Speaker plus B2
Speaker minnus A2
OUT A2 -
Speaker minnus B2
Relay plus A2
24V +
Relay plus B2
Relay minnus A2
24V -
Relay minnus B2
Speaker plus A3
OUT A3 +
Speaker plus B3
Speaker minnus A3
OUT A3 -
Speaker minnus B3
Relay plus A3
24V +
Relay plus B3
Relay minnus A3
24V -
Relay minnus B3
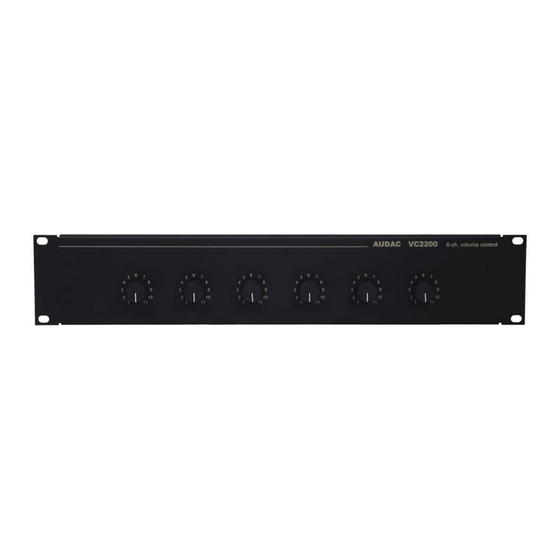
Installation:
Read and keep all safety and operation instructions for future reference.
For your own safety, follow all cautions and warnings in the operating instructions.
Qualified persons can only do service and installing.
Check the local electrical regulations before you connect the different outputs of
the VC2200 to the speaker cable.
The VC2200 consists of two separated blocks of volume controllers. Each block
can control 100 Watt divided over three canals and has also a separated
emergency call.
When you don't need a separated emergency call, connect the straps A and B, on
the PCB, with tinsolder.
If you need more than 100 Watt over one loudspeaker you have to connect the
transformer A and B, the 12 straps C on the PCB.
On page 4 you can find the most common connection diagrams of the VC2200.
We use a separated emergency call.
IN-B +
IN-B -
EC-B +
EC-B -
OUT B1 +
OUT B1 -
24V +
24V -
OUT B2 +
OUT B2 -
24V +
24V -
OUT B3 +
OUT B3 -
24V +
24V -
3
Advertisement

Subscribe to Our Youtube Channel
Related Manuals for AUDAC vc2200


Summary of Contents for AUDAC vc2200
- Page 1 If you need more than 100 Watt over one loudspeaker you have to connect the transformer A and B, the 12 straps C on the PCB. EC-A On page 4 you can find the most common connection diagrams of the VC2200. We use a separated emergency call. IN-A...
Need help?
Do you have a question about the vc2200 and is the answer not in the manual?
Questions and answers