Table of Contents
Advertisement
Quick Links
Download this manual
See also:
User Manual
Advertisement
Table of Contents

Summary of Contents for Sander XT 2000
- Page 1 Instructions Ozonizer XT 2000 Erwin Sander Elektroapparatebau GmbH Aquarientechnik instruction manual Am Osterberg 22 DE - 31311 Uetze-Eltze Tel : +49 5173 / 971-0 Fax : +49 5173 / 971-197 Internet: http://www.aqua-sander.de Revision status 23.05.2016 E-mail: info@aqua-sander.de...
-
Page 2: Table Of Contents
Alternative: Connecting the Ozonizer with Skimmer with Injector ..........7 Start-up procedure ..........................8 Operation with a "Sander Redox measurement and control unit" ..........8 Operation of the ozone generator ..................... 9 Reduced ozone output when air flow is less than 250l/h ............... 9 ... -
Page 3: Introduction
Introduction Thank you for buying this quality product from Sander! We are confident that you will be satisfied with this device. You will benefit in every respect from our many years of experience in the manufacture of aquarium technology. Please familiarize yourself with the product before using it for the first time. To do so, carefully read through the instruction manual and safety information. -
Page 4: Unit Description
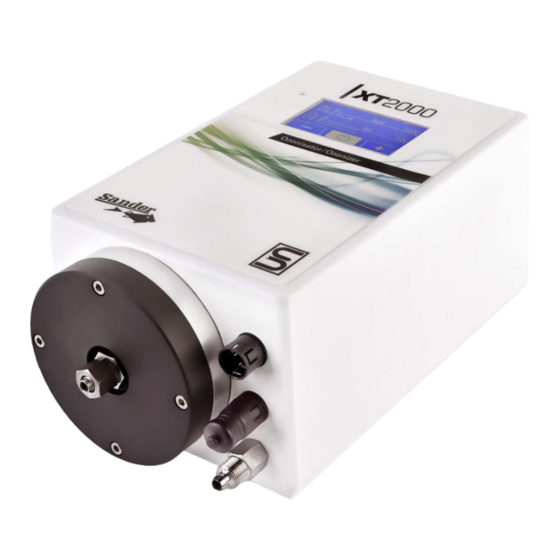
As soon as you have removed the device from its packaging, please check to ensure that all the necessary parts have been delivered and that they are in perfect working order. 1x Ozonizer XT 2000, 1x power adapter, 1x power cord, 1x adapter for connection to Sander Redox measurement... -
Page 5: Safety Instructions
Do not operate the ozonizer if it is damaged. Damaged ozonizers can seriously endanger the user. Operate your Sander ozonizer exclusively with the power supply unit type GS60A24-P1J 24V 60W 2.5A enclosed in this package. The surfaces of the ozone element (7) can be hot. First let the appliance cool down before starting any cleaning work. -
Page 6: Warranty And Disclaimer
Any damage resulting from unauthorized repair, disassembly, improper cleaning or opening the device. Damage caused by improper transportation, dropping, exposure to shocks, etc. after the purchase date. The guarantee and liability of Erwin Sander Elektroapparatebau GmbH Company covers only the delivered Ozonizer.. Revision status 23.05.2016... -
Page 7: Installing And Connecting The Ozonizer
Installing and connecting the Ozonizer Proposal A: Wall mounting On the rear of the ozonizer is a suspension clip for mounting the ozonizer on a wall. If possible, the device should be installed at a level higher than the surface of the water of the aquarium (e.g. -
Page 8: Start-Up Procedure
100 ml sea water; approx. 10 mg of ozone per hour for 200 litres of fresh water. To determine the ozone requirements, we recommend measuring the redox potential with a Sander redox measuring and regulating device, which switches the ozonizer on and off automatically depending on the set target value.. -
Page 9: Operation Of The Ozone Generator
Operation of the ozone generator After connecting the power supply the XT 2000 will start automatically. During start up the Sander logo is briefly visible on the display (1), then the operating menu appears. The ozone production is switched on and off by pressing the... -
Page 10: Cleaning And Maintenance Of The Ozone Element
Cleaning and maintenance of the ozone element The ozone output is reduced considerably with high humidity and dust. Therefore an ozone element (4) has been developed that can be easily opened and cleaned if necessary. . If the device is in permanent use, we recommend checking the ozone element every three to six weeks for dirt particles.. -
Page 11: Malfunctions
Malfunctions Fault Air Volume The air flow is less 50l/h. The device shuts off and is thus protected against overheating. Then check air supply, eliminating any blockages. Temperature fault (> 70°C) Cause of overheating: Insufficient ventilation (example: a closed technical cabinet) leads to less air flowing through the device during a maximum performance setting. -
Page 12: Disposal
In interest of general environmental protection, do not dispose of the device in domestic garbage, but provide for an appropriate way of disposal. You can be informed about garbage collecting places and opening hours at your public administration. Erwin Sander Elektroapparatebau GmbH Aquarientechnik Am Osterberg 22 DE 31311 Uetze-Eltze...

Need help?
Do you have a question about the XT 2000 and is the answer not in the manual?
Questions and answers