
Related Manuals for Pyronix DECIBELL


Summary of Contents for Pyronix DECIBELL
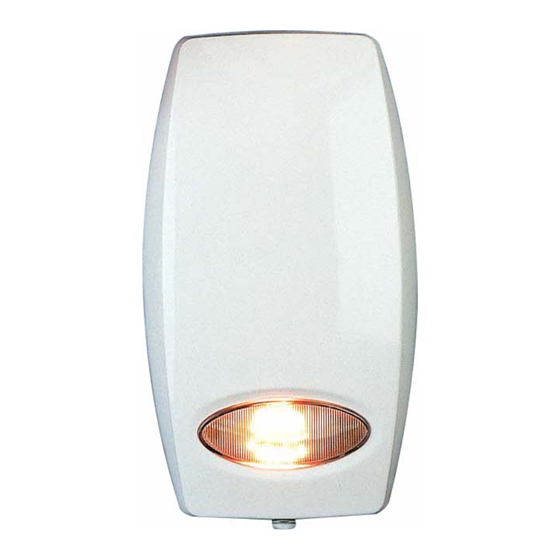
- Page 1 DECIBELL I n s ta l l a t i o n I n s t r u c t i o n s EN50131-1 RINS040-5 Security Grade 3...
-
Page 3: Table Of Contents
2.7 LED Connector ................................10 2.8 Terminal Connections ..............................10 3. WIRING BELL TAMPER TO CONTROL PANEL ZONES ................11 4. STEPS TO INSTALL THE DECIBELL ......................12 4.1 Installing the Strobe ..............................12 4.2 Choosing the Right Surface............................12 4.3 Mounting the Decibell ..............................14 5. - Page 4 Argos, Marks and Spencer and Dunnes (ROI only). 35 Points is equal to a £1 voucher. Dedicated Website You will have access to a dedicated PI Club section of the Pyronix website which is packed full of features that will keep you updated on Pyronix and industry news.
-
Page 5: Important Notes Before Installation
This product is sold subject to our standard warranty conditions and is warranted against defects in workmanship for a period of one year. In the interest of continuing improvement of quality, customer care and design, Pyronix Ltd reserve the right to amend specifications without giving prior notice... -
Page 6: The Decibell Printed Circuit Board
DECIBELL 2. THE DECIBELL PRINTED CIRCUIT BOARD The Decibell printed circuit board looks like the following: Figure 1: 2.1 PIEZO 2.2 Rear 2.3 DIP 2.4 Battery Connector Tamper Switches Terminals FLASH LED ON STB- STB+ BELL- BELL+ SND B 2.5 Strobe 2.1 PIEZO... -
Page 7: Piezo Connector
BELL+ BELL- SND B DIP Switches 1, 2, 3 and 4 DIP switches 1, 2, 3 and 4 are used to select the timers for the Decibell sounders. Please see the following page for the different timings. RINS040-5 Page: 5... -
Page 8: Testing The Piezos
DIP switch 3 DIP switch 4 5 secs test With this scenario, the Decibell will only sound for 5 seconds on an alarm system regardless what the control panel bell time is programmed as. DIP Switch 5 – LEDs DIP Switch 5 selects how the LEDS will operate, whether they will flash alternatively, or be illuminated all the time. -
Page 9: Dip Switch 6 - Strobe
DECIBELL DIP Switch 6 – Strobe DIP Switch 6 changes the polarity of the Strobe Trigger; this is associated with the STB terminal. STROBE TRIGGER (STB) STROBE TRIGGER (STB) (Negative) (Positive) STB- STB+ STB- STB+ DIP Switch 7 – Bell DIP Switch 7 changes the polarity of the Bell Trigger;... -
Page 10: Dip Switch 8 - Sound
SND B 2.4 Battery Terminals The DECIBELL comes complete with a backup battery (7.2V NICAD Battery) so that even in the event of a intruder sabotage, the bell box will still operate and protect the property. The battery connects to –BAT+ 280 mAh. -
Page 11: Strobe Connector
DECIBELL 2.5 Strobe Connector This is where the strobe for the DECIBELL connects; the strobe is powered by a 200V+ signal. DO NOT TOUCH THE STROBE AS THERE IS A DANGER OF AN ELECTRIC SHOCK. 200 VOLTS DO NOT TOUCH! -
Page 12: Led Connector
DECIBELL 2.7 LED Connector The DECIBELL has two operating LED’s that indicate that the DECIBELL is powered. These are seen through the front lid cover. If it is preferred that these are disabled simply disconnect the harness from the connector, or you can choose to have the LED illuminated all the time, see page 6. -
Page 13: Wiring Bell Tamper To Control Panel Zones
If the alarm panel requires end of line resistors, wire the DECIBELL as the below diagram. Please note that the resistance value will change depending on the alarm panel (please refer to the installation manual of that alarm system). -
Page 14: Steps To Install The Decibell
The first step is to install the strobe cover on to the front casing: 4.2 Choosing the Right Surface The DECIBELL should be mounted on a flat surface in a high visibility area. If the DECIBELL isn’t mounted on the correct surface, it could cause a hazard. - Page 15 DECIBELL Also make sure the environment is suitable: The cables to the DECIBELL should be routed away from the mains supply and telephone cables to avoid any electrical interference. 230V 230 VOLTS RINS040-5 Page: 13...
-
Page 16: Mounting The Decibell
4.3 Mounting the Decibell STEPS TO MOUNT THE DECIBELL Cut the template from the DECIBELL packaging Use the template to mark the position of the four mounting holes and the cable hole Use a suitable drill to drill the mounting holes... -
Page 17: Terminal Connections For Common Panels
DECIBELL 5. TERMINAL CONNECTIONS FOR COMMON PANELS DECIBELL TERMINALS DECIBELL Conqueror & B/S- B/S- +B/S Paragon E Paragon Plus Sterling 10 BELL NO STB NO BELL- BELL- +BELL STB- TAMPER ZONE TAMPER ZONE BAT- Atlas Paragon Super PGM1 (NO) PGM2 (NO) -
Page 18: Wiring Two Decibells In Series
DECIBELL 6. WIRING TWO DECIBELLS IN SERIES PCX Range Terminal Block Decibell 1 (SAB) Decibell 2 (SAB) Page: 16 RINS040-5... -
Page 19: Quick Reference For Faults
Check the BA voltage has returned to normal. TAMPER o Check the case is secure and the tamper switch connects. o Ensure the B- or B+ to TF (tamper loop) is in place for all Pyronix panels. o Check the correct Terminal Connections RINS040-5... -
Page 20: Technical Specifications
DECIBELL 8. TECHNICAL SPECIFICATIONS OPERATING VOLTAGE SIREN AND STROBE OUTPUT 10 – 16Vdc. (13.8V Nominal) Maximum peak: 118dBA @ 1m (85dBA Spain) Reverse polarity protected Flash rate: 120/min typical Tube size: 3 Watt CURRENT CONSUMPTION Stand by (alt. flashing): 30mA typical... - Page 21 DECIBELL RINS040-5 Page: 19...
- Page 24 Pyronix Limited Pyronix House Braithwell Way Hellaby, Rotherham S66 8QY, UK Customer Support: +44(0)845 6434 999 (local rate) or +44(0)1709 535225 Hours: Mon to Fri, 8:00am till 6:30pm Email: customer.support@pyronix.com Website: www.pyronix.com This product is approved for use in the...
Need help?
Do you have a question about the DECIBELL and is the answer not in the manual?
Questions and answers