
Related Manuals for Clarke CWB114


Summary of Contents for Clarke CWB114
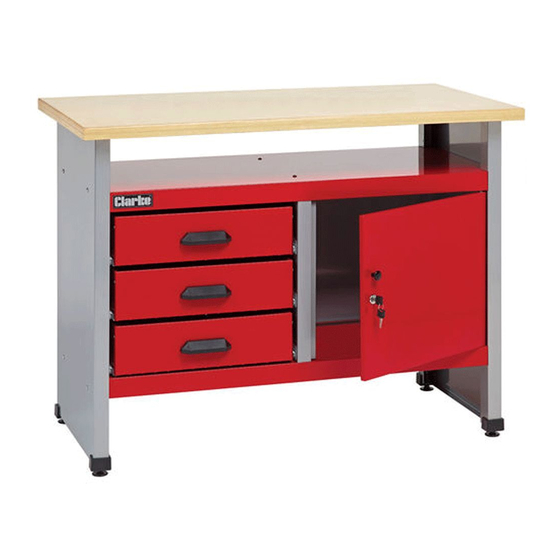
- Page 1 3 DRAWER WORKBENCH WITH LOCKABLE CUPBOARD MODEL NO: CWB114 PART NO: 7642015 ASSEMBLY INSTRUCTIONS LS0814...
-
Page 2: Specification
INTRODUCTION Thank you for purchasing this CLARKE product. Before attempting to use this product, please read this manual thoroughly and follow the instructions carefully. In doing so you will ensure the safety of yourself and that of others around you, and you can look forward to your purchase giving you long and satisfactory service. - Page 3 WHATS SUPPLIED Description Side Panel Rear Panel Top/Lower Shelf Drawer Base and Sides Drawer Rear Centre Divider Door Door Jamb Drawer Runners 3 sets Feet Drawer Handle Wooden Workbench Top (not shown) Fixings kit (not shown) Includes • 16 x M4x8 flat head bolt set (bolt, washer, nut) •...
- Page 4 ASSEMBLY 1. Join the top shelf to the right 3. Fit the left side piece to the side piece and secure using the upper shelf in the same way. large nuts, large bolts and washers supplied. 2. Do not tighten fully at this stage. 4.
- Page 5 6. Fit the door jamb to the right 7. Place the door into position. side of the centre divider. • The hinge pins on the door must be inserted into the holes in the upper and lower shelves. 8. Fully tighten all fixings. 9.
- Page 6 13. Place the key in the lock and 17. Insert the lock barrel with the turn it so that the window on the green window at the top front of the lock turns green. through the door and secure using the locknut as shown. 14.
- Page 7 21. Fit the drawer runners into 22. Fold up the ends of the drawer position as shown and use the along the creases as shown. small machine screws and nuts to secure. 23. Secure the front to the sides 24. Fit the rear panel and secure using the small machine screws using the small machine screws and nuts.
- Page 8 25. Fit the handle using the screws 26. Fit the runners to the drawer supplied. using the small machine screws and nuts. 27. Insert the drawers into the workbench as shown. Parts & Service: 020 8988 7400 / E-mail: Parts@clarkeinternational.com or Service@clarkeinternational.com...
- Page 9 Parts & Service: 020 8988 7400 / E-mail: Parts@clarkeinternational.com or Service@clarkeinternational.com...
- Page 10 NOTES Parts & Service: 020 8988 7400 / E-mail: Parts@clarkeinternational.com or Service@clarkeinternational.com...
- Page 11 NOTES Parts & Service: 020 8988 7400 / E-mail: Parts@clarkeinternational.com or Service@clarkeinternational.com...
Need help?
Do you have a question about the CWB114 and is the answer not in the manual?
Questions and answers