Advertisement
Quick Links
Pool & Spa Collection
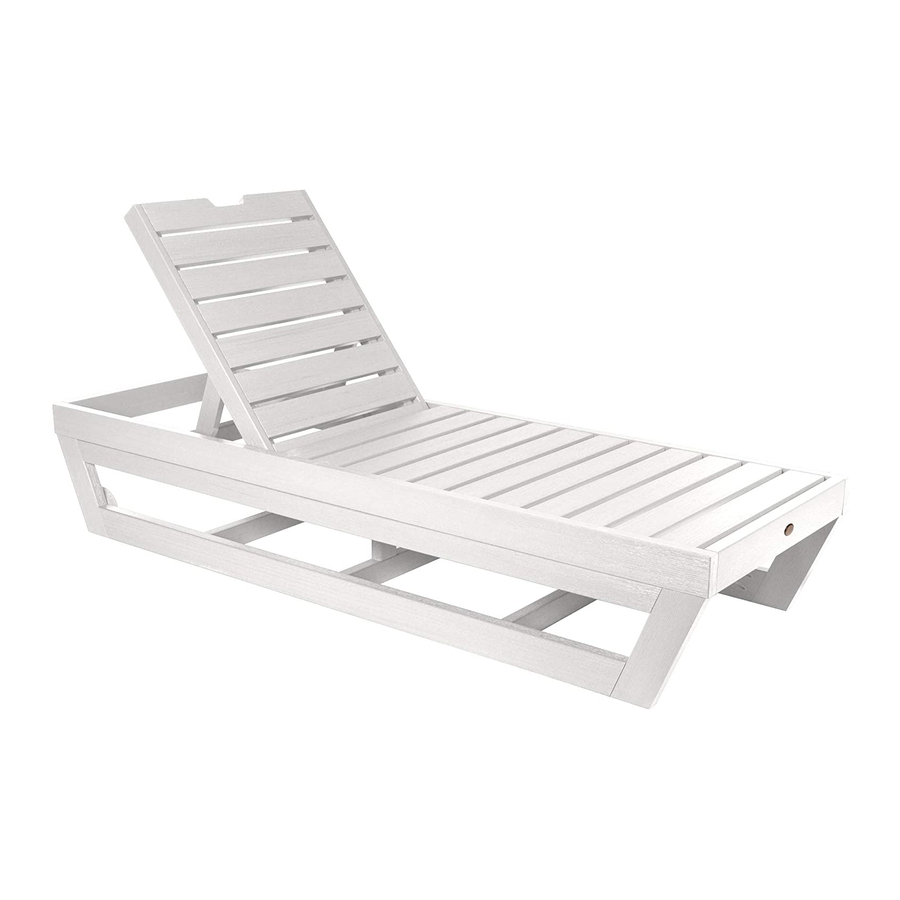
Laguna Chaise Lounge
Assembly Guide
1) Place (4) "D" Flanged Washers
into Both Sides of Holes in Back
Support as Shown.
D
2) With Seat Assembly Facing
Downward, Attach Back
Support Using (2) "B" Bolts
as Shown.
highwood
NATURE'S CLOSEST RIVAL
BACK SUPPORT
D
BACK SUPPORT
B
For information on Care and Cleaning or to register your
highwood product, please visit www.highwood-usa.com.
A
1/4"-20 X 1-1/4"
B
C
D
bolts are started. Once all bolts are inserted,
Retain these instructions for future reference
SEAT ASSEMBLY
HARDWARE
x16
x2
1/4"-20 X 2"
1/4"-20 X 3"
x4
Flanged Washer
IMPORTANT!
DO NOT fully tighten the bolts until all
go back & tighten all the bolts.
INCLUDED TOOLS
5/32" HEX KEY
AD-LNGPS61
01.02.19
PAGE 1 OF 2
x8
Advertisement

Related Manuals for highwood Laguna Chaise Lounge


Summary of Contents for highwood Laguna Chaise Lounge
- Page 1 2) With Seat Assembly Facing Downward, Attach Back Support Using (2) "B" Bolts as Shown. AD-LNGPS61 highwood For information on Care and Cleaning or to register your 01.02.19 highwood product, please visit www.highwood-usa.com. PAGE 1 OF 2 NATURE'S CLOSEST RIVAL...
- Page 2 7) With Help From Another Person, Rotate Lounge Into the Upright Position. RIGHT LEG ASSEMBLY END LEG SUPPORT AD-LNGPS61 highwood For information on Care and Cleaning or to register your 01.02.19 highwood product, please visit www.highwood-usa.com. PAGE 2 OF 2 NATURE'S CLOSEST RIVAL...
Need help?
Do you have a question about the Laguna Chaise Lounge and is the answer not in the manual?
Questions and answers