Table of Contents
Advertisement
Available languages
Available languages
Advertisement
Table of Contents

Related Manuals for Akai ATT-09


Summary of Contents for Akai ATT-09
- Page 1 Turntable with Built-In Speakers ATT-09 INSTRUCTION MANUAL...
- Page 2 INSTRUCTIUNI IMPORTANTE DE SIGURANTA 1. Cititi instructiunile – Toate instructiunile de siguranta si de operare trebuie citite inainte de utilizarea produsului. 2. Retain Instructions - The safety and operating instructions should be retained for future reference. 3. Heed Warnings - All warnings on the appliance and in the operating instructions should be adhered to. 4.
-
Page 3: Main Technical Specifications
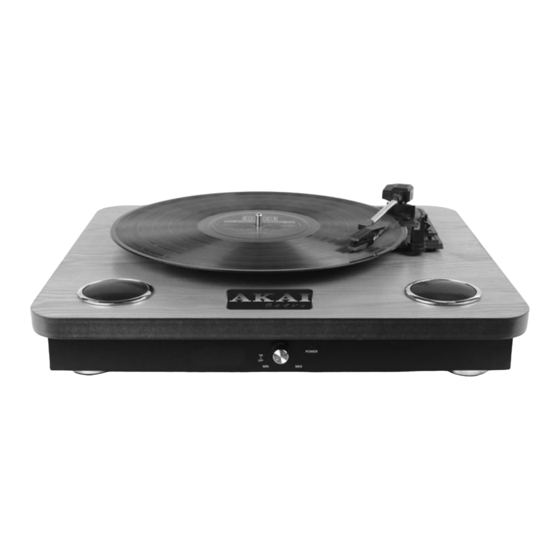
replacement parts specified by the manufacturer or have the same characteristics as the original part. Unauthorized substitutions may result in fire, electric shock, or other hazards. 20. Safety Check – Upon completion of any service or repairs to this product, ask the service technician to perform safety checks to determine that the product is in proper operating condition. - Page 4 Speaker output : 2x1.2W (RMS) Charging input voltage : DC 5V 1A Size : 420 * 376 *62 mm 3 speeds : 33 1/3 , 45, 78 RPM DESCRIPTION 45-rpm Adaptor Tone arm lift Auto stop control Speed selection – Three speed for choice: 33,45,78 RPM Tone arm Speaker Cartridge...
-
Page 5: Mains Connection
Power light 10. Power Switch/Volume control 11. DC power jack 12. L channel 13. R channel MAINS CONNECTION Ensure that the mains voltage of your home corresponds to the operating voltage of the unit. Your unit is ready to be connected to a mains voltage of 5V DC adaptor. -
Page 6: Maintenance
Place the record of your choice on the turntable. If required, do not forget to place the adaptor on the record spindle. Choose the desired playing speed using the speed selection switch between 33, 45 and 78rpm. Turn on the Rotary Power Switch, note that this also controls volume. -
Page 7: Disposal Of Waste Electrical And Electronic Equipment
NOTES We advise you to clean your records with an anti-static cloth to gain maximum enjoyment from them and to make them last. We would also point out that for the same reason your stylus should be replaced periodically (approximately every 250 hours) Dust the stylus from time to time using a very soft brush dipped in alcohol (brushing from back to front of the cartridge) -
Page 8: Manual De Utilizare
Pick-up cu difuzoare incorporate ATT-09 MANUAL DE UTILIZARE... - Page 9 INSTRUCTIUNI IMPORTANTE DE SIGURANTA 1. Cititi instructiunile – toate instructiunile de siguranta si operare trebuie citite inainte de a folosi produsul. 2. Pastrati instructiunile - instructiunile de siguranta si operare trebuie pastrate pentru referinte ulterioare. 3. Mesaje de avertizare - toate avertizarile de pe produs si din instructiunile de operare si folosire trebuie urmarite.
- Page 10 20. Verificari de siguranta – la finalizarea oricarui service sau reparatii la acest produs, adresati-va tehnicianului sa verifice bine produsul pentru a fi in conditii de operare corespunzatoare.. SPECIFICATII GENERAL Model: ATT-E10 Dimensiuni: 420 (W) x 376(D) x 62(H) mm Greutate: 3.10Kg Sursa de curent:...
- Page 11 DESCRIPTION 1. Adaptor 45-rpm 2. Ridicare brat de sunet 3. Comanda de oprire automata 4. Selectarea vitezei – Trei viteze: 33,45,78 RPM 5. Brat de sunet 6. Difuzor 7. Doza 8. Platan...
- Page 12 Indicator luminos de alimentare Comutator de alimentare /Control Volum Jack alimentare DC Canal L Canal R CONECTAREA LA SURSA DE ALIMENTARE Asigurati-va ca tensiunea de retea de acasa corespunde cu tensiunea de functionare a produsului. Unitatea este pregatita pentru a fi conectata la o tensiune de alimentare de 5V DC. CONEXIUNE AMPLIFICATOR(daca este necesar) Puteti asculta redarea melodiilor de la Pick-up cu ajutorul difuzoarelor incorporate, sau il puteti conecta la sistemul dumneavoastra HI FI.
- Page 13 REDARE DISCURI DE VINIL Asezati discul dorit, pentru redare, pe platan. In cazul in care este necesar, nu uitati sa plasati adaptorul pe axul de redare. Alegeti viteza de redare dorita cu ajutorul butonului de selectare a vitezei intre 33, 45 si 78rpm. ...
- Page 14 INSTALAREA UNEI PENITE A se vedea figurile 5 si 6 NOTA Va sfatuim sa va curatati discurile cu o carpa anti-statica pentru a va putea bucura la maxim de ele si pentru a le mari durata de viata. De asemenea, din acelasi motiv, va indicam faptul ca penita trebuie inlocuita periodic (aproximativ la fiecare 250 de ore) Stergeti penita de praf, din timp in timp, folosind o perie foarte moale, inmuiata in alcool (periati din spate spre fata dozei)
Need help?
Do you have a question about the ATT-09 and is the answer not in the manual?
Questions and answers